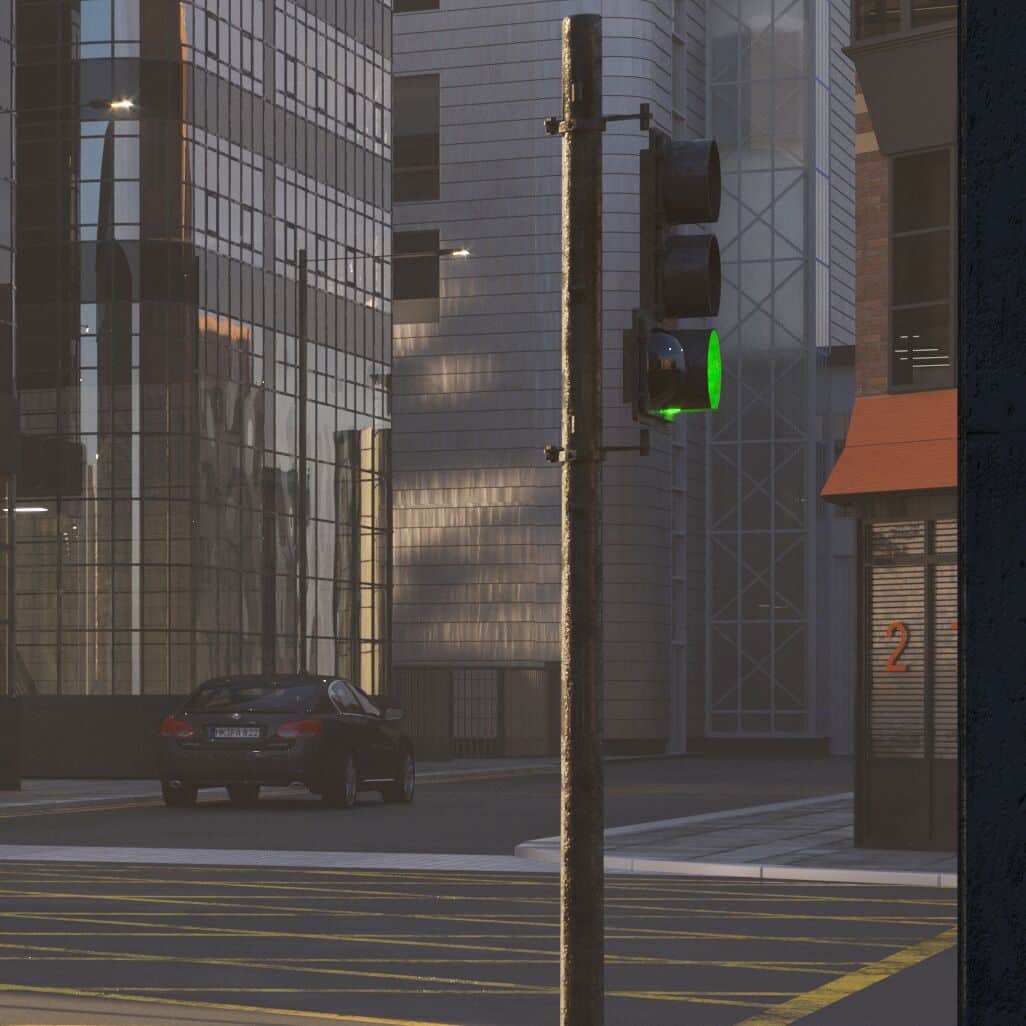
Originally published at: https://www.ronenbekerman.com/making-of-express-building-visualization/
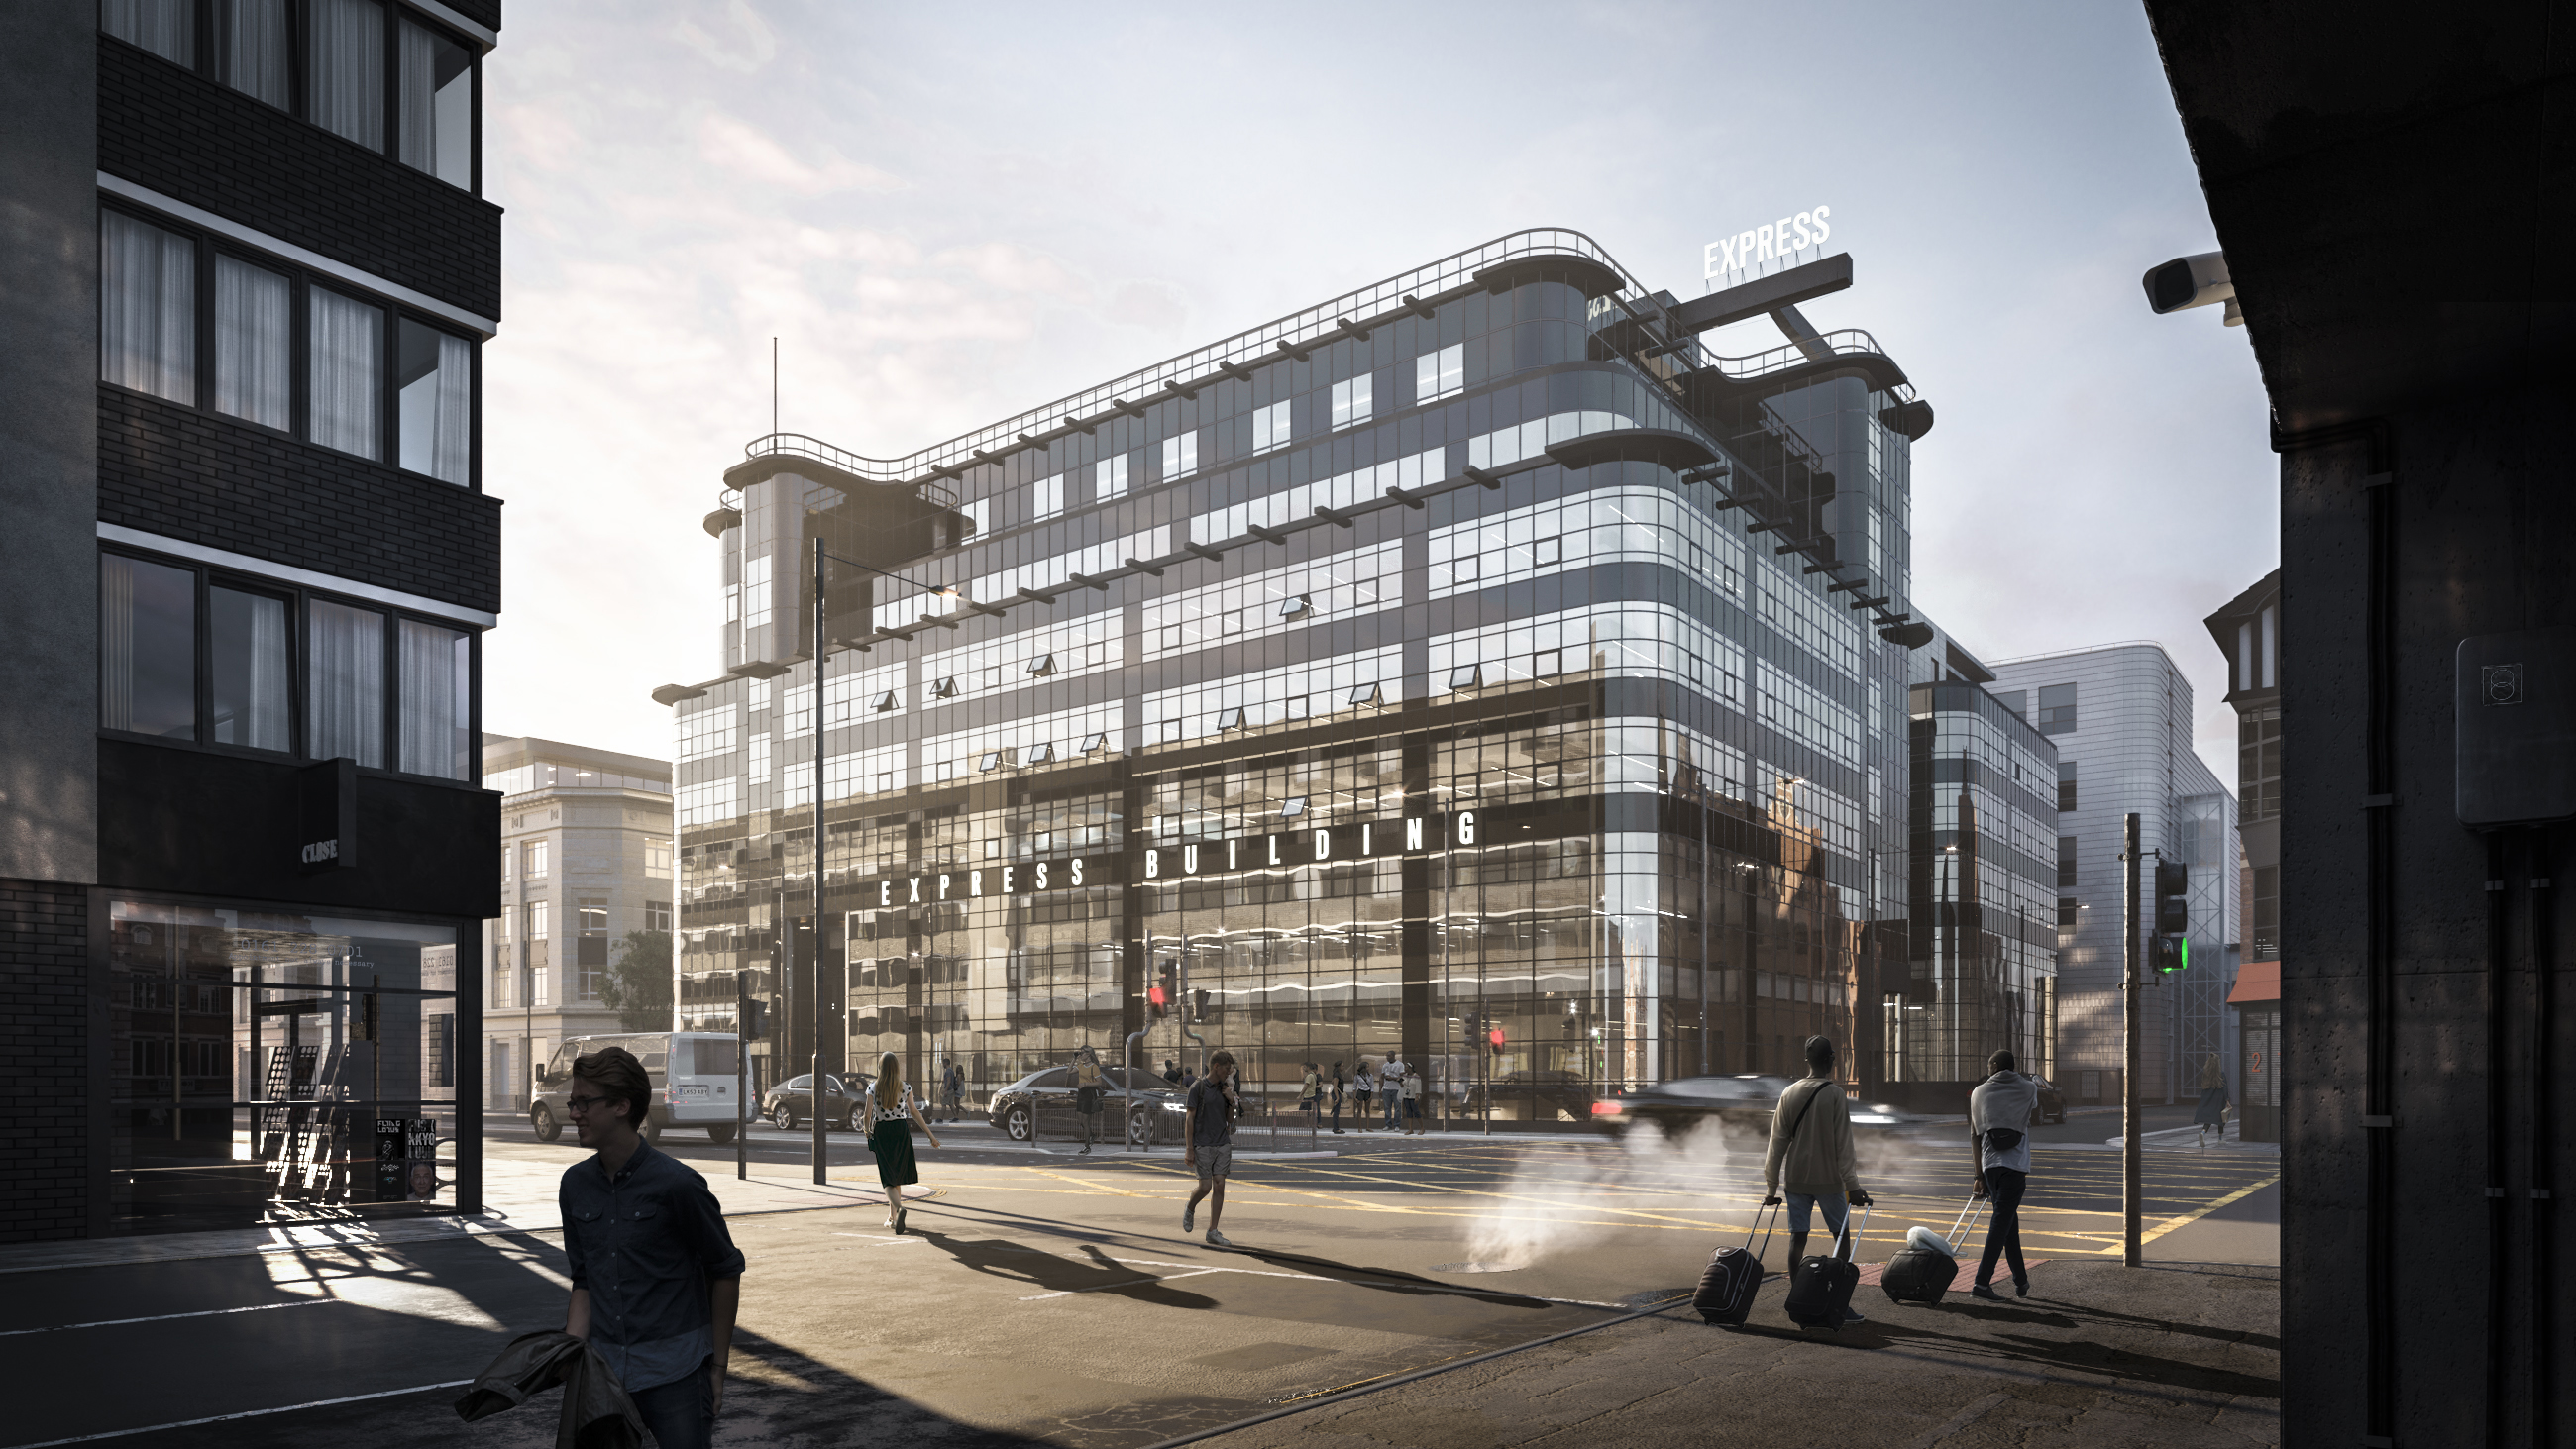
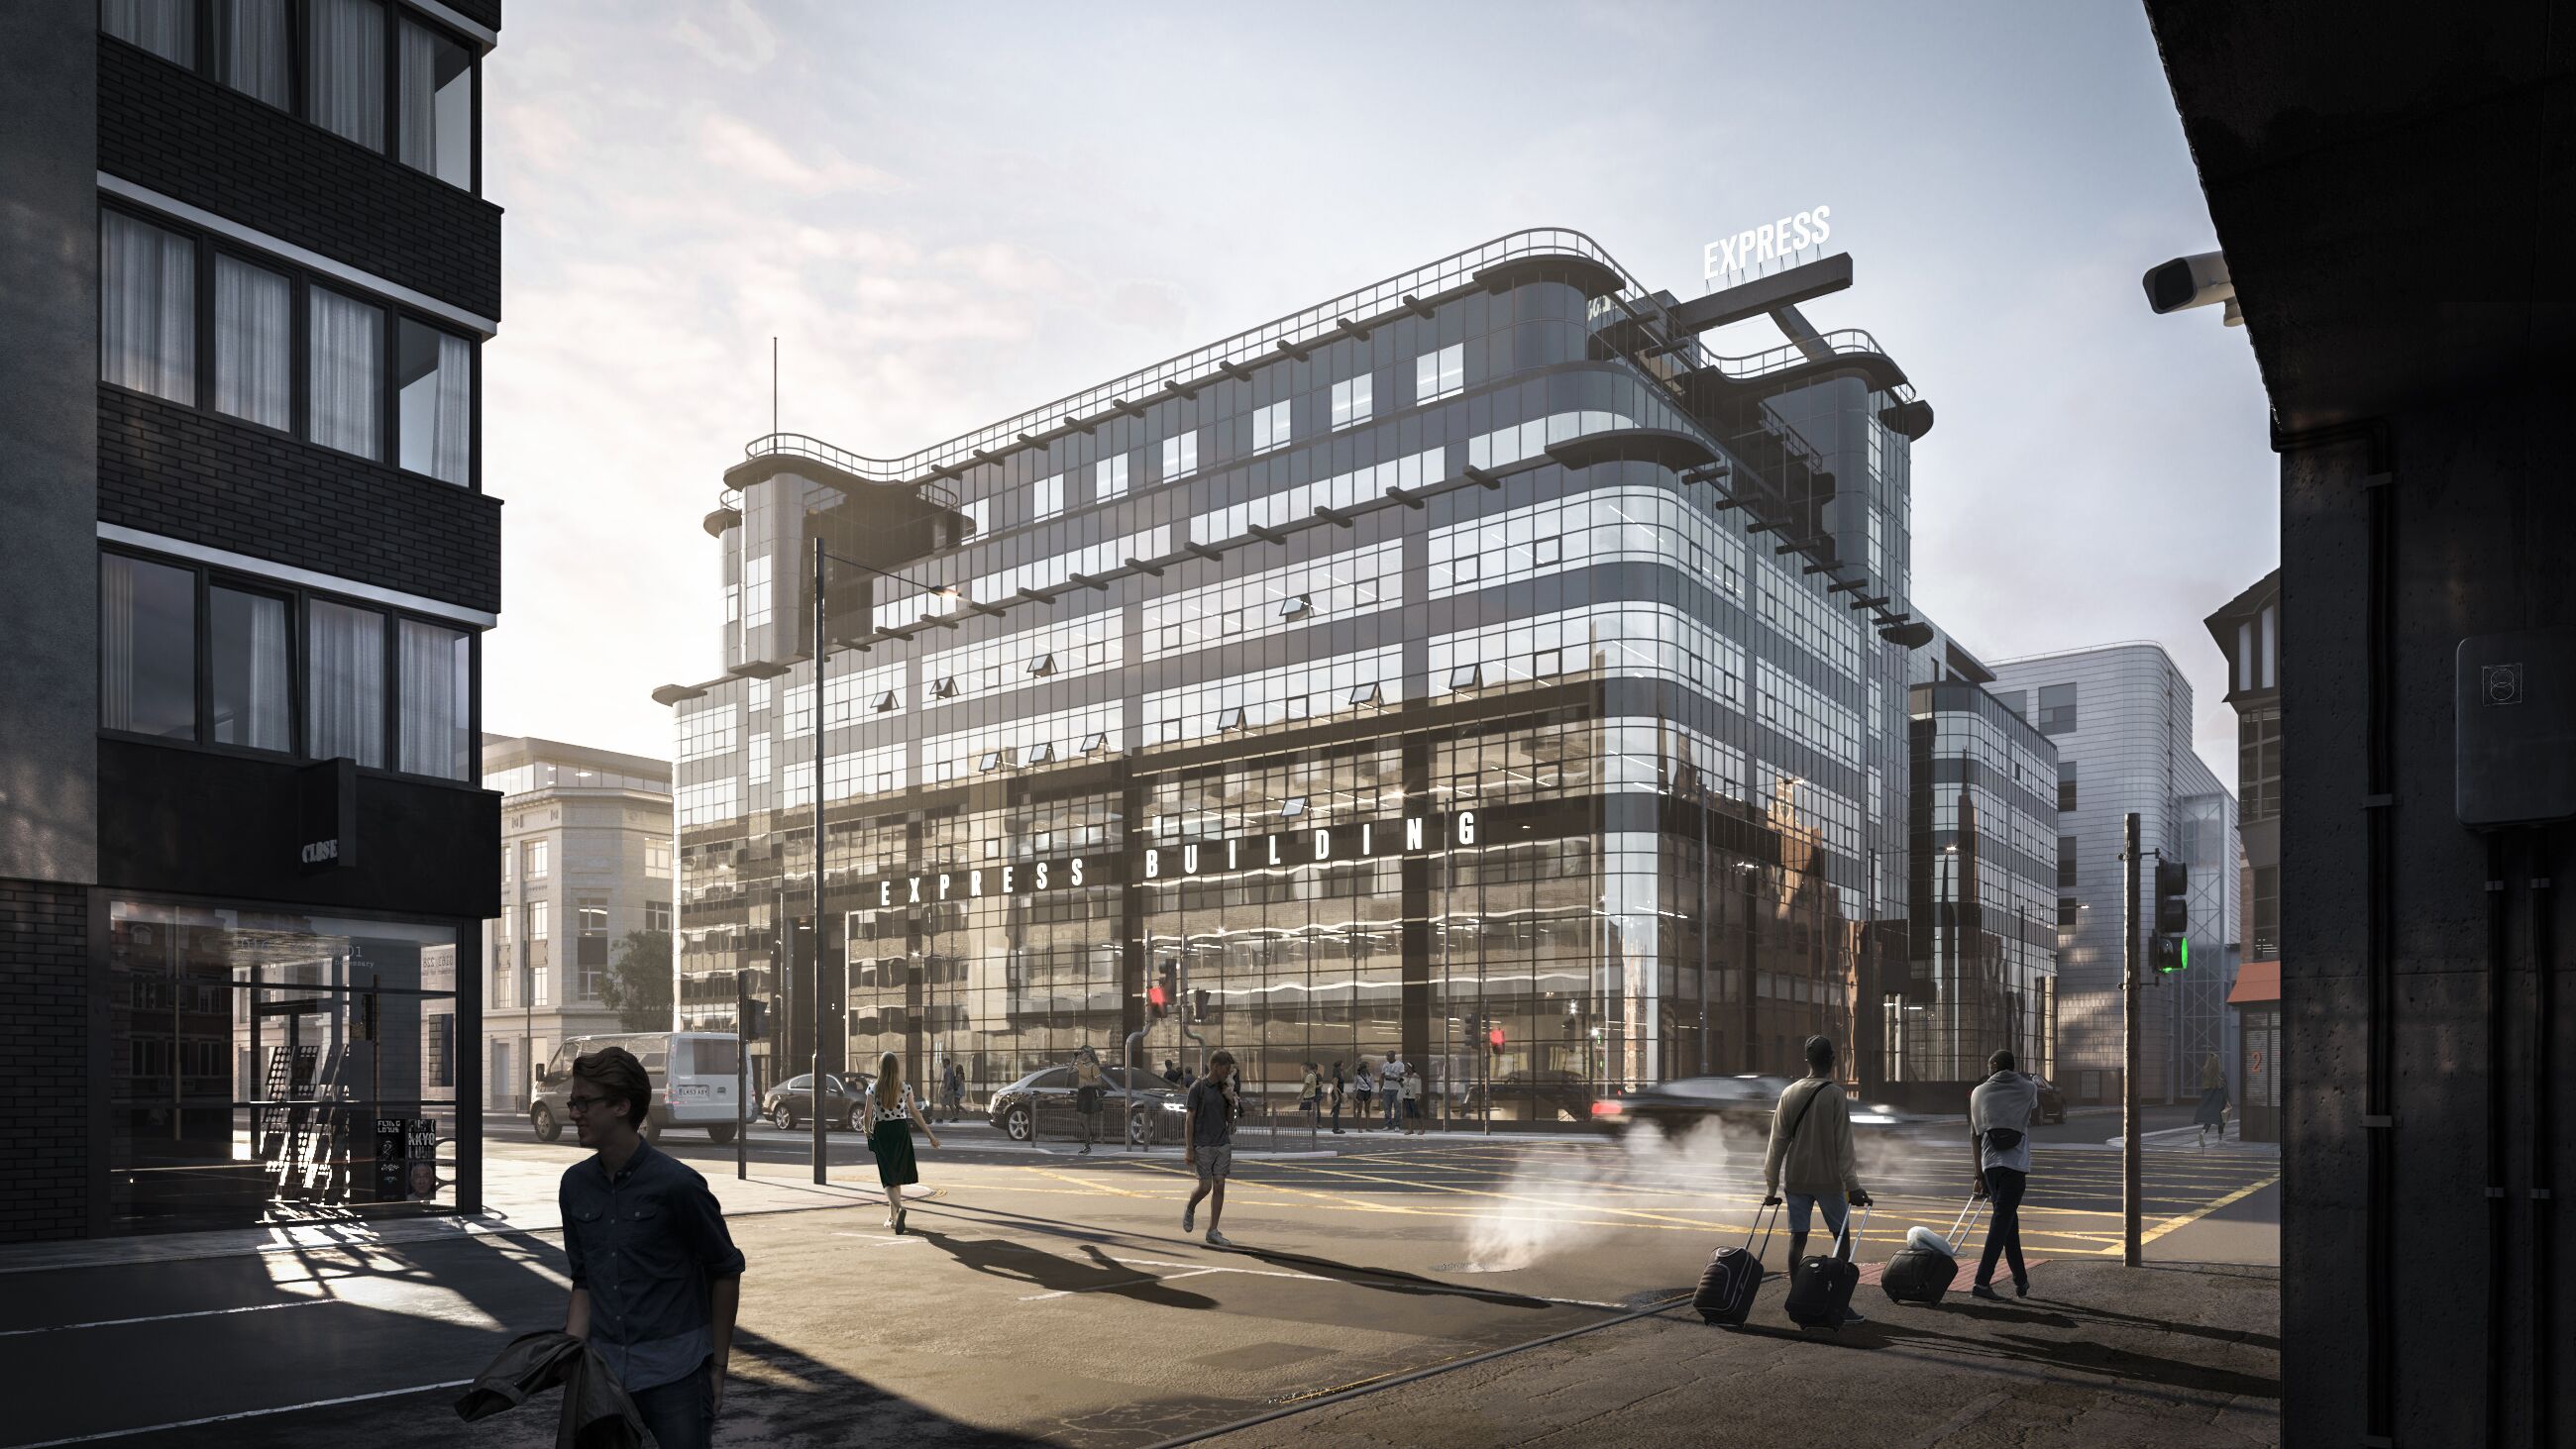
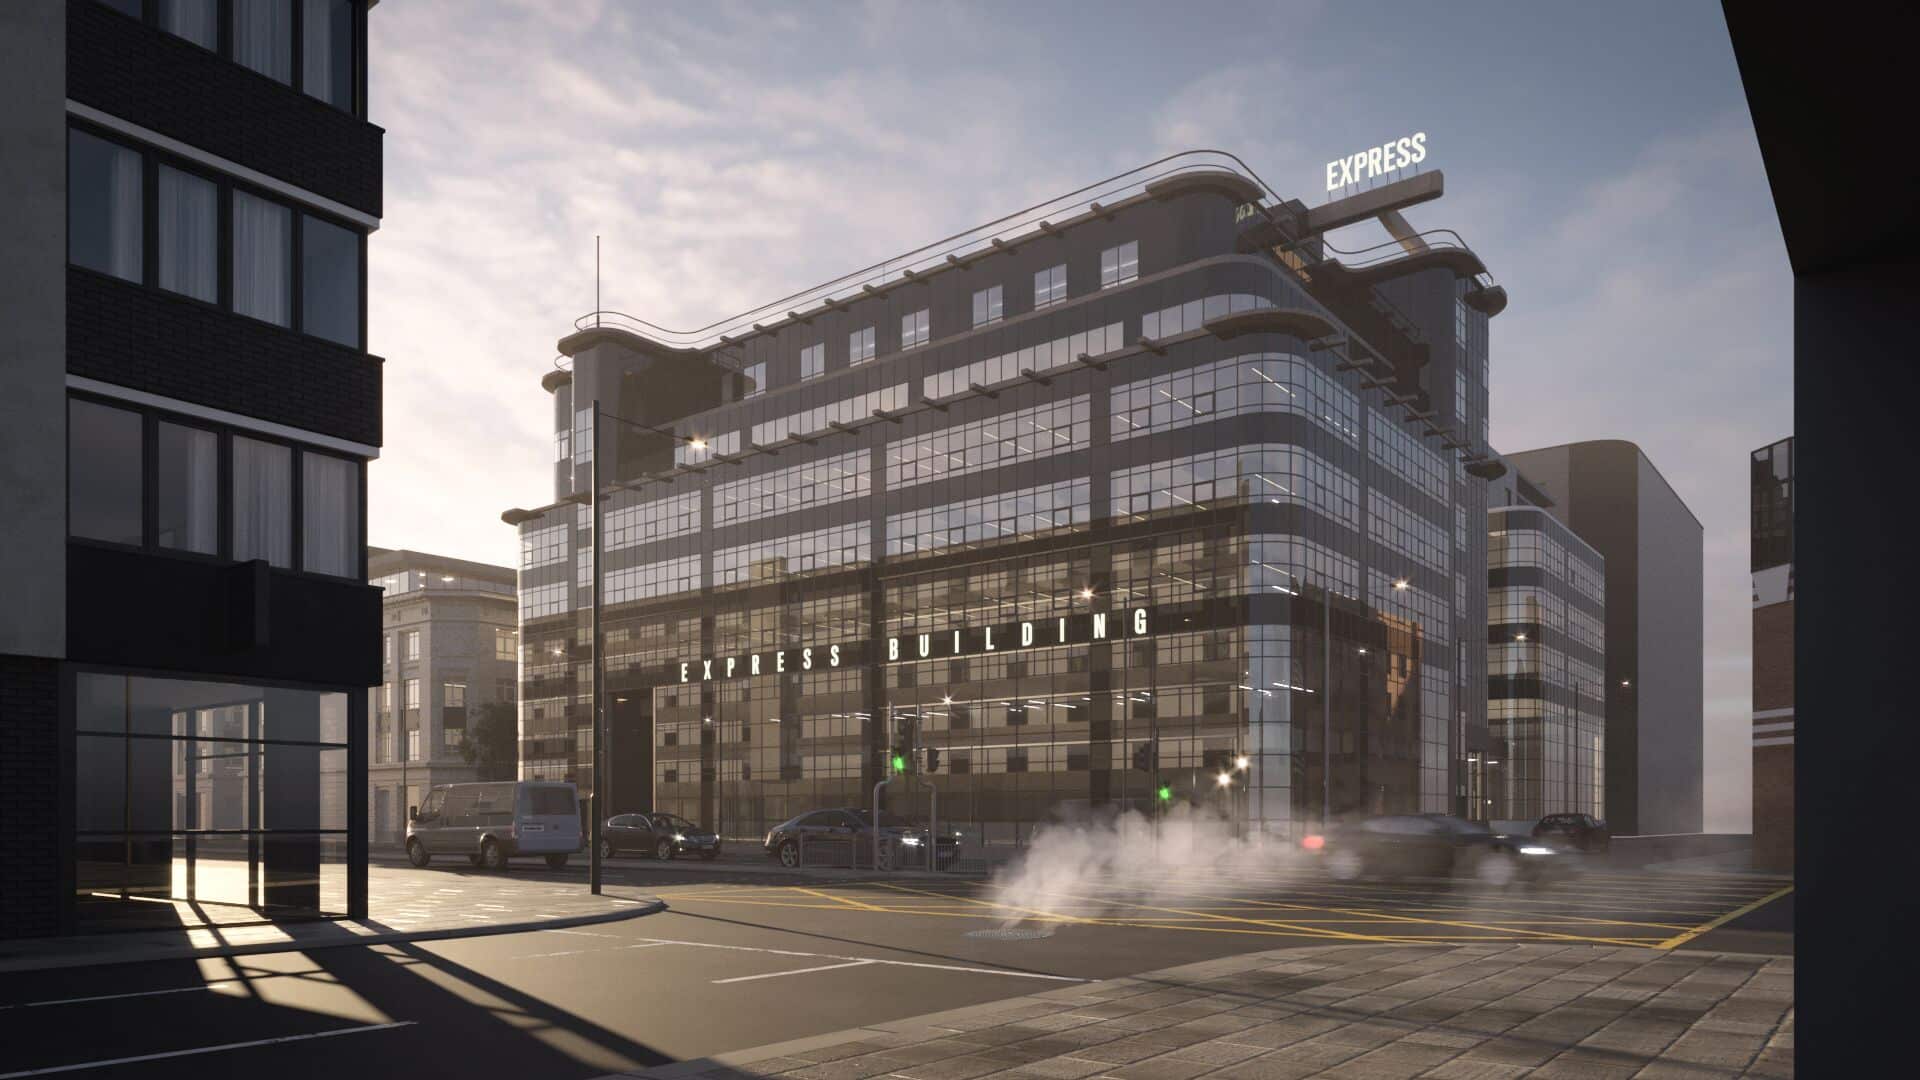
Express Building or The Daily Express Building is located on Great Ancoats Street in Manchester. Built according to the project of Sir Owen Williams in 1939. After finishing the project, CYLIND decided to spend a bit more time on the exterior view and remake it in their our own way. 3dsmax and Corona Renderer were used to produce this image which won Best of Week on the showcase section.
Introduction
First of all, I would like to express my gratitude to Ronen for the publishing the Express Building project in BOTW and also for an invitation to write an article about it. We are happy to share some details of the working process which we found interesting.
A little Backstory
Express Building or The Daily Express Building is located on Great Ancoats Street in Manchester. Built according to the project of Sir Owen Williams in 1939.
Our client worked on a proposal of the internal spaces reconstruction for which we designed renderings. The presented exterior view was initially an evening render and was offered with the purpose of displaying the interior from the outside.
The project is under NDA, and we can’t publish it, but after the ending of the project, we decided to spend a bit more time on the exterior view and remake it in our own way. The NDA does not apply to it, because this is the existing building and the resulting image does not affect the client’s information, and we view it as a separate image.
Our studio switched entirely to 3dsmax + Corona Renderer long ago and this project was done with Corona Renderer.
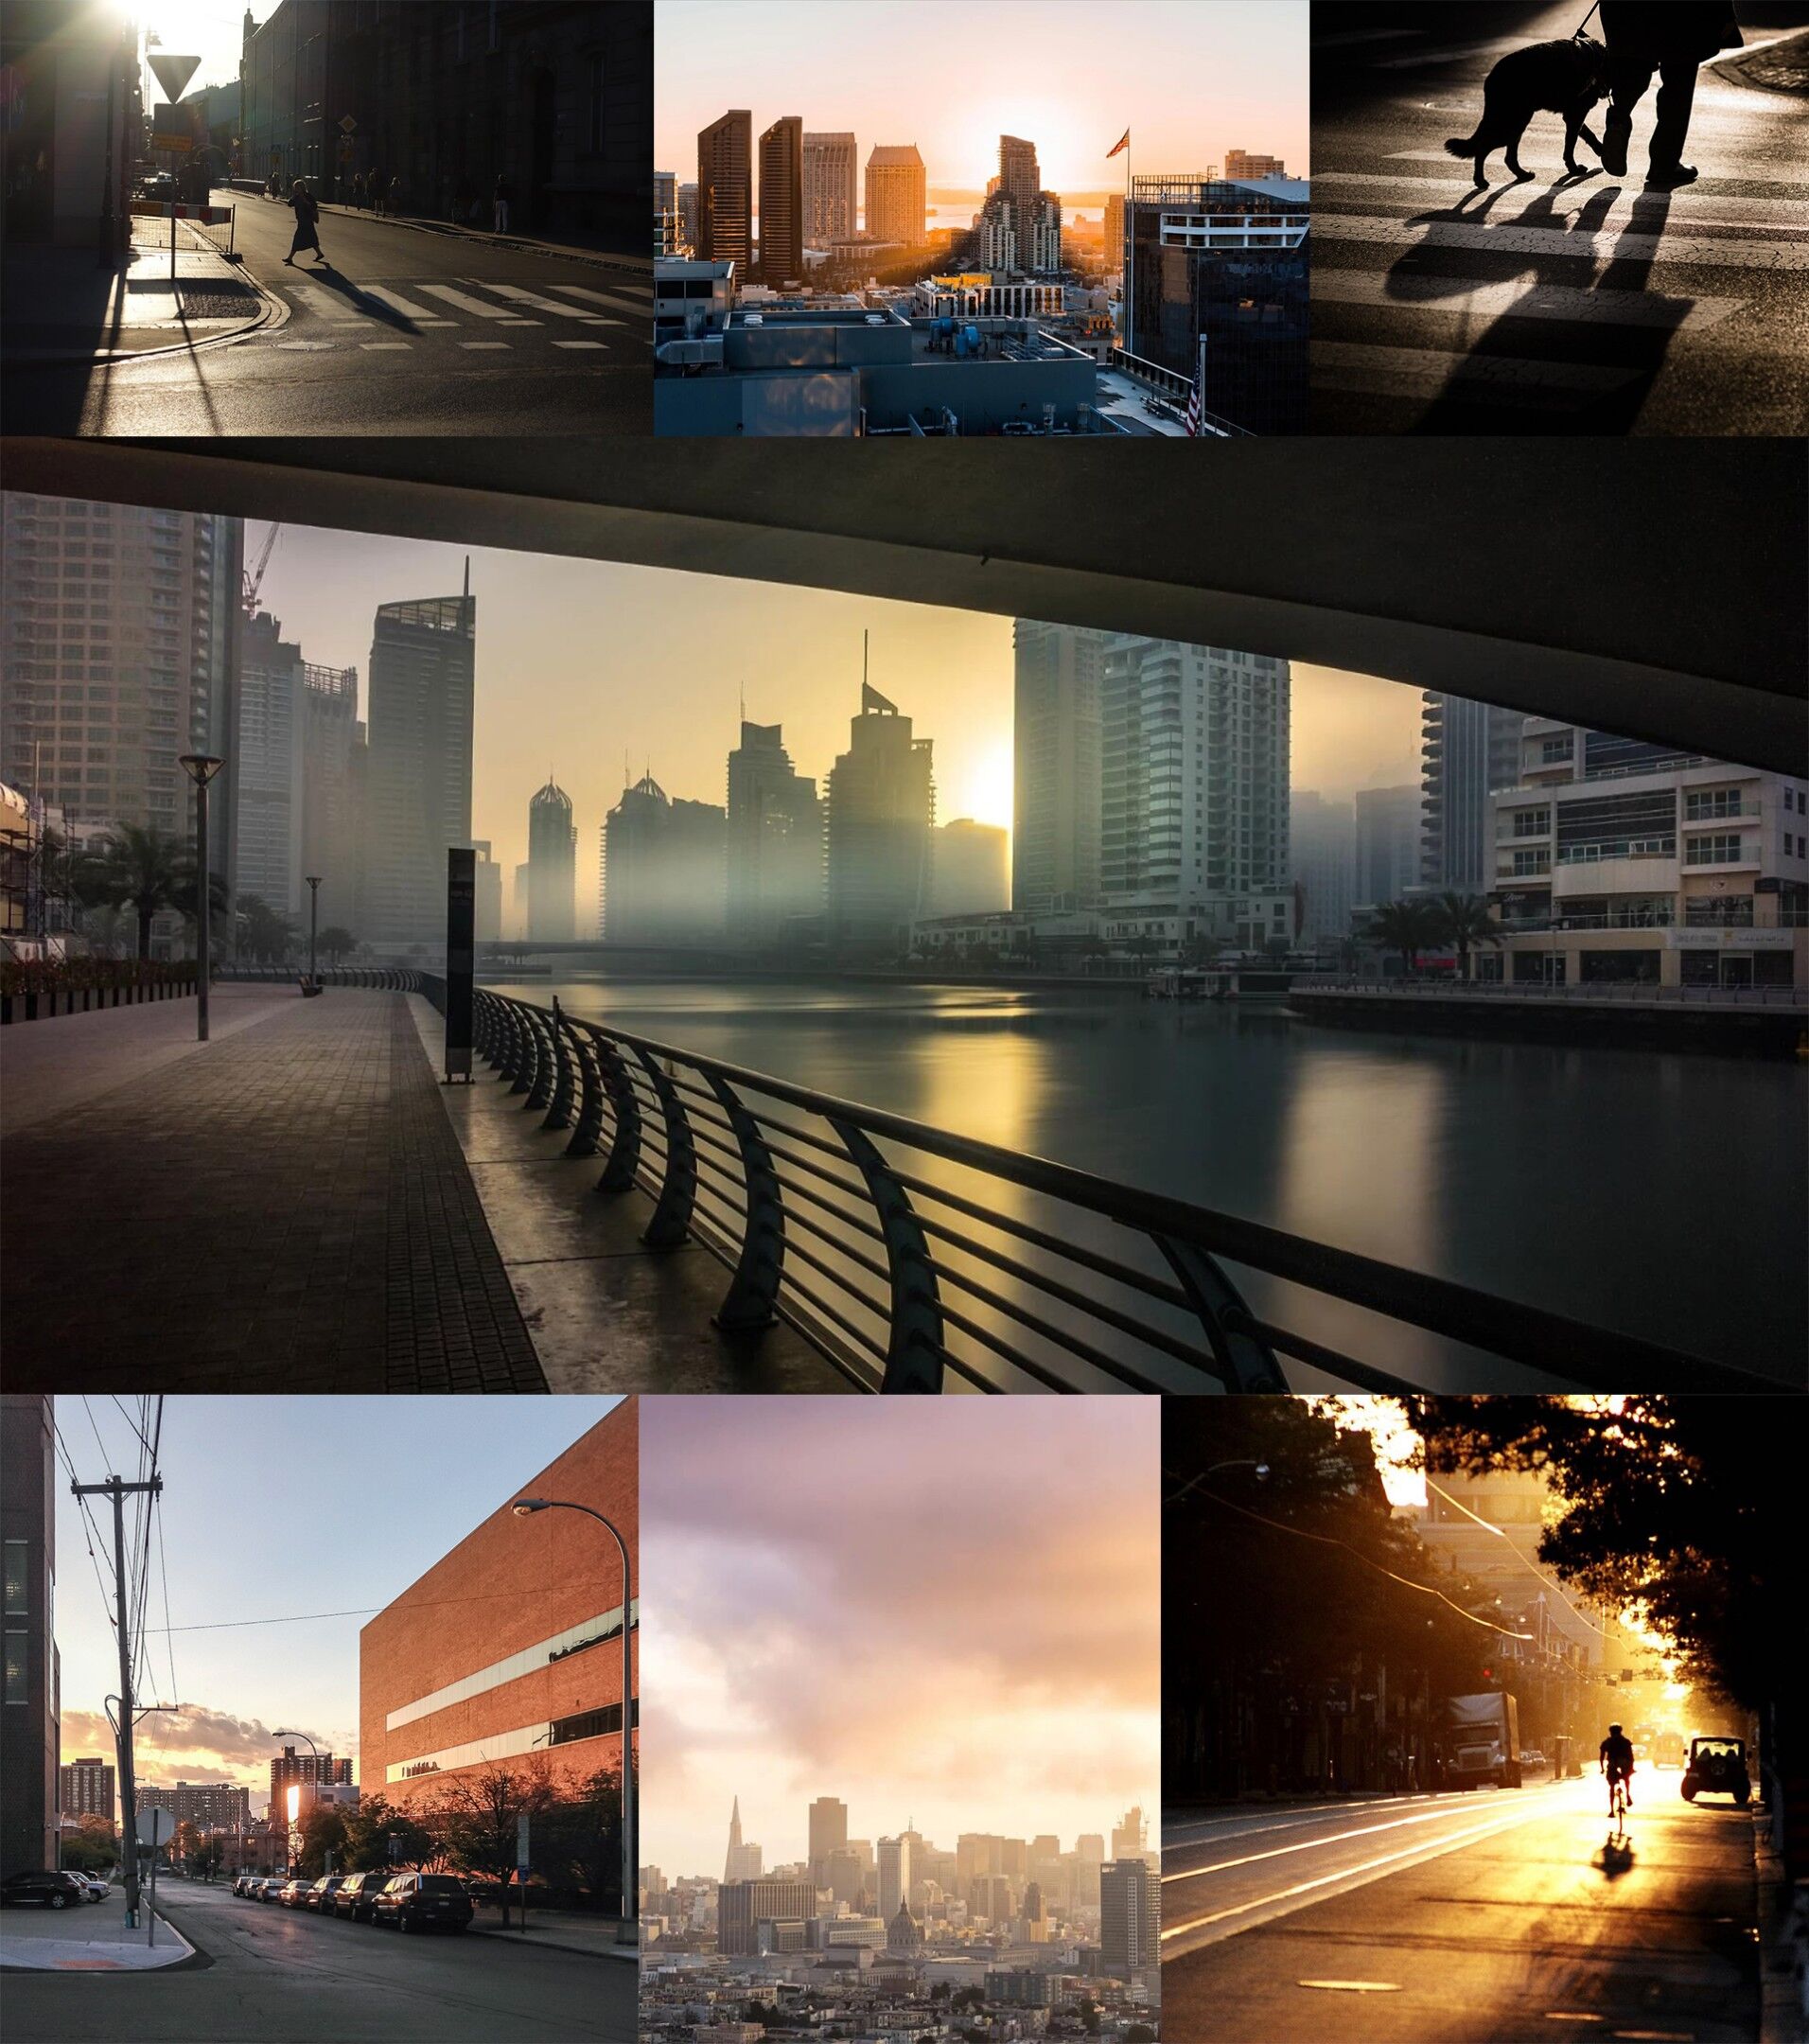
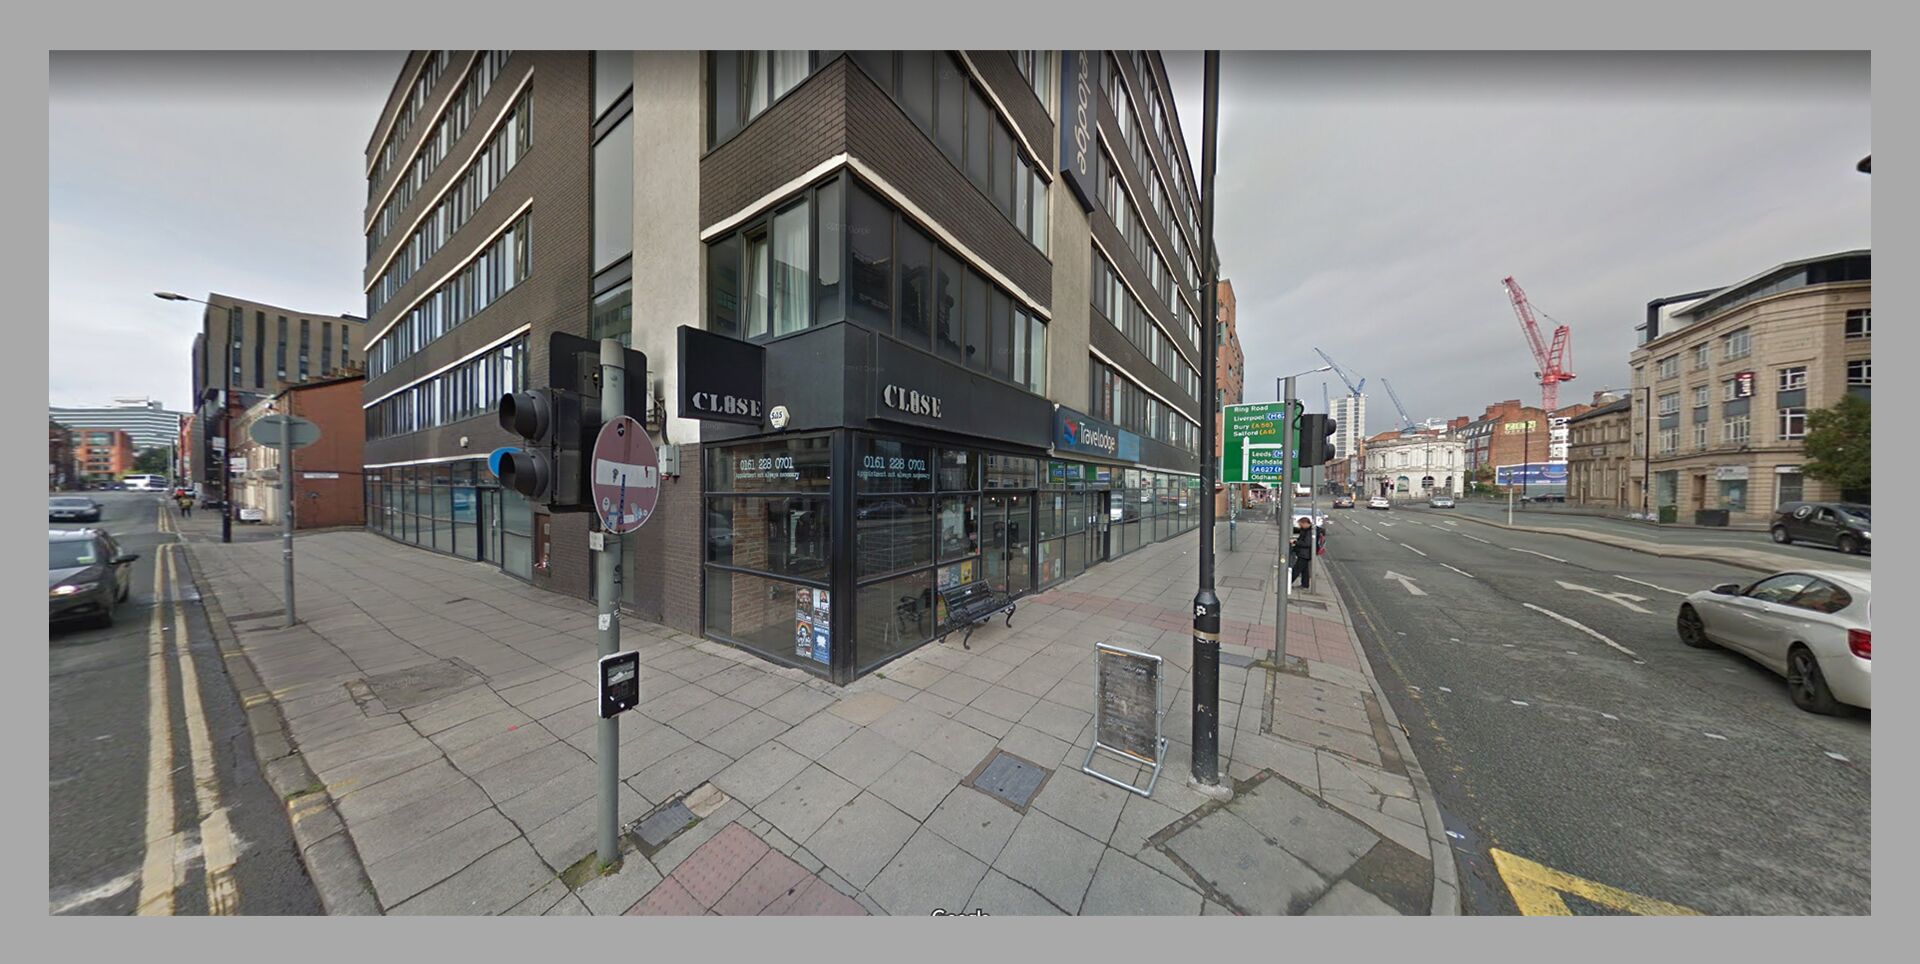
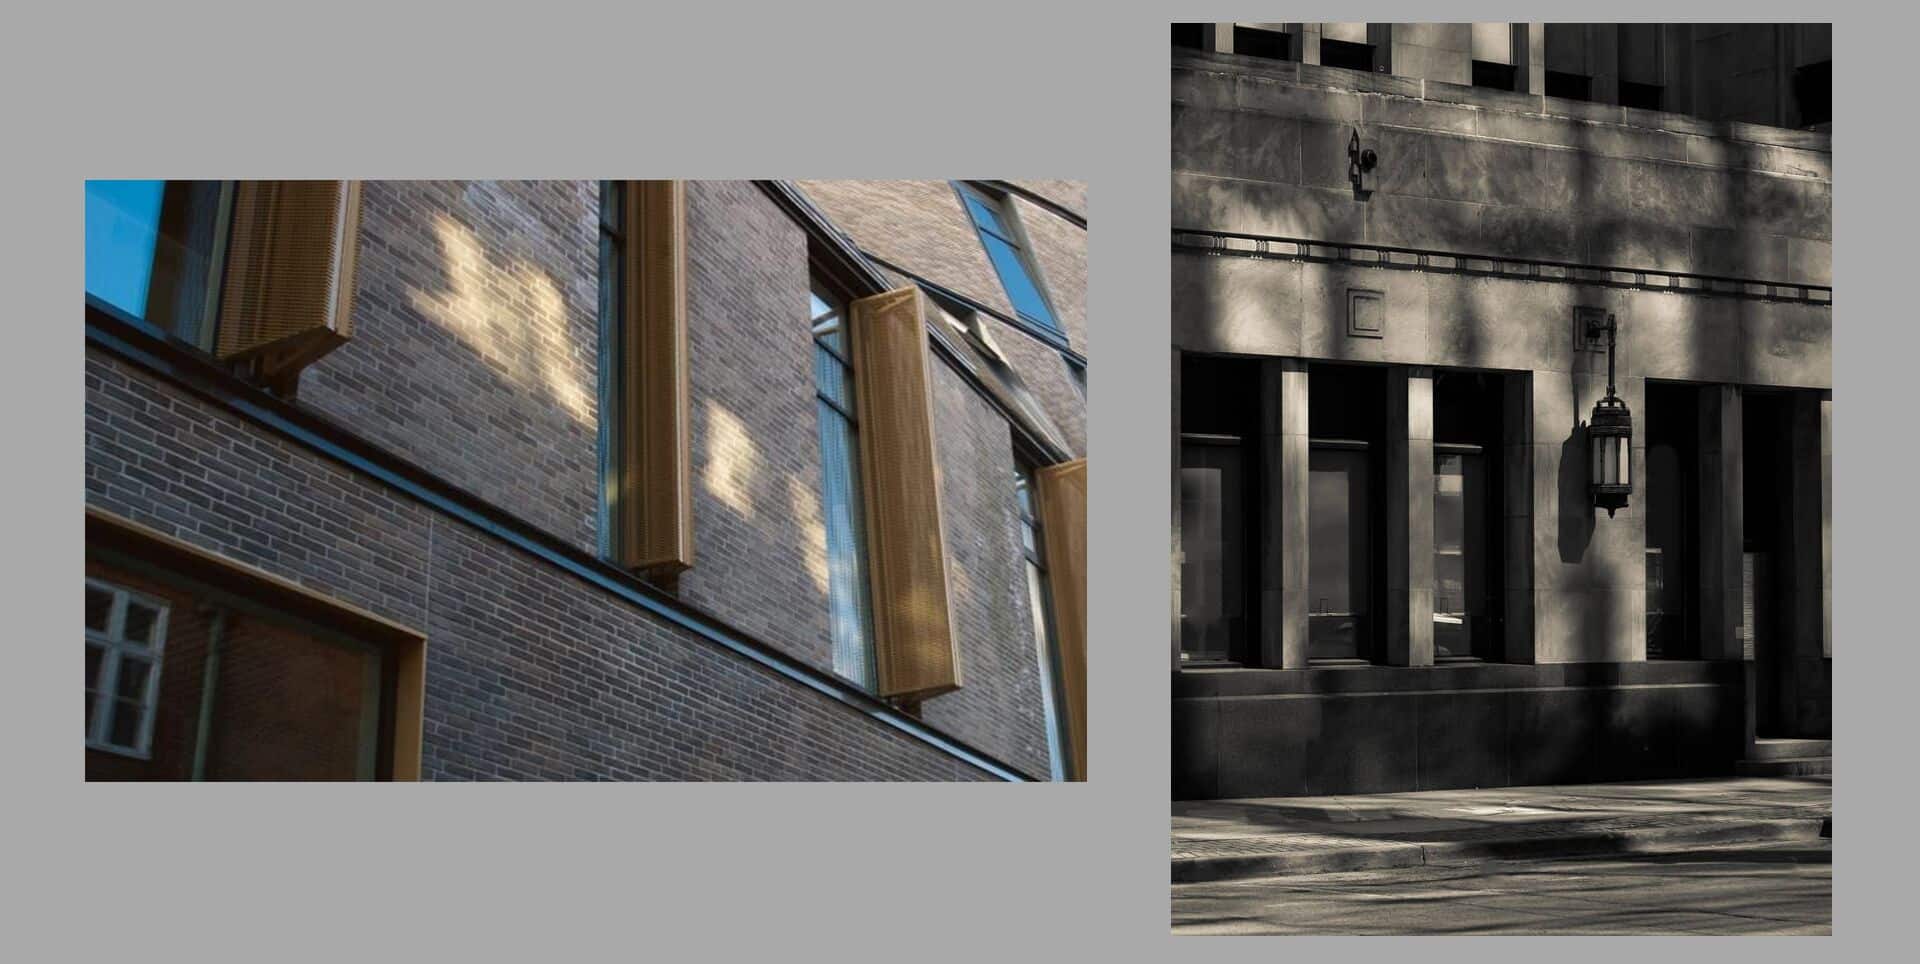
Reference Images
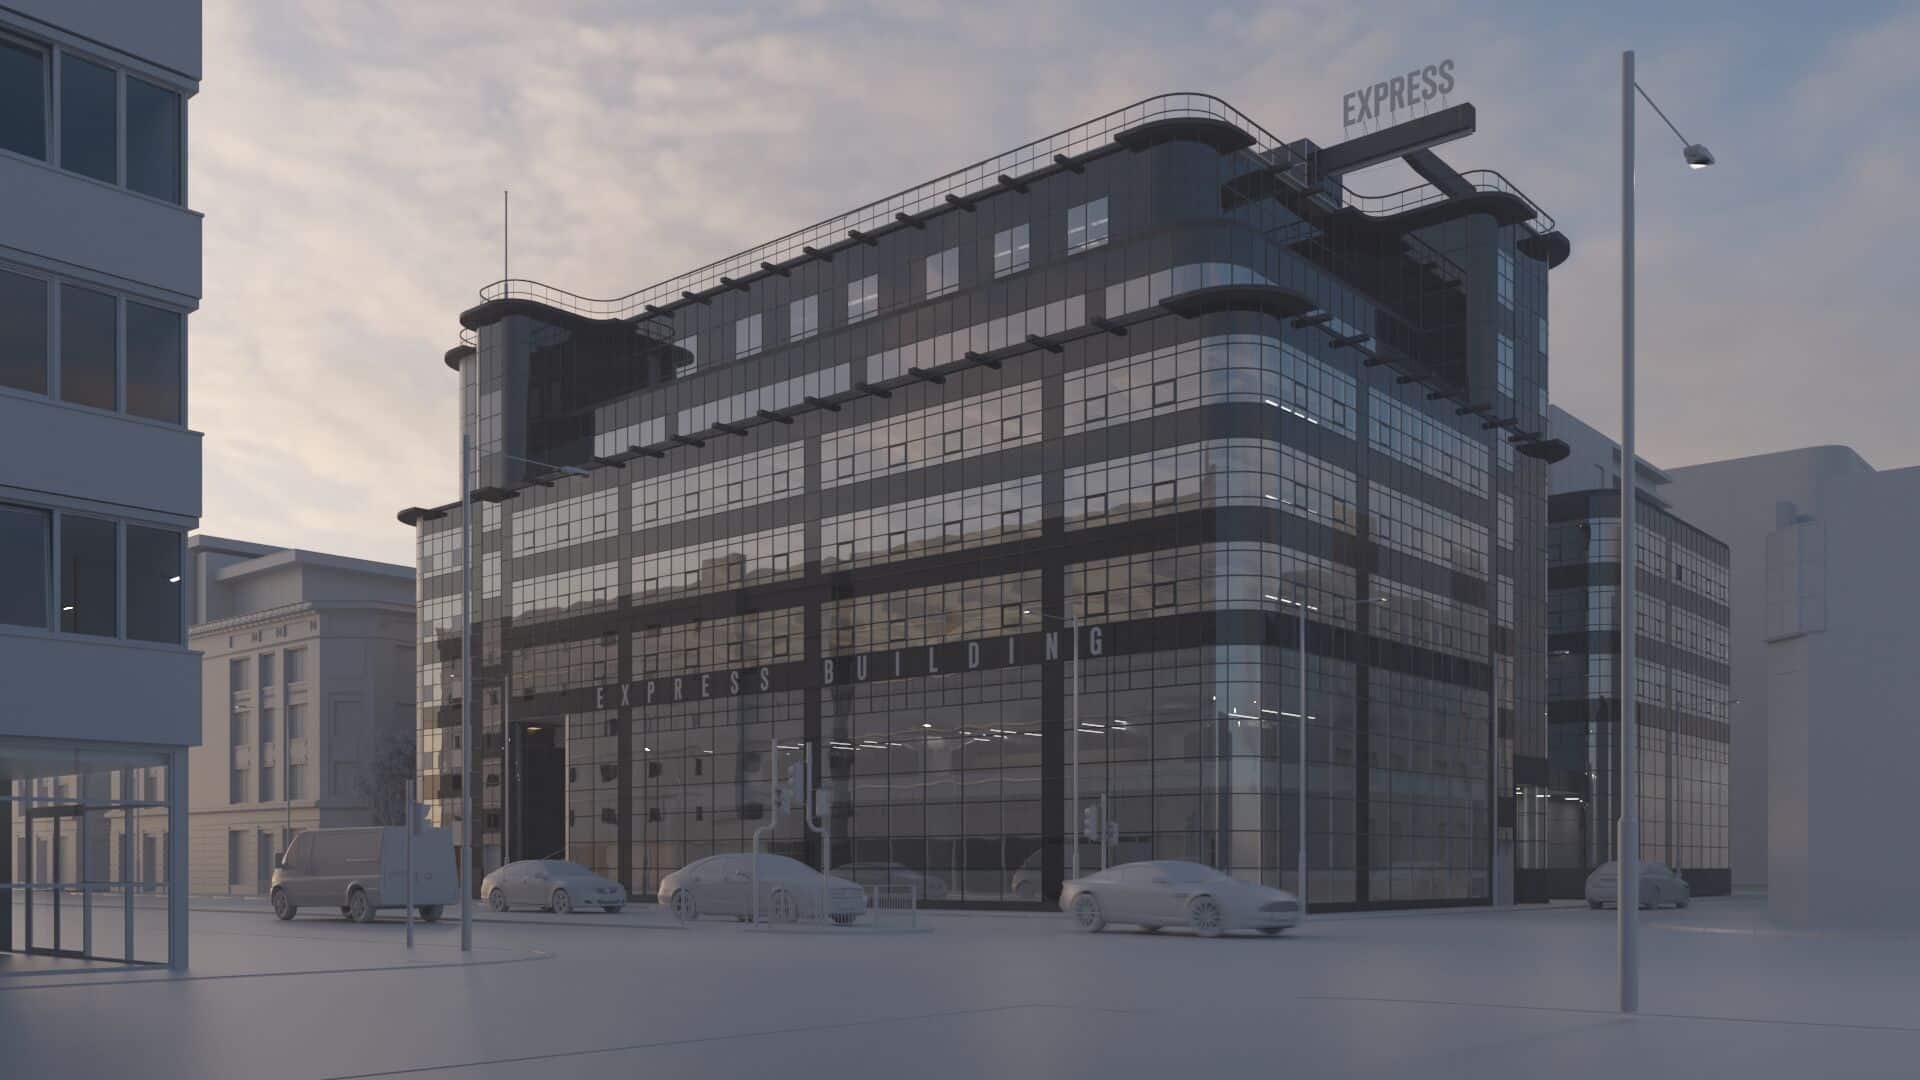
The Clay Render
The client sent us some modeled parts of the building in Rhino mainly for work on interiors, so we needed to shape the whole structure and a context.
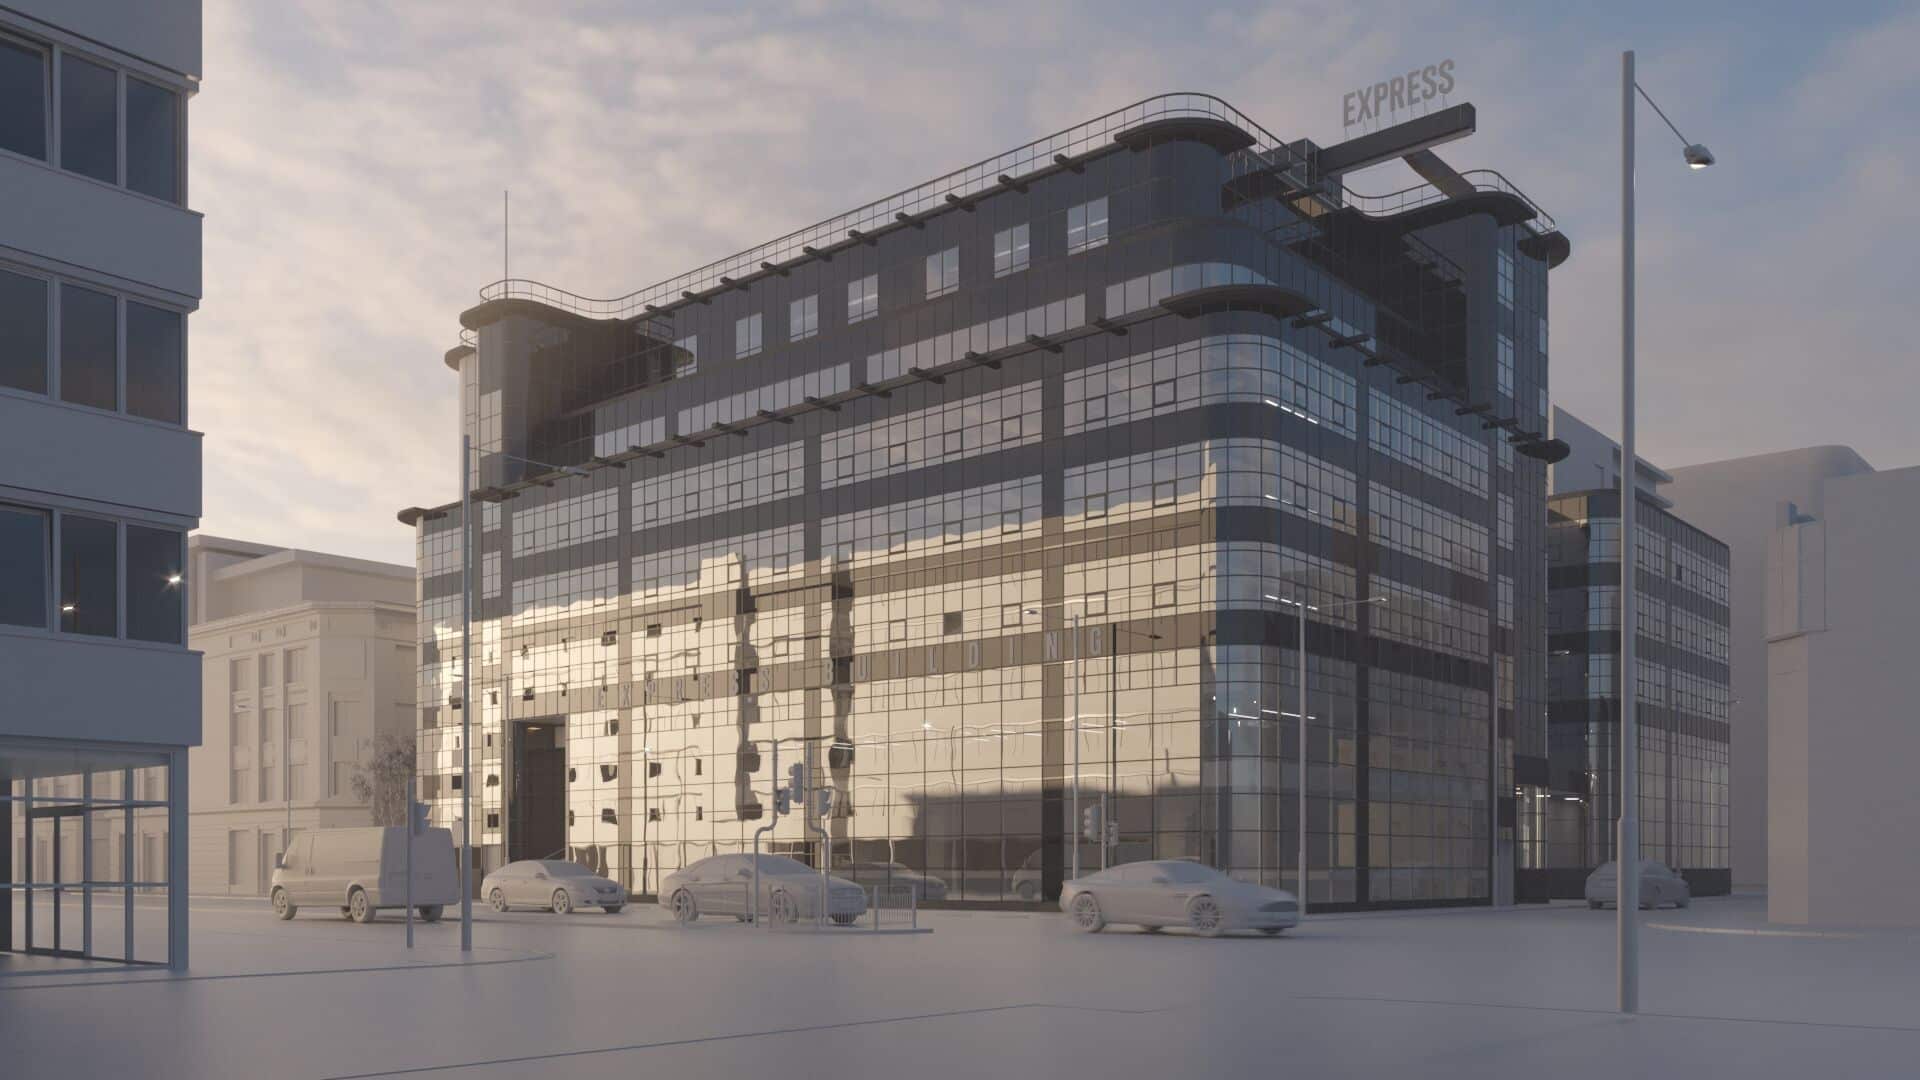
When the bulk of the architecture was ready, I made a test render with an override material.
Tried to add the sun.
Interesting, but the reflection in the windows is too distracting.
In parallel with the lighting tests, I worked on detailing the context. As seen in the image below, there is a barber shop with glass showcases at the corner of the street, and I thought that it could work well with the sunlight.
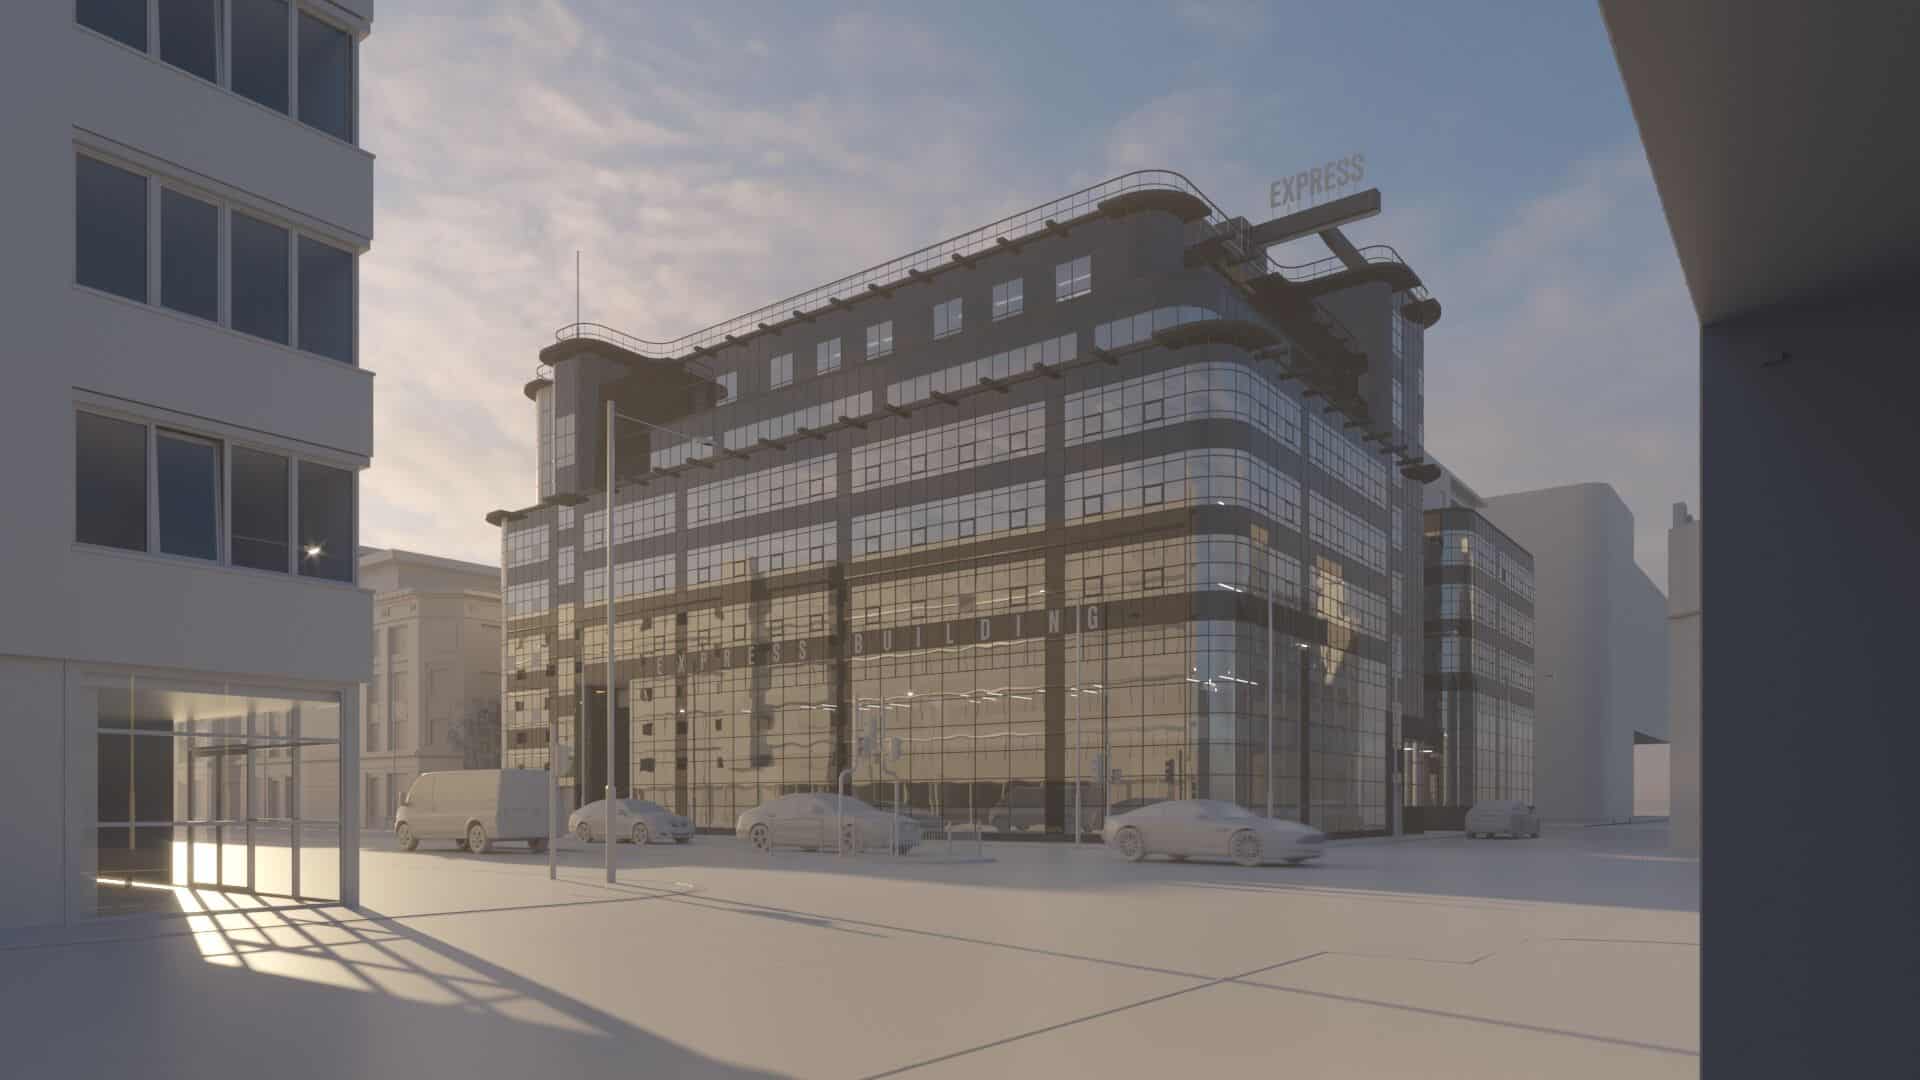
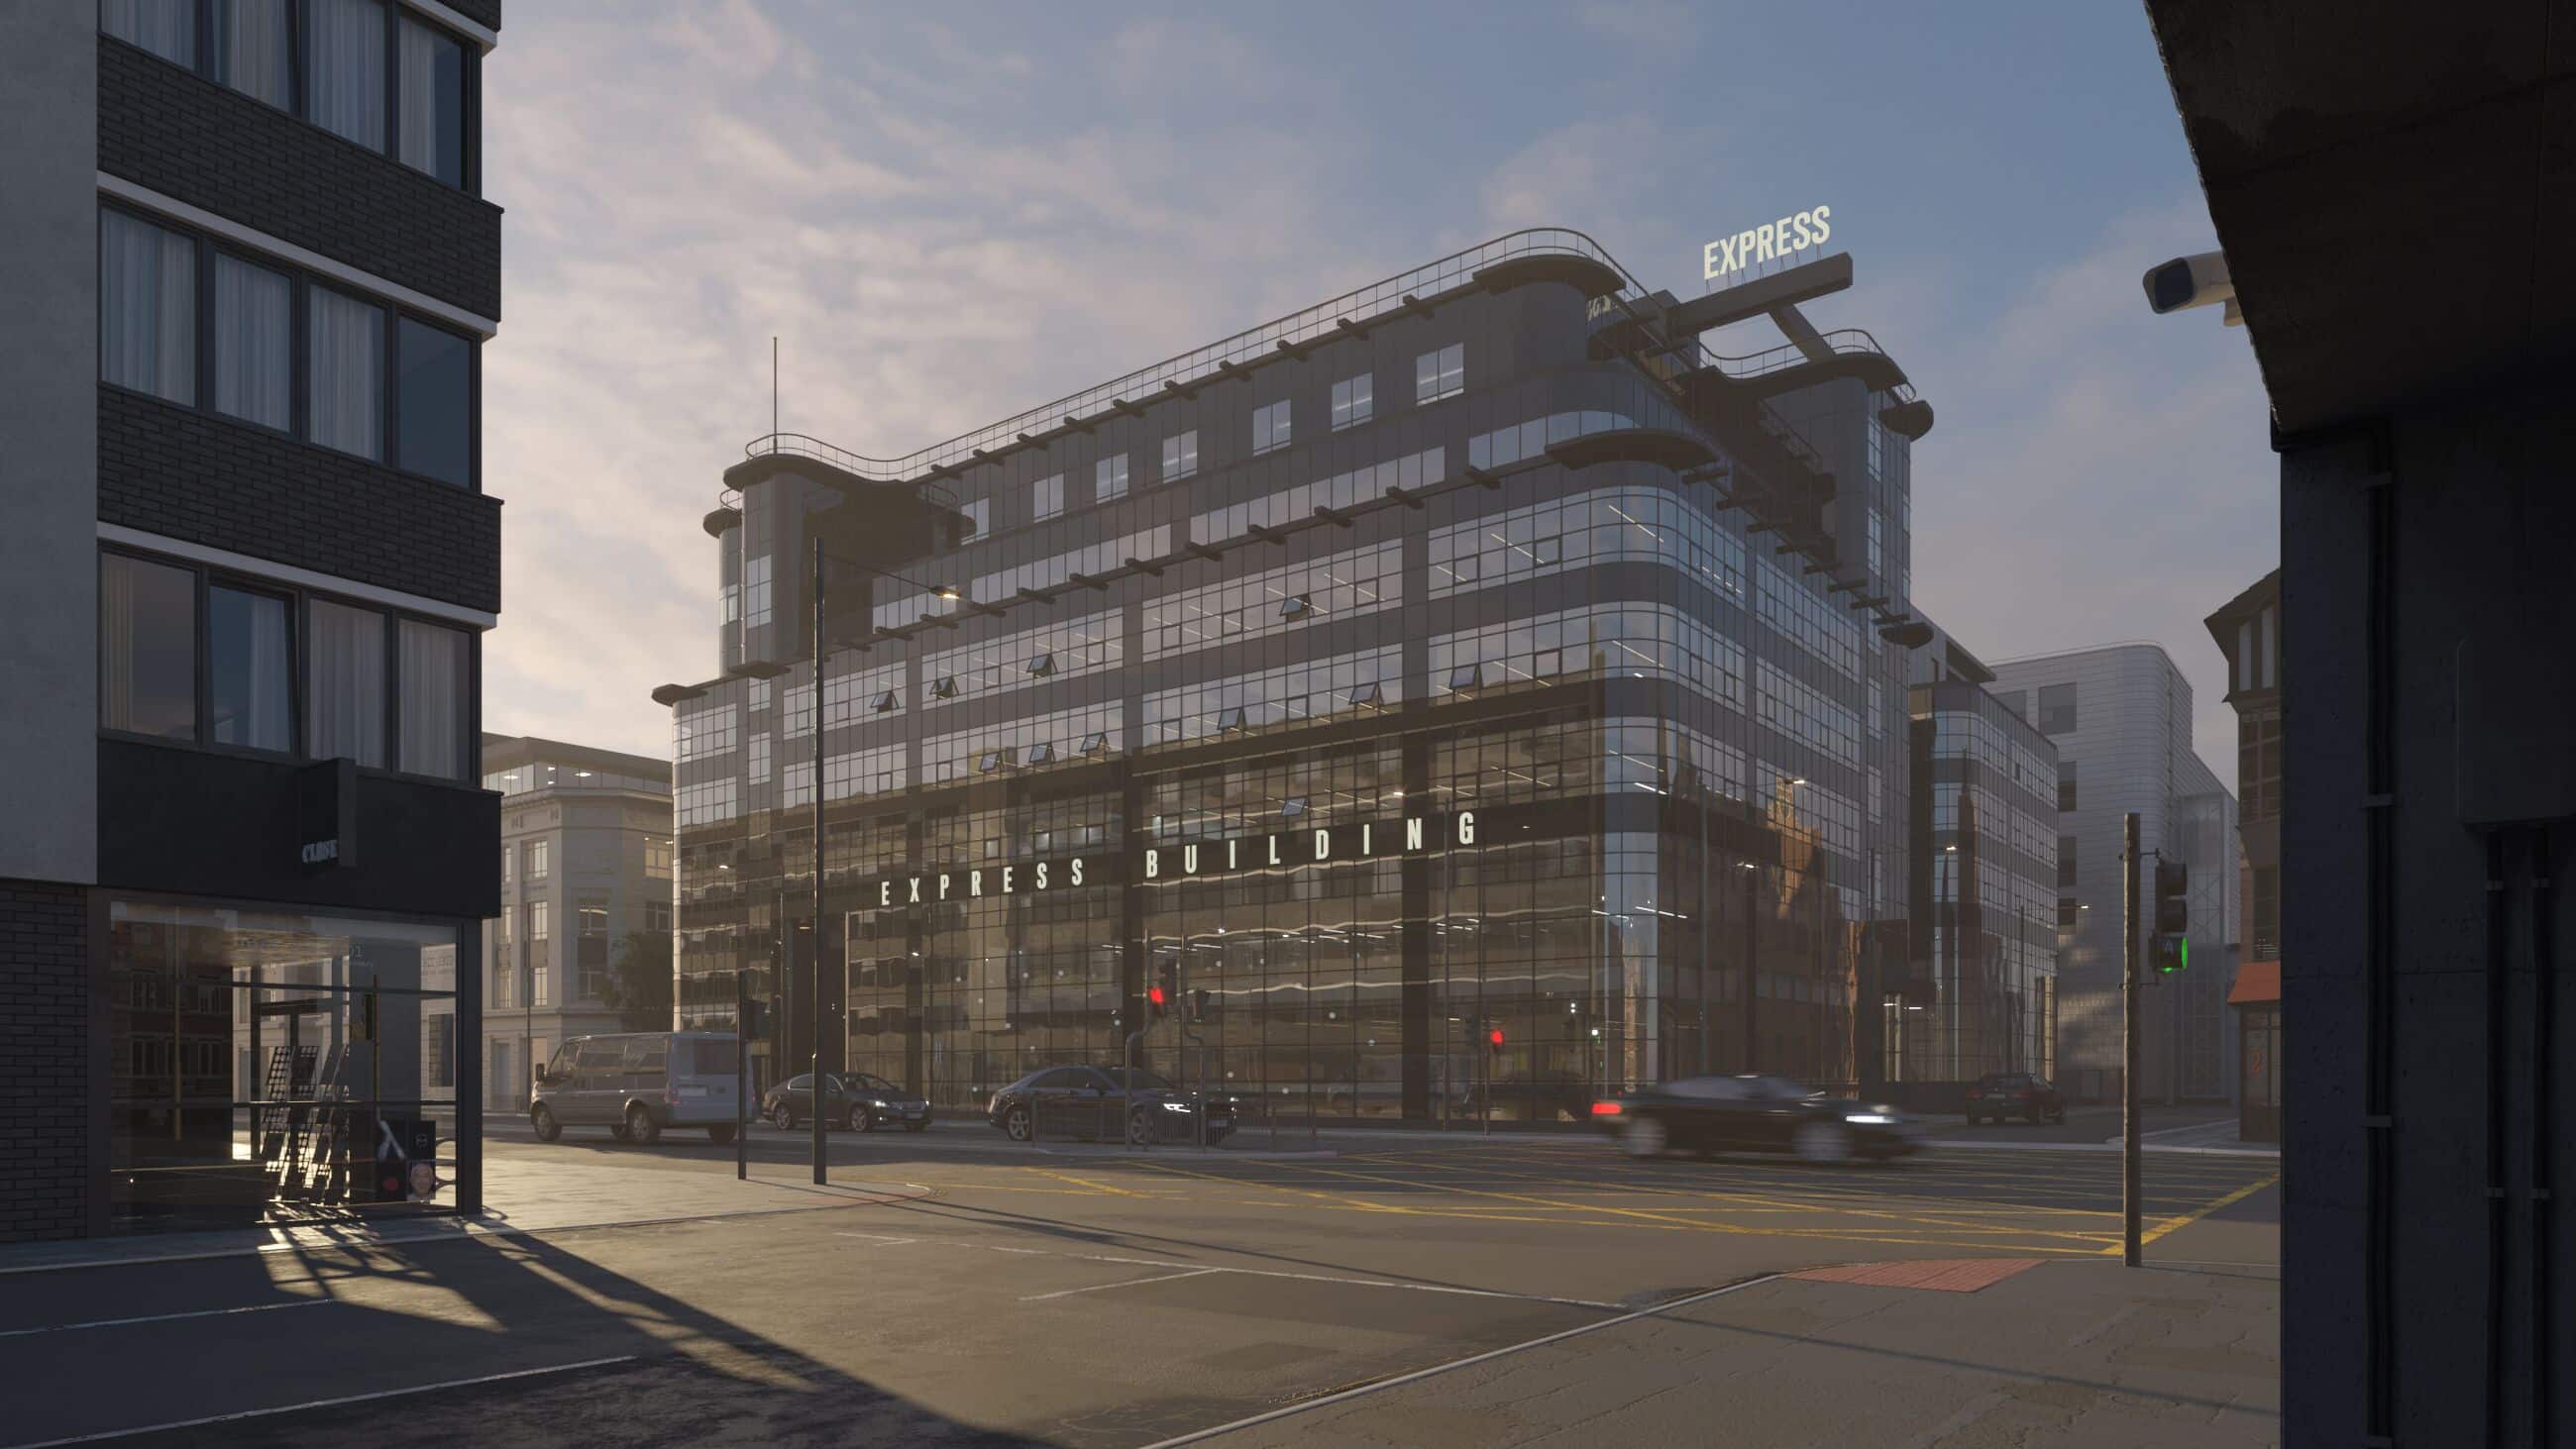
Finally, after testing several lighting options, we got set up, pretty close to the references.
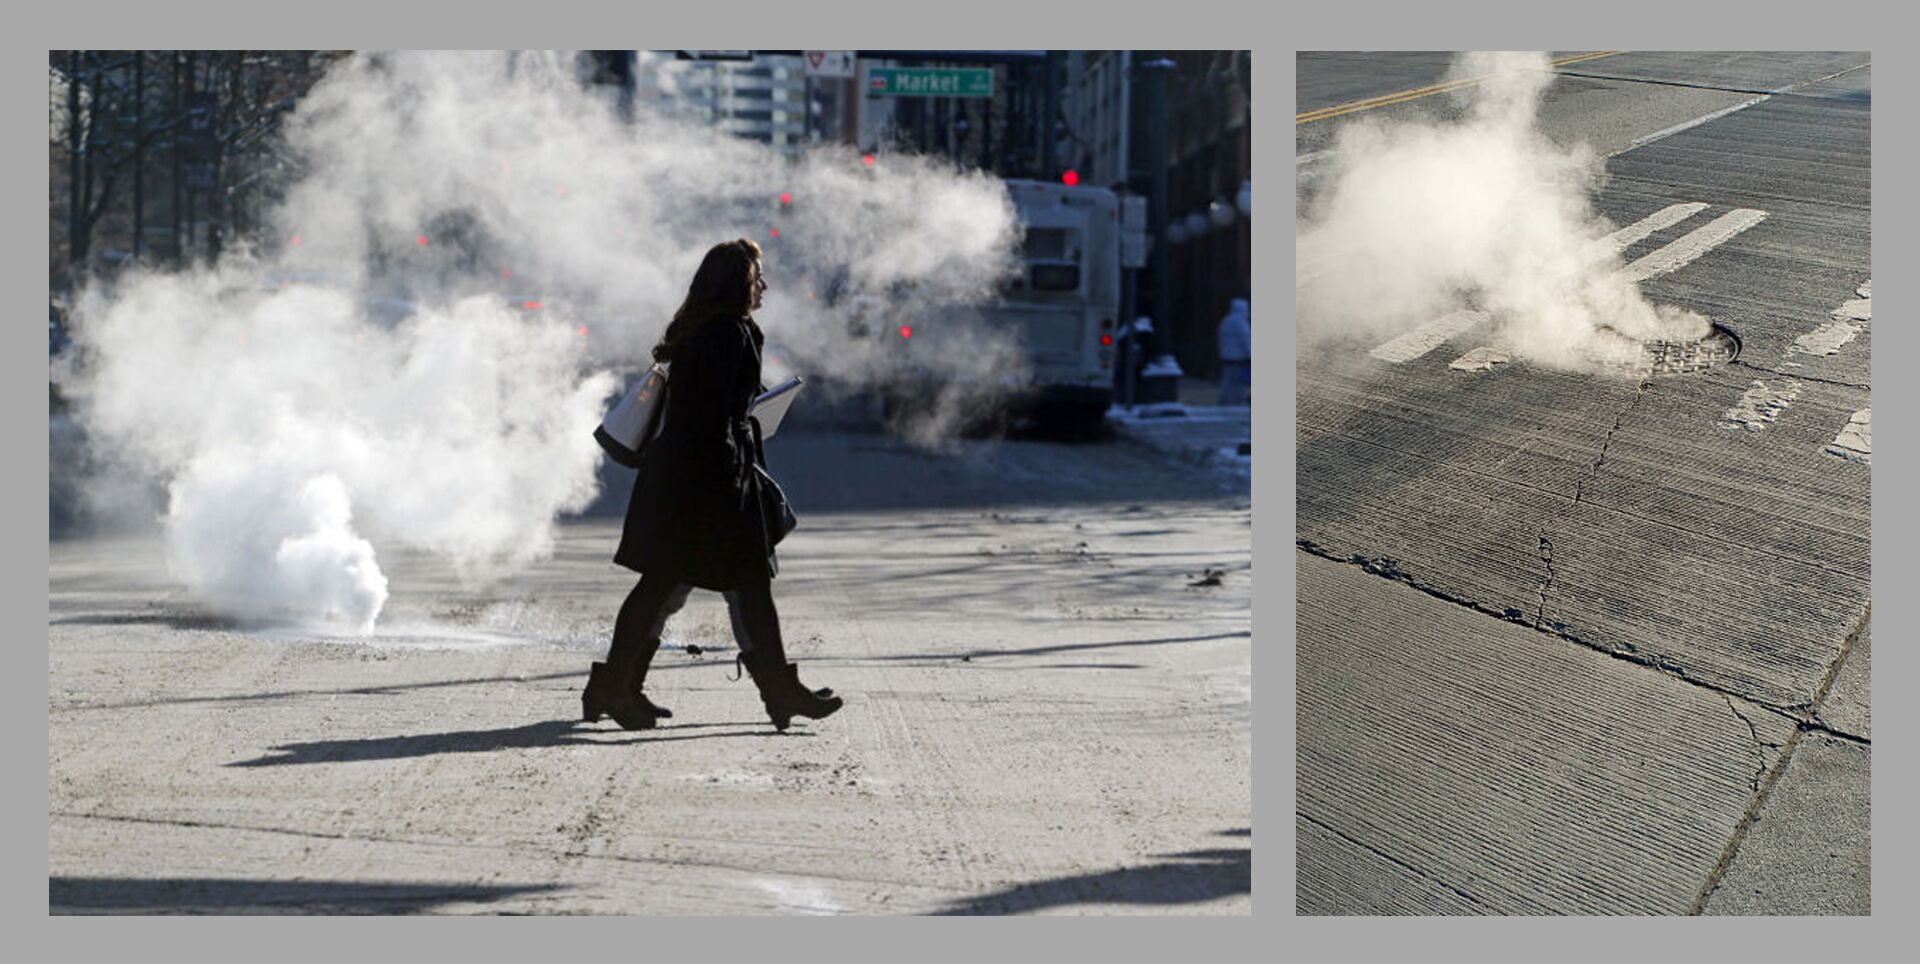
Adding Street Smoke
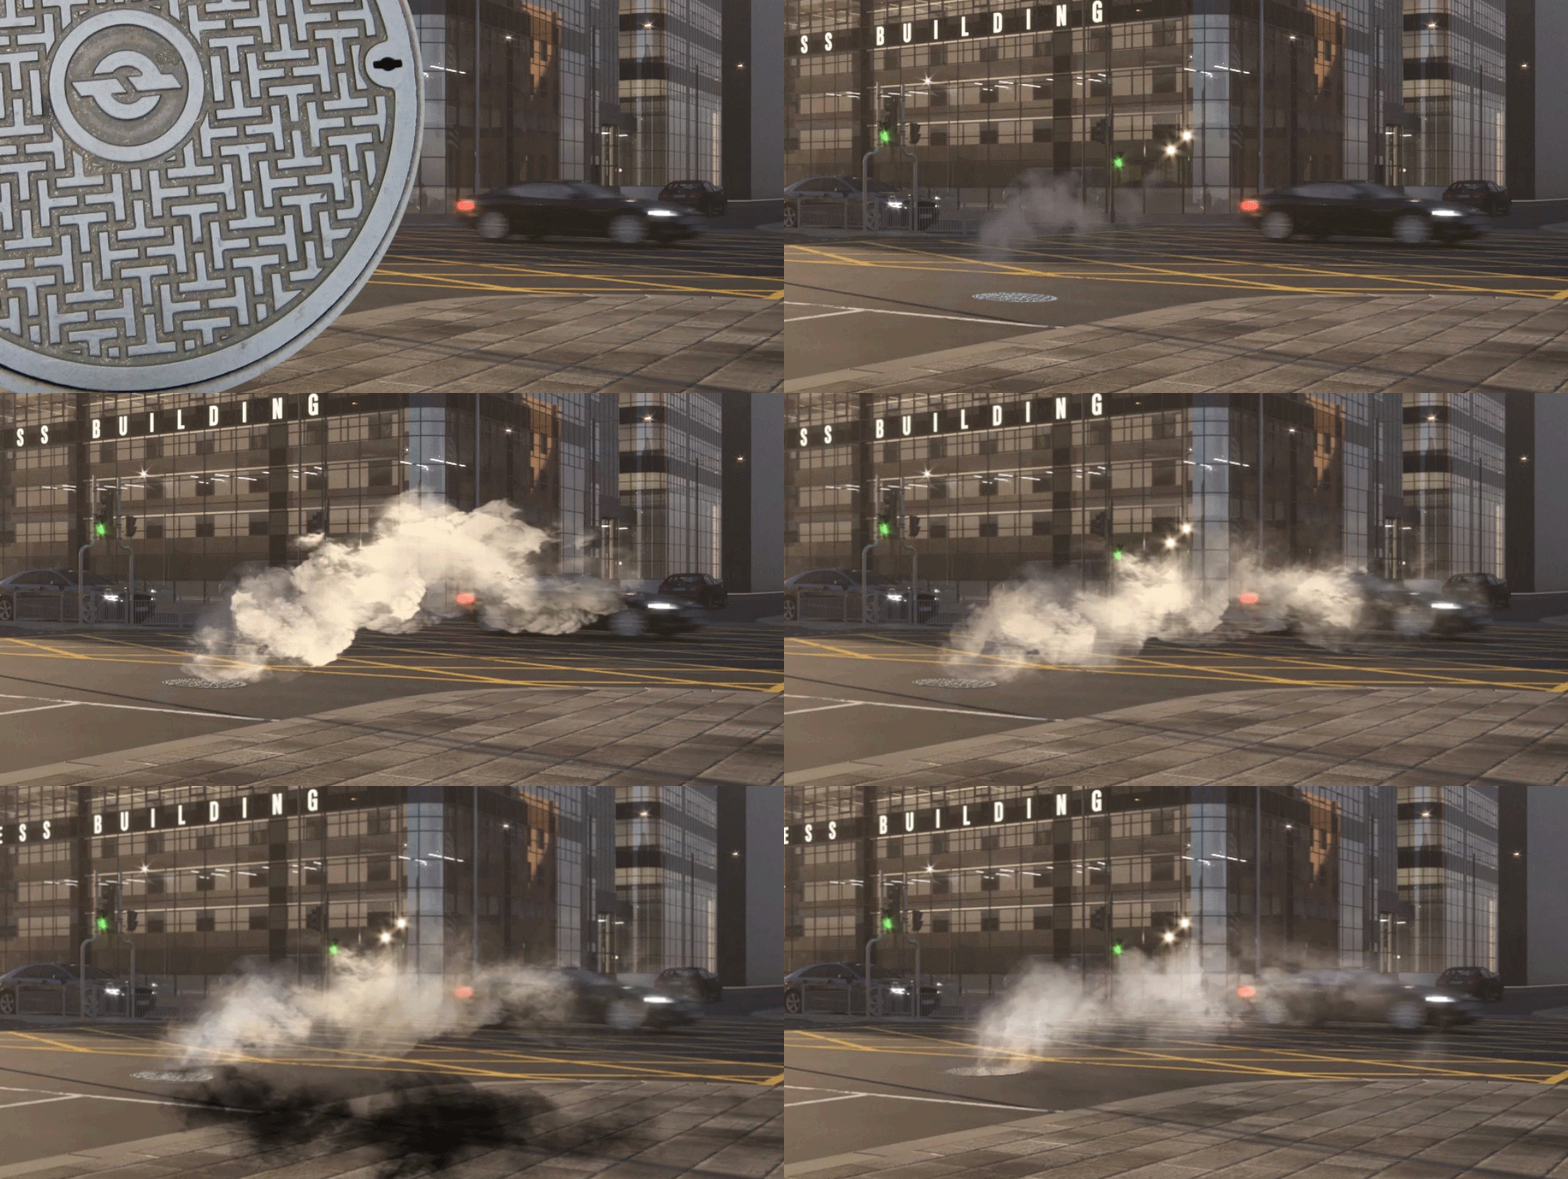
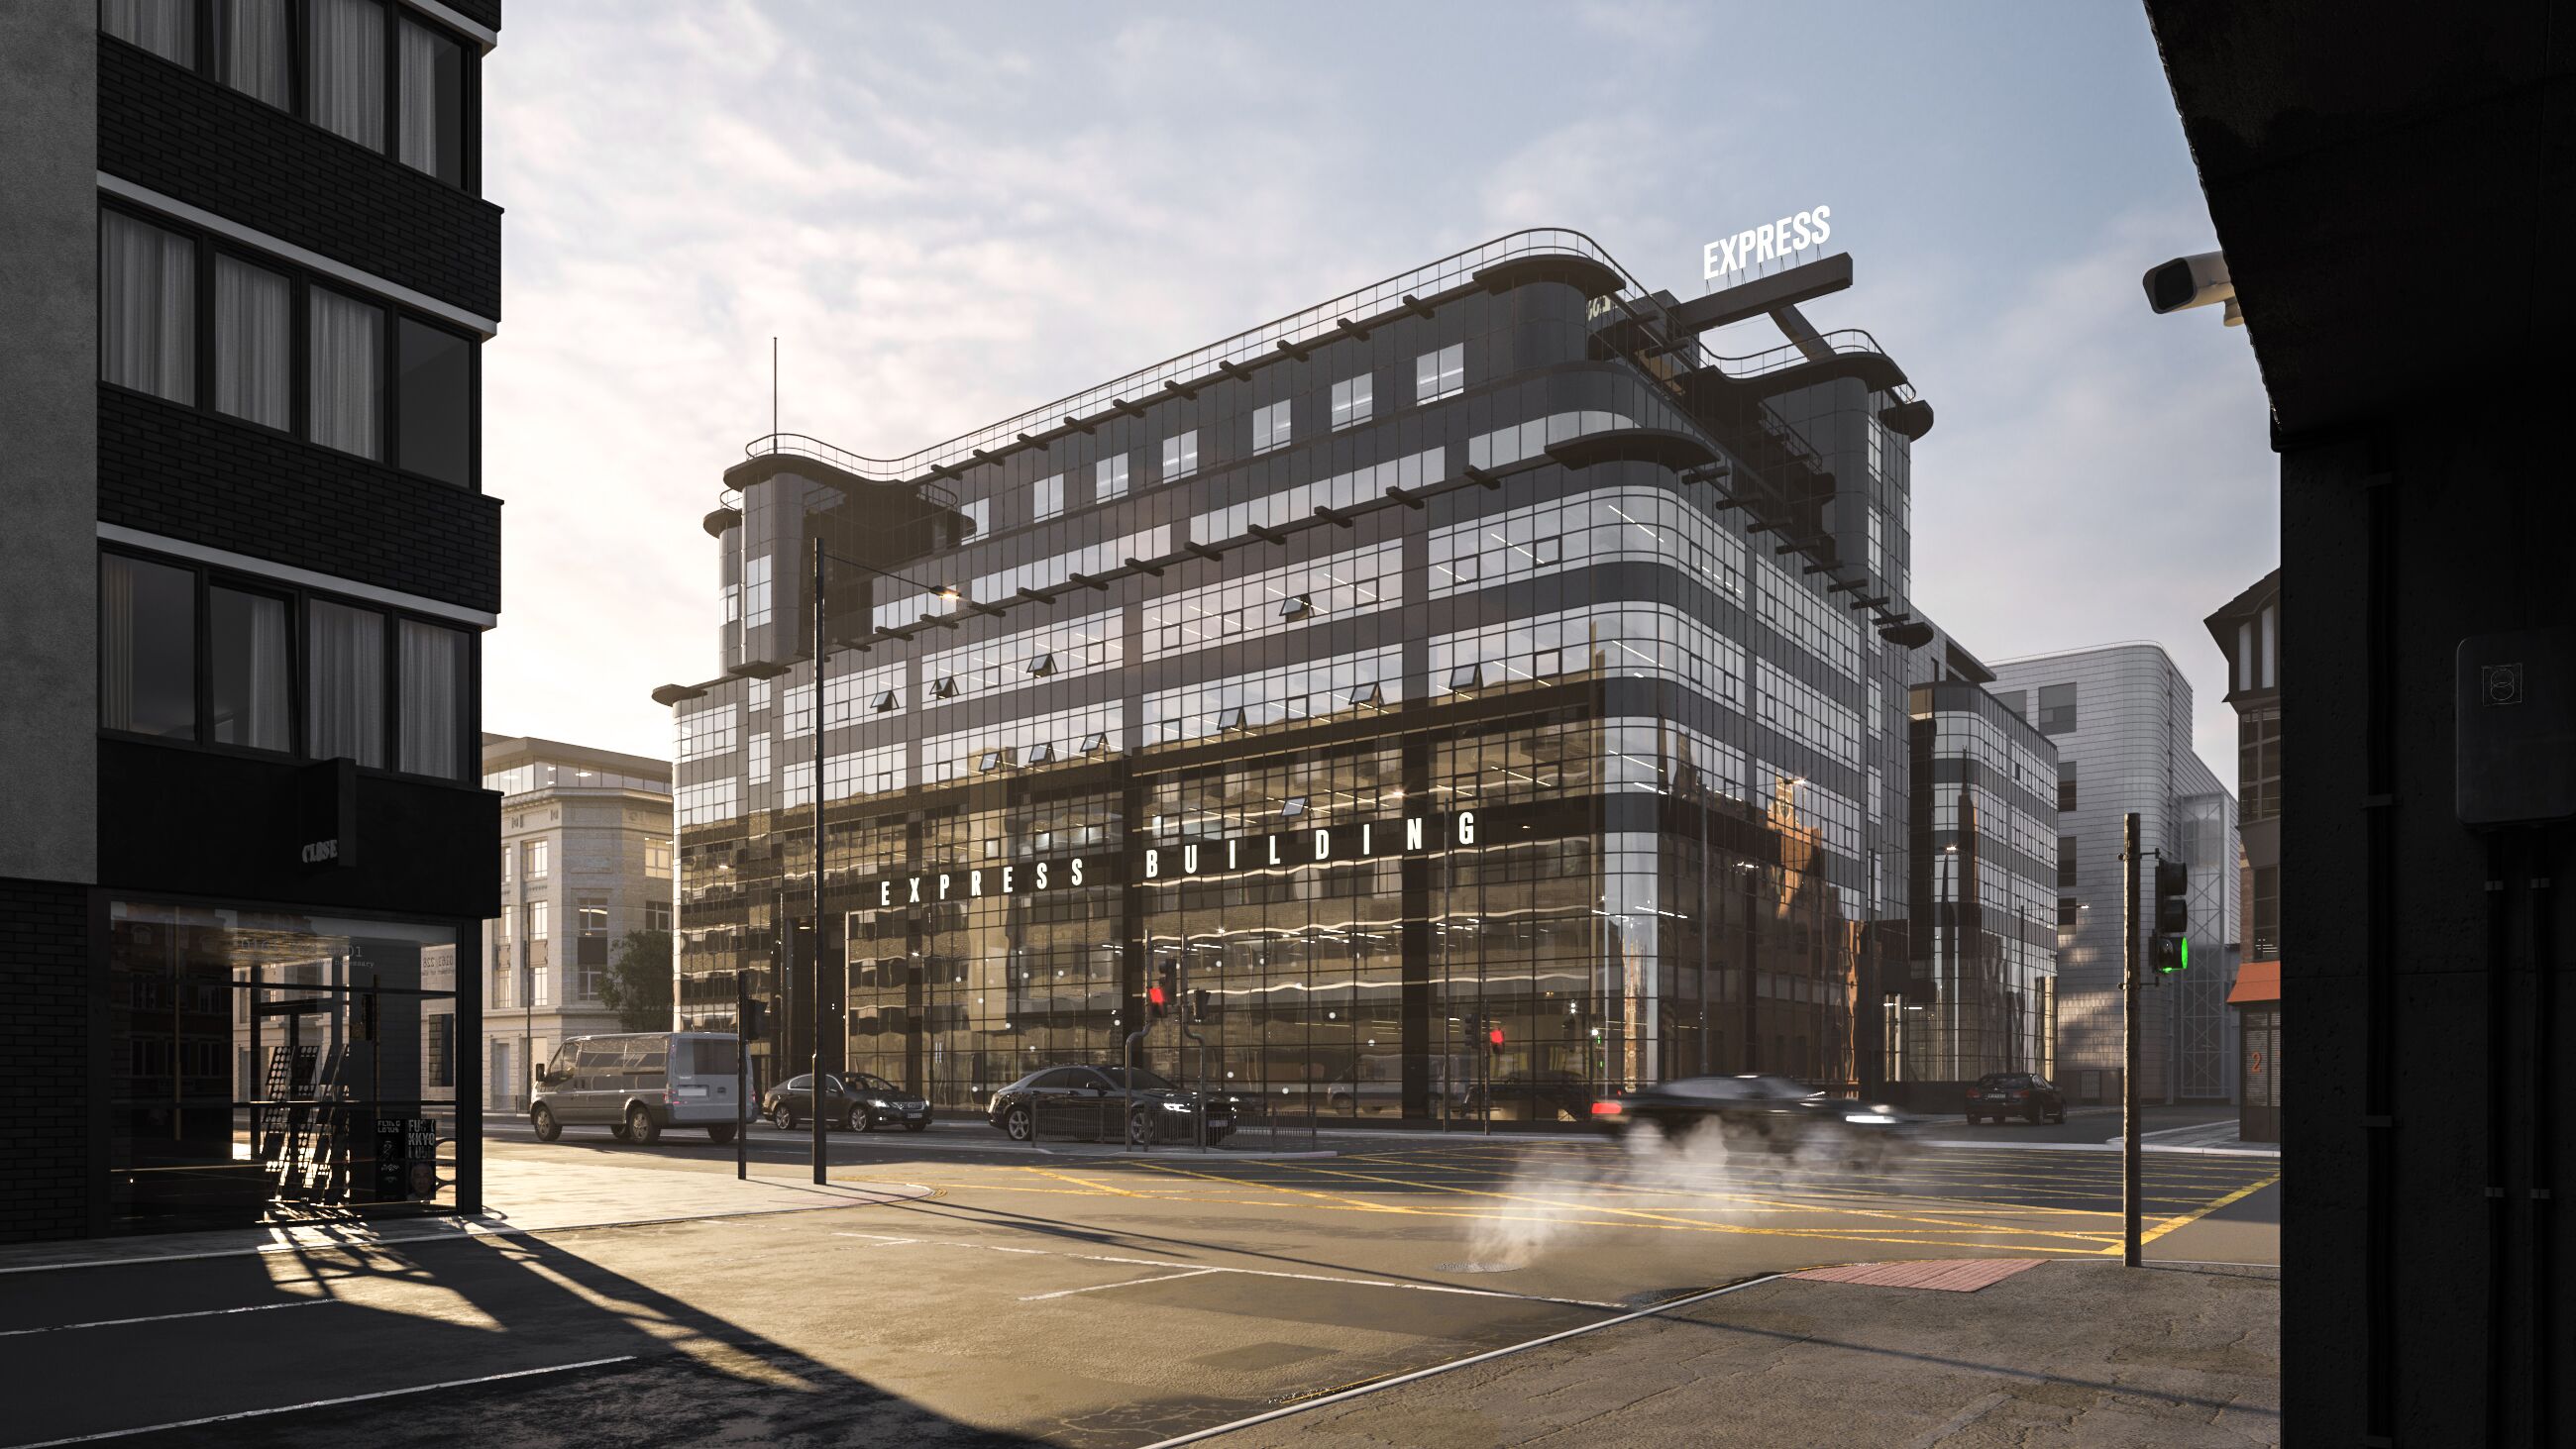
Almost immediately I had an image of a smoking manhole, and I decided that it would perfectly complement the composition and fit into the concept of a fresh morning in Manchester.
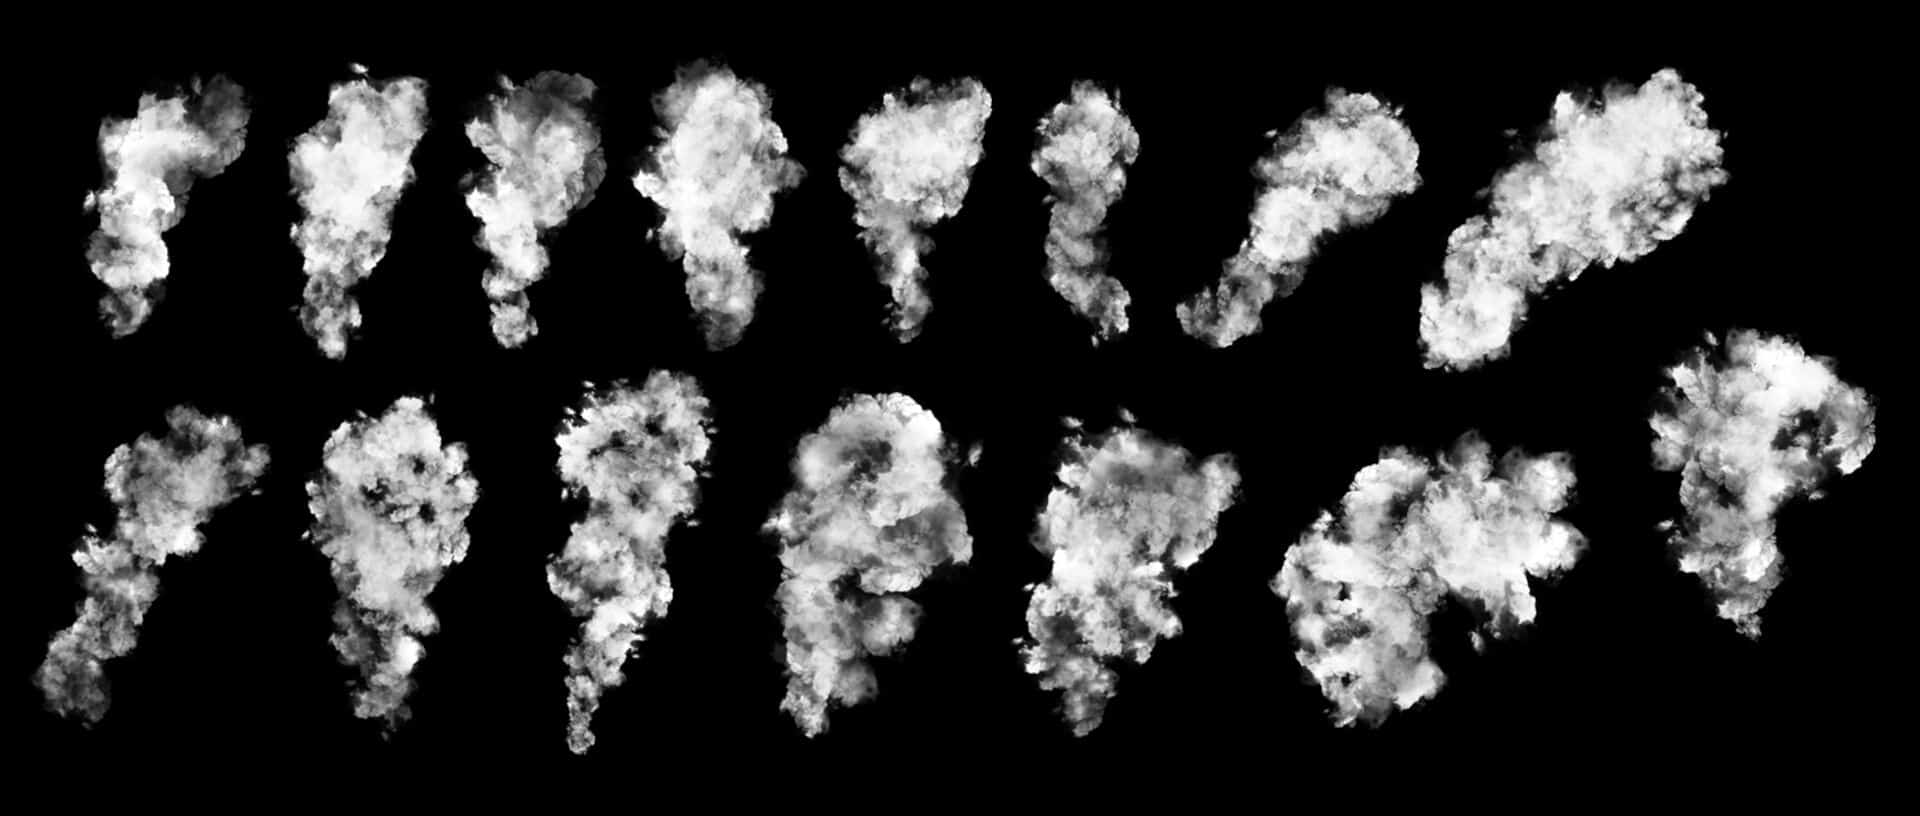
First I just put a plane with smoke texture and opacity map, but then I realized that it would be much faster to create smoke in Photoshop. I used a pretty good set of brushes – Free smoke photoshop brushes 1, which you can download here.
Here’s what I got as a result:
Reflected Sunlight on the Walls
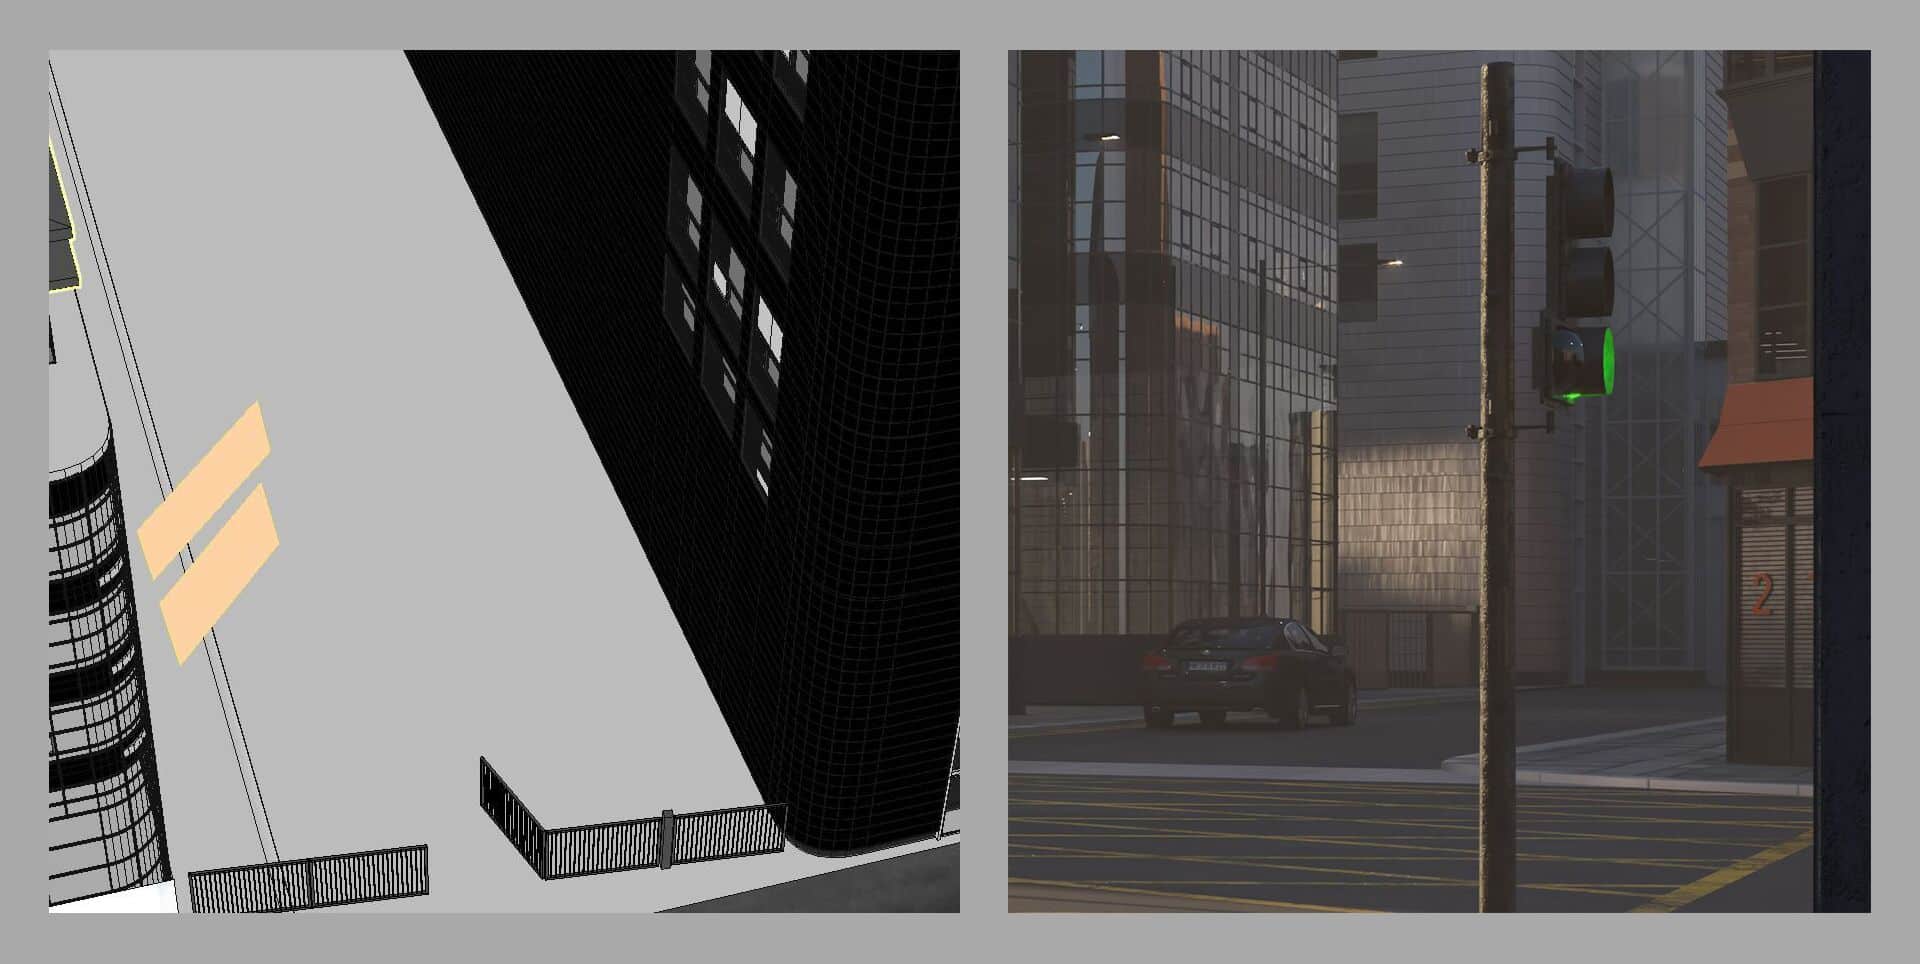
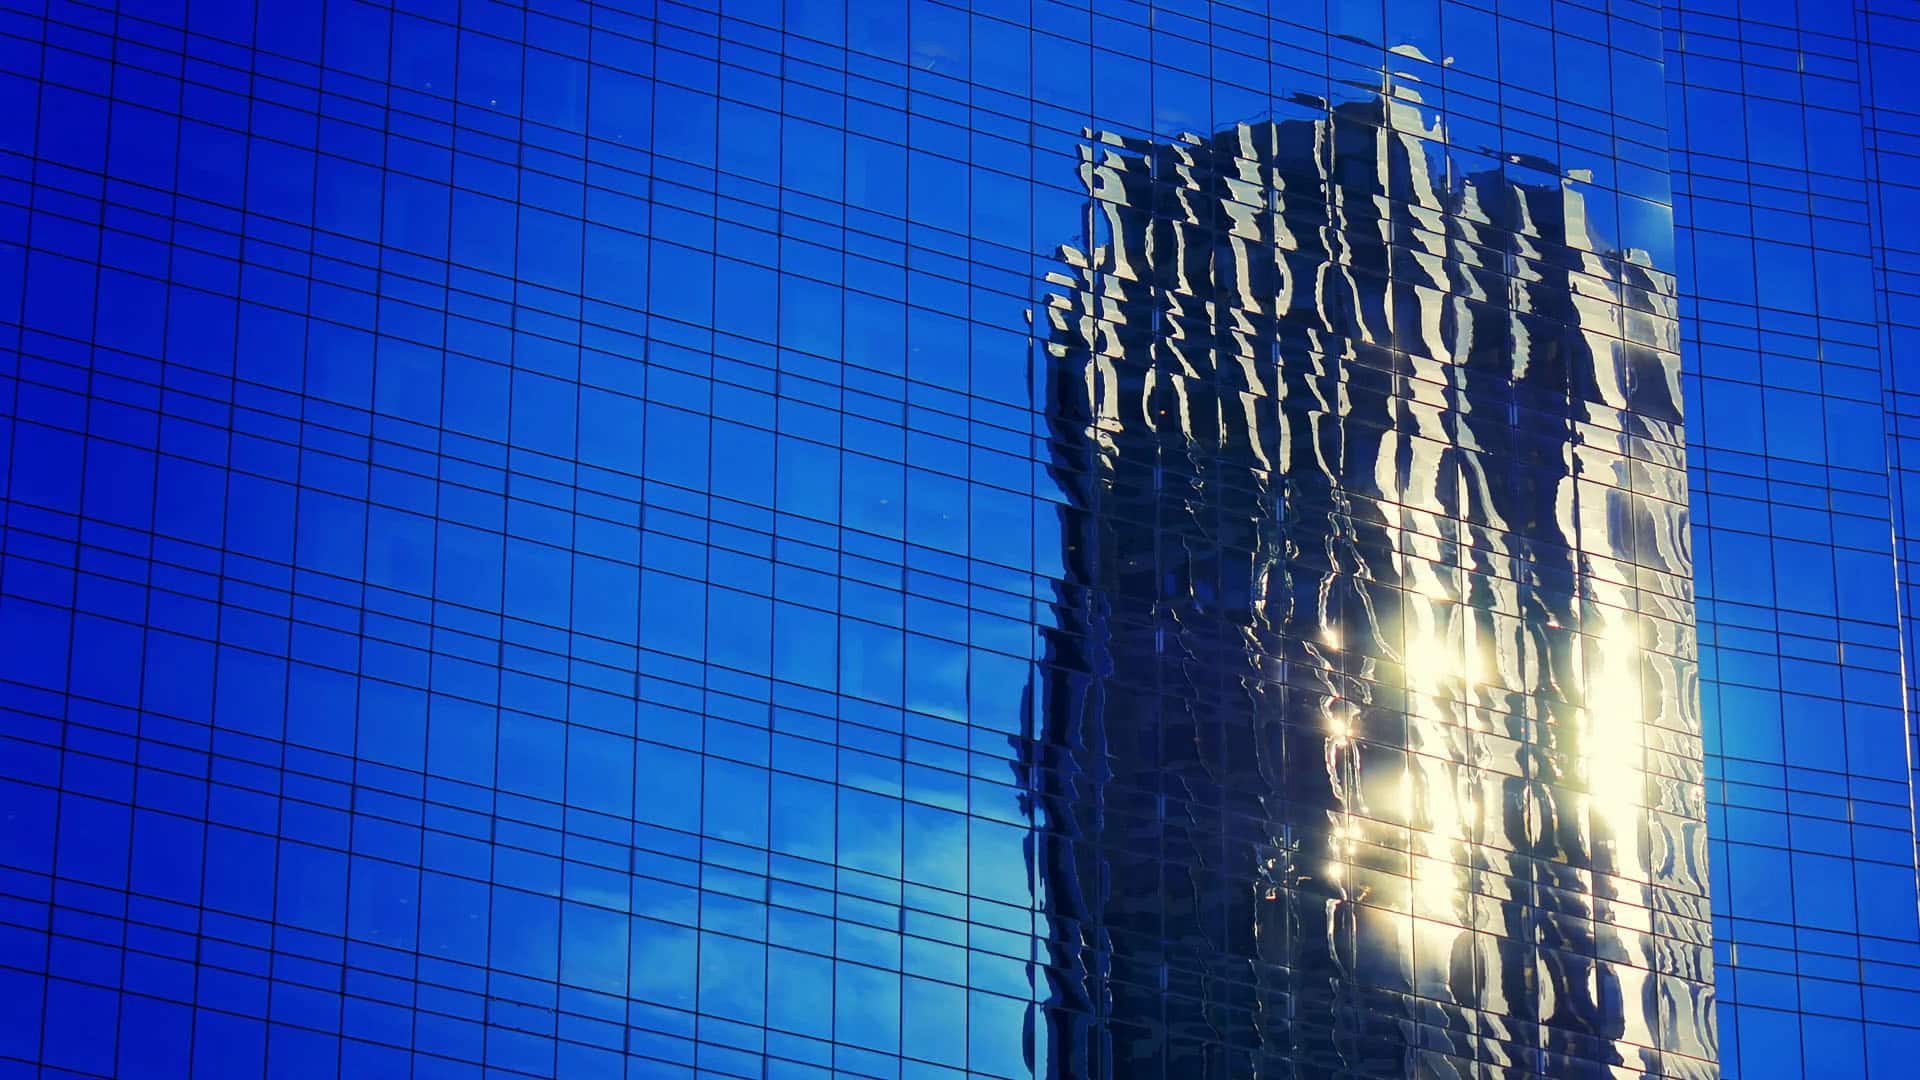
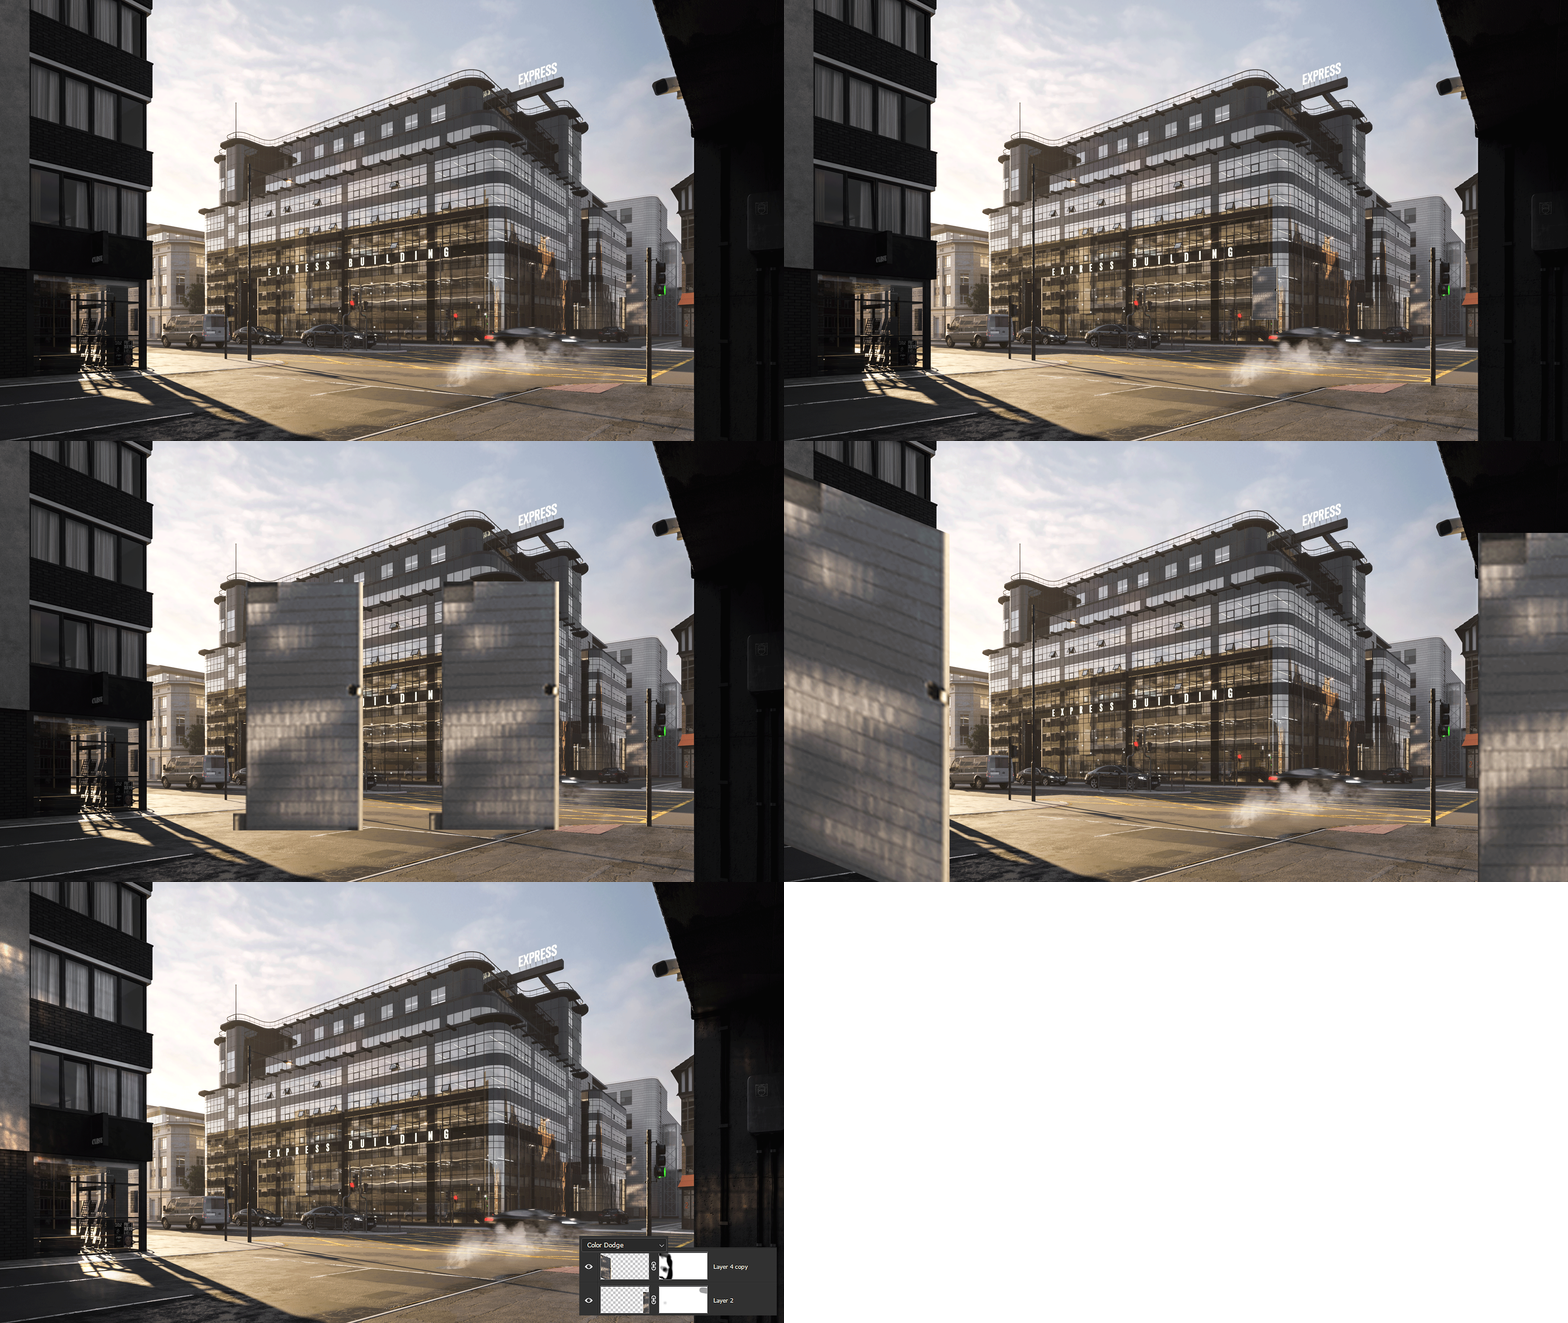
Walking through the streets of the city on sunny days, I often notice reflected sunlight on the walls from the glass of buildings. Sometimes they produce exciting patterns, especially it works well in contrast with dark walls. I tried to reproduce this effect on the wall of the building behind the Express, and I used somewhat fake and not an entirely logical way.
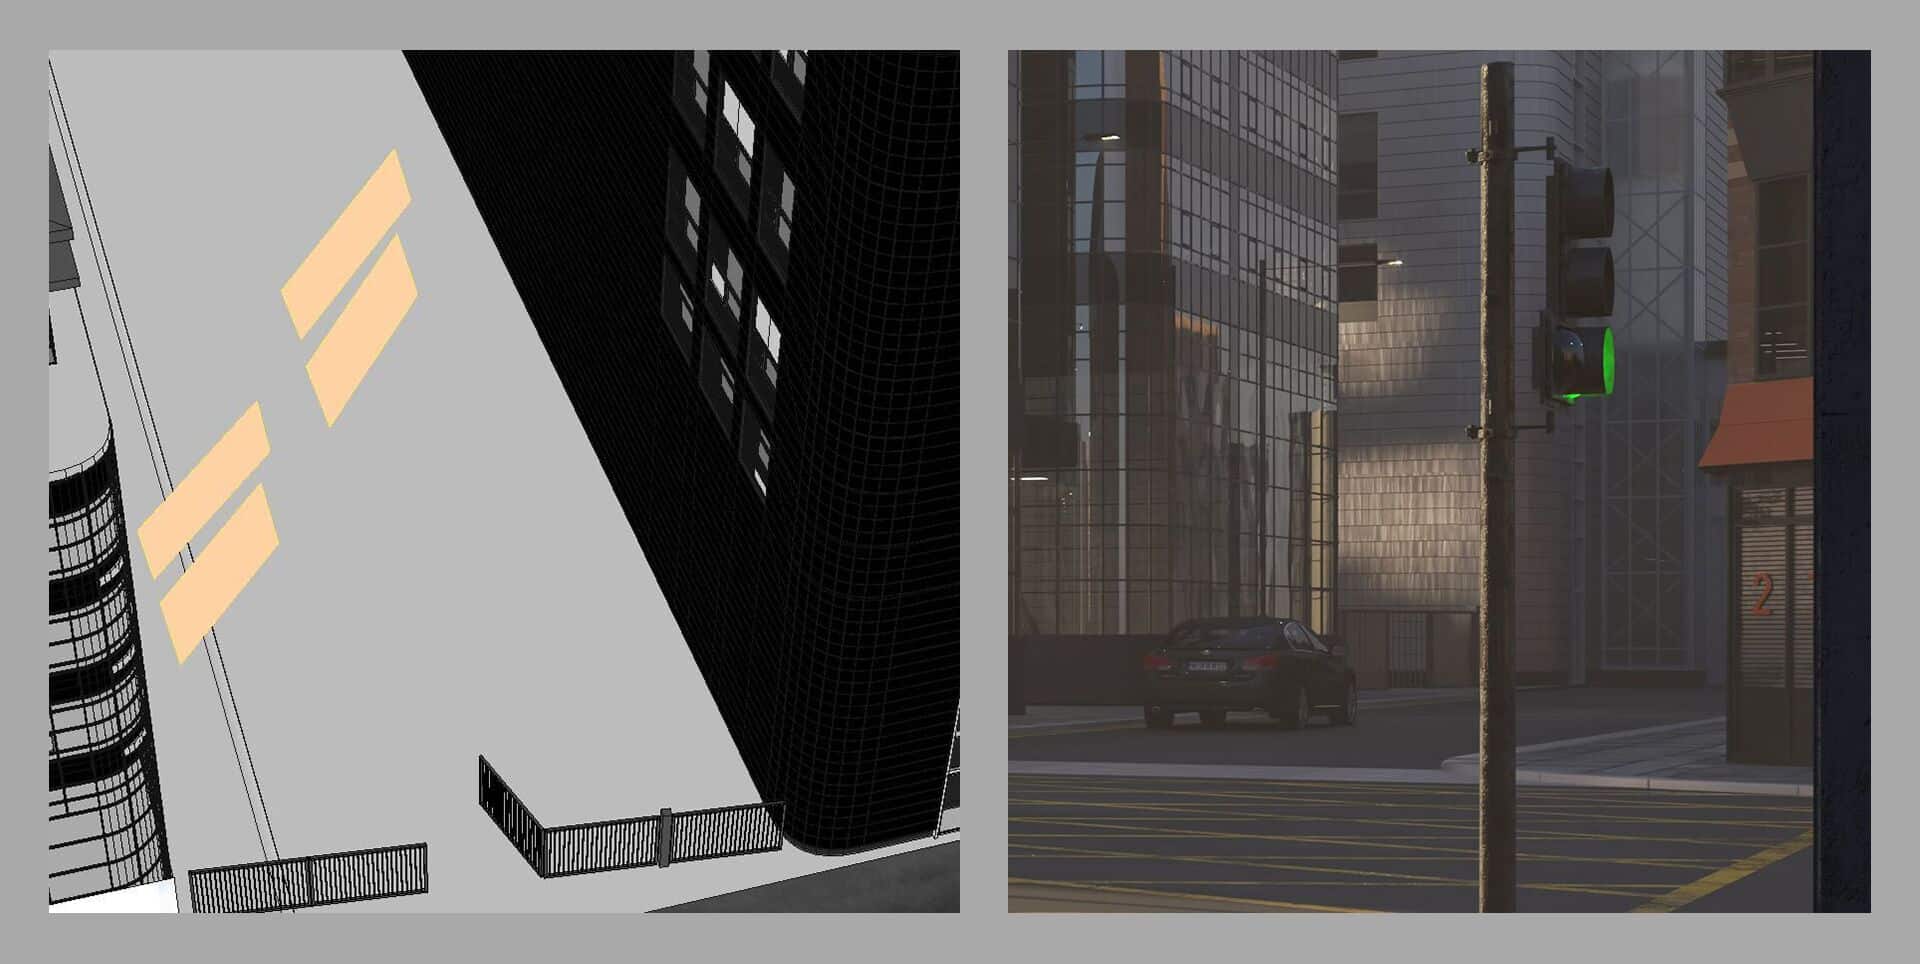
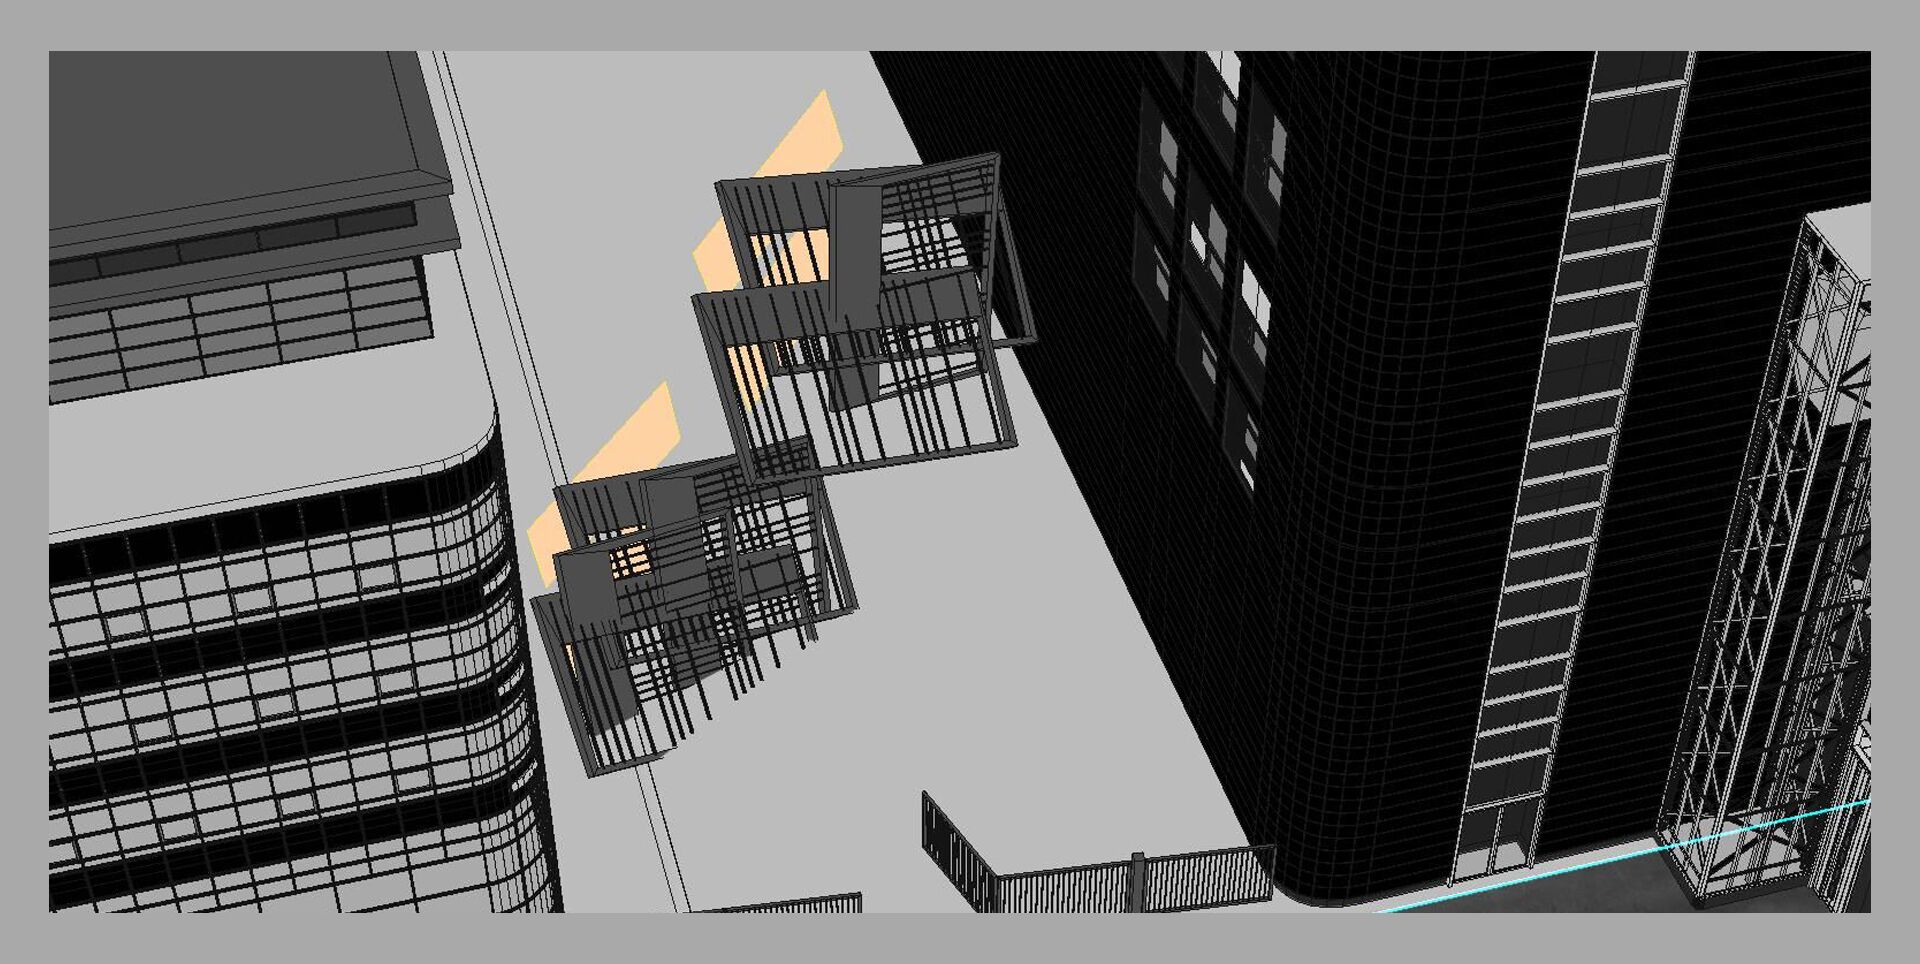
I exposed two plane light sources. There is one crucial parameter – directionality 0.9, and thanks to a directional beam, it allows you to get more obvious light spots.
Then I copied them above.
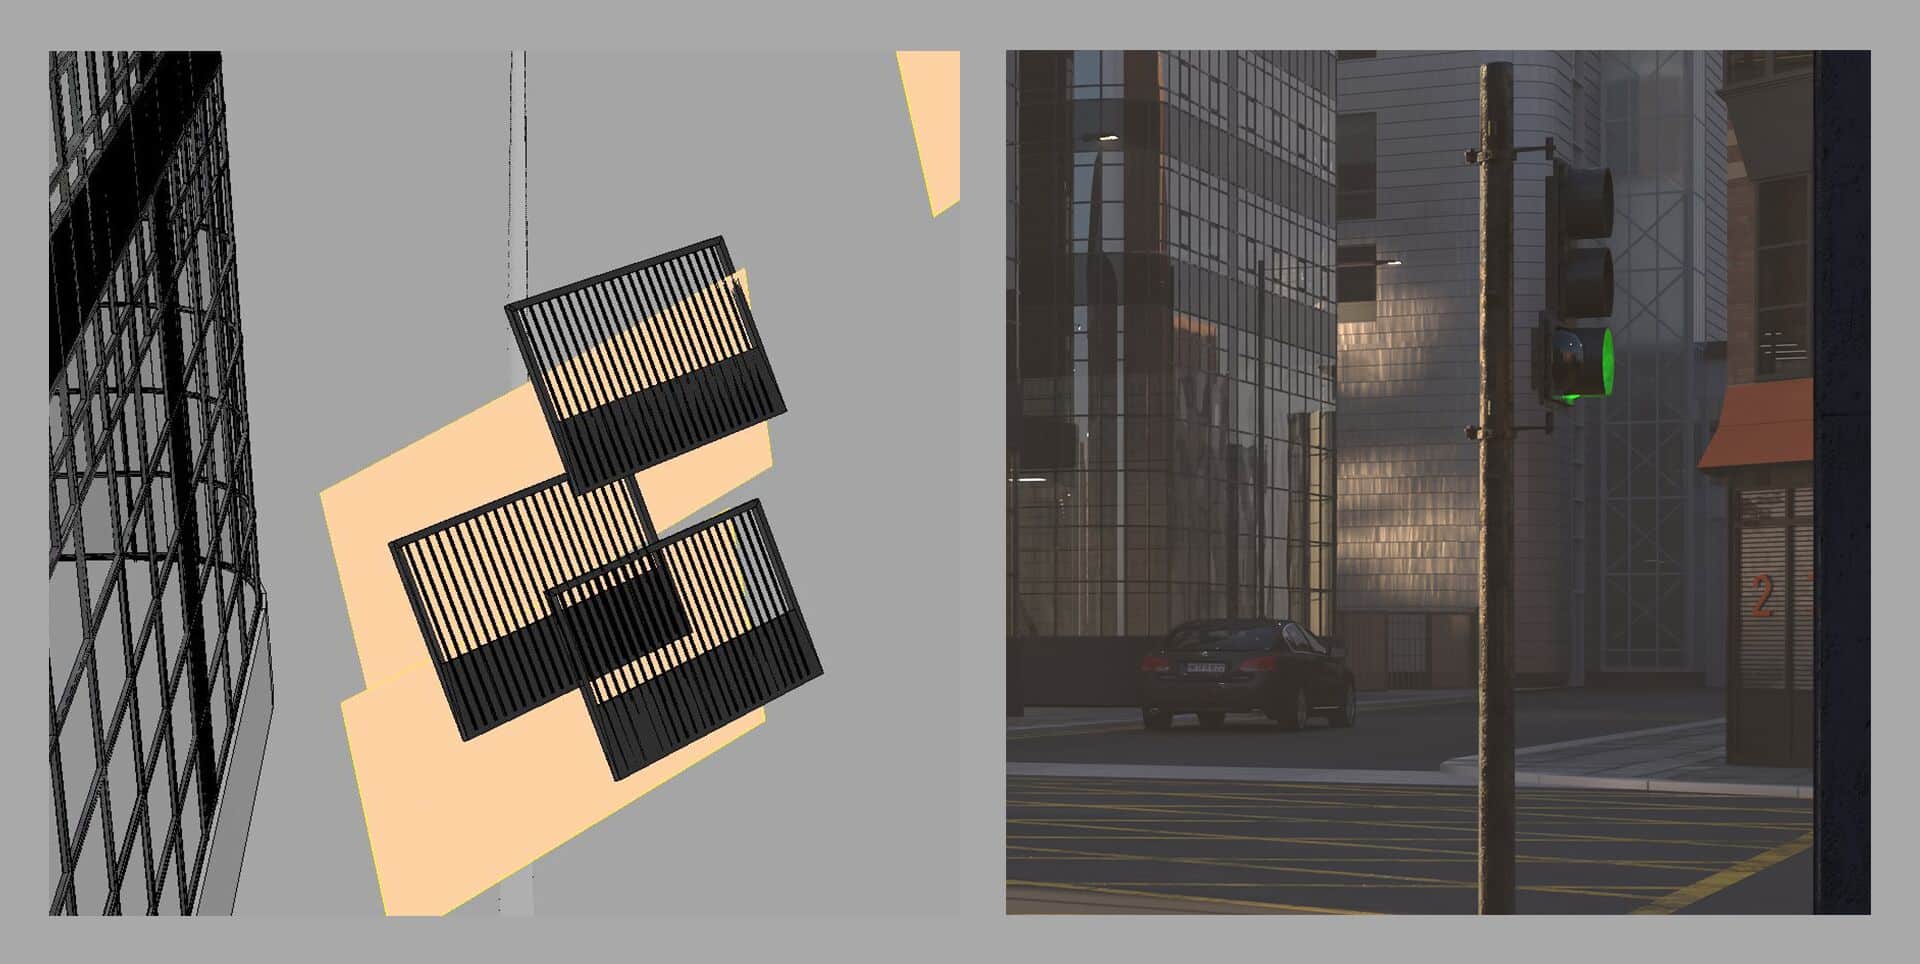
Then I made the bottom frame of the fence more extensive to increase the area of the light source overlap and copied this construction several times.
After a series of tests of the location of all the elements, the following construction was obtained:
Of course, It looks a bit strange, but as a result, I got an effect, which I was trying to achieve.
With this example, I want to show that it doesn’t matter what tricks you use to get the desired result. We are artists and can experiment boldly, can try not apparent tools and the results can surprise you a lot.
Windows Curvature
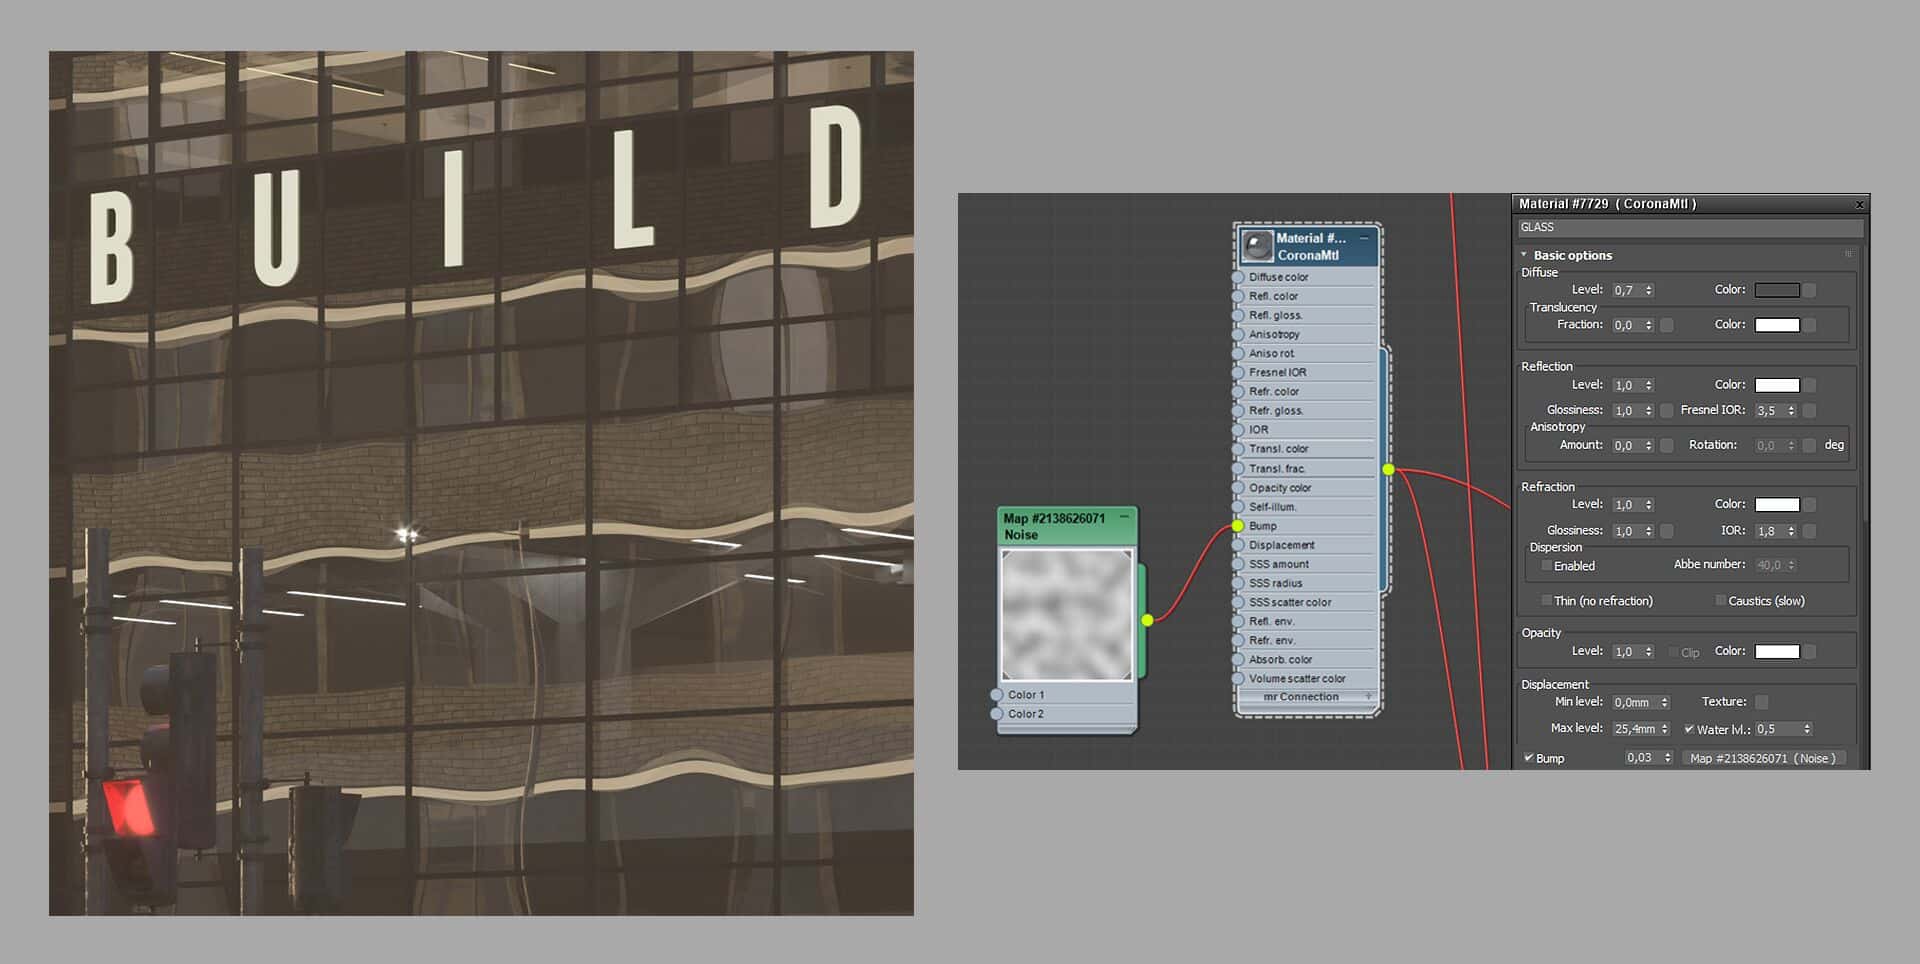
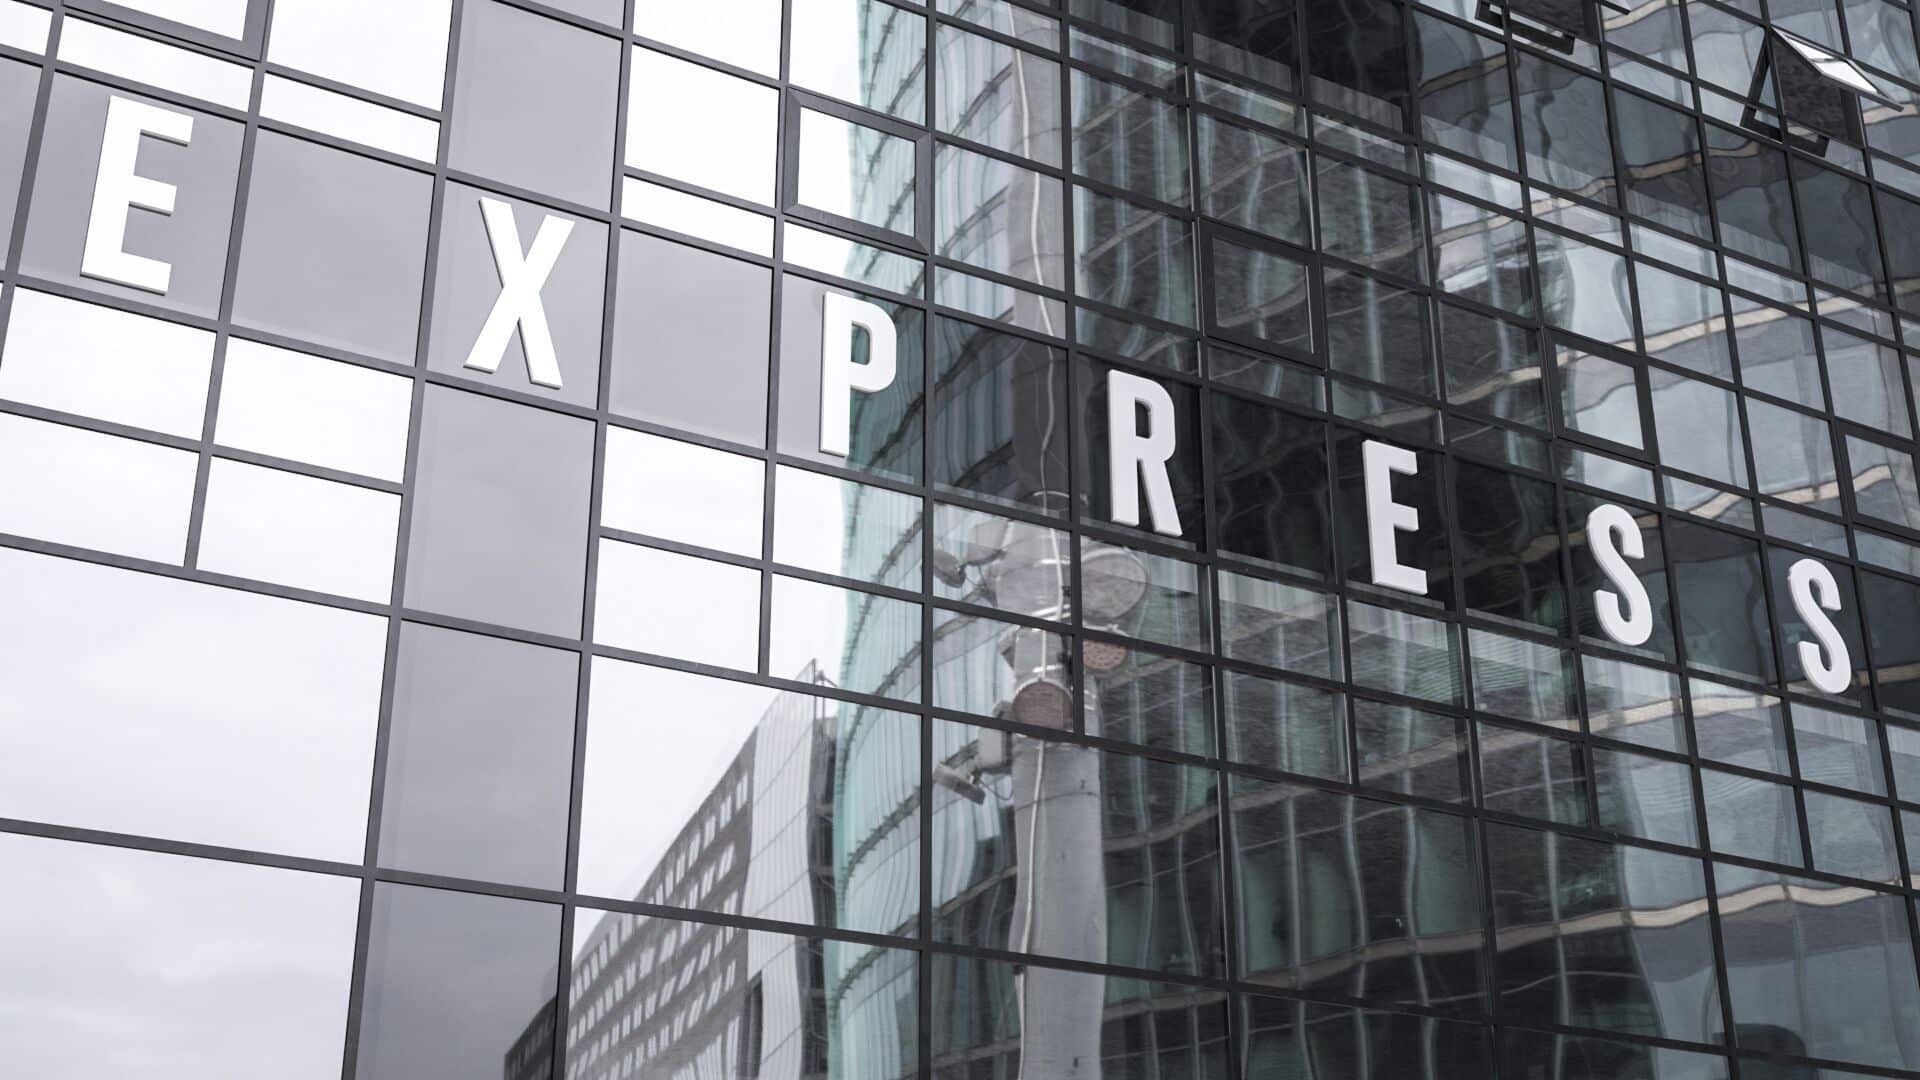
As you can see in the reference, the windows are not perfectly flat, they have curvature. So we need to add a noise map to the bump slot. A small value like 0.03 is enough. Ideally, I should have made UVW for each glass individually, but I was satisfied with the look of the facade, and I didn’t do it. Of course, in the case of a closer view, it is worth to pay more attention to it.
Also, I strengthened the glass reflectivity by setting the value of Fresnel IOR to 3.5.
Next, I will briefly describe the order of the actions of rendering glazing for close angles, so that it looks more realistic.
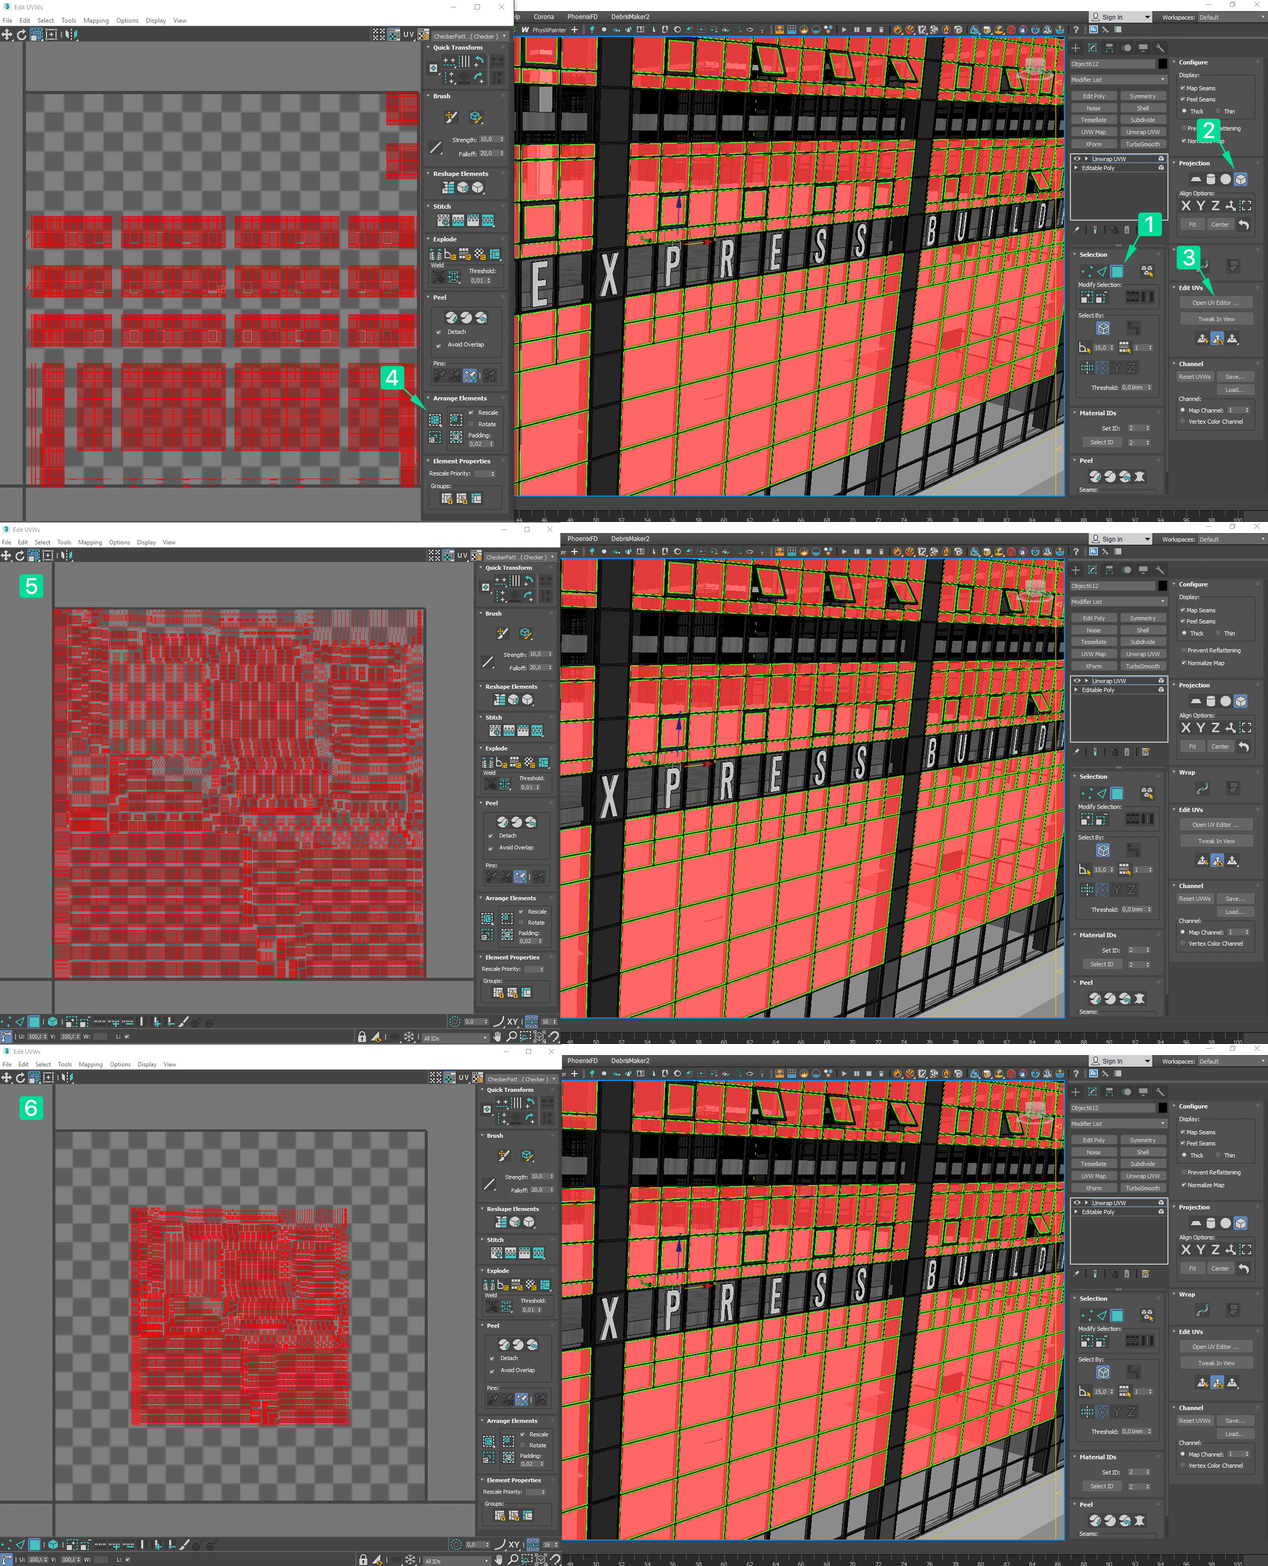
First of all, add the Unwrap UVW modifier to the glass.
- Select all polygons.
- Projection – Box Map.
- Open UVW Editor.
- Then click Pack: Custom, to arrange all polygons evenly over the area of the sweep.
- Then we reduce the scale a little so that the curvatures are not too small
Another important point: although I used the noise map for the previous case, now it is essential to translate it into a simple image when we create a sweep, otherwise UVW unwrap will not have any effect. To do this, select the noise card in the Material editor / click on the top toolbar Tools – Render Map / set the resolution of the image and press Render. Connect the resulting image to the Noise slot.
You can see the result below. Each window has its own UVW mapping. Due to this, curvatures have offsets on the window frames and don’t go as one total curved reflection.
Post-production
This is the RAW render.
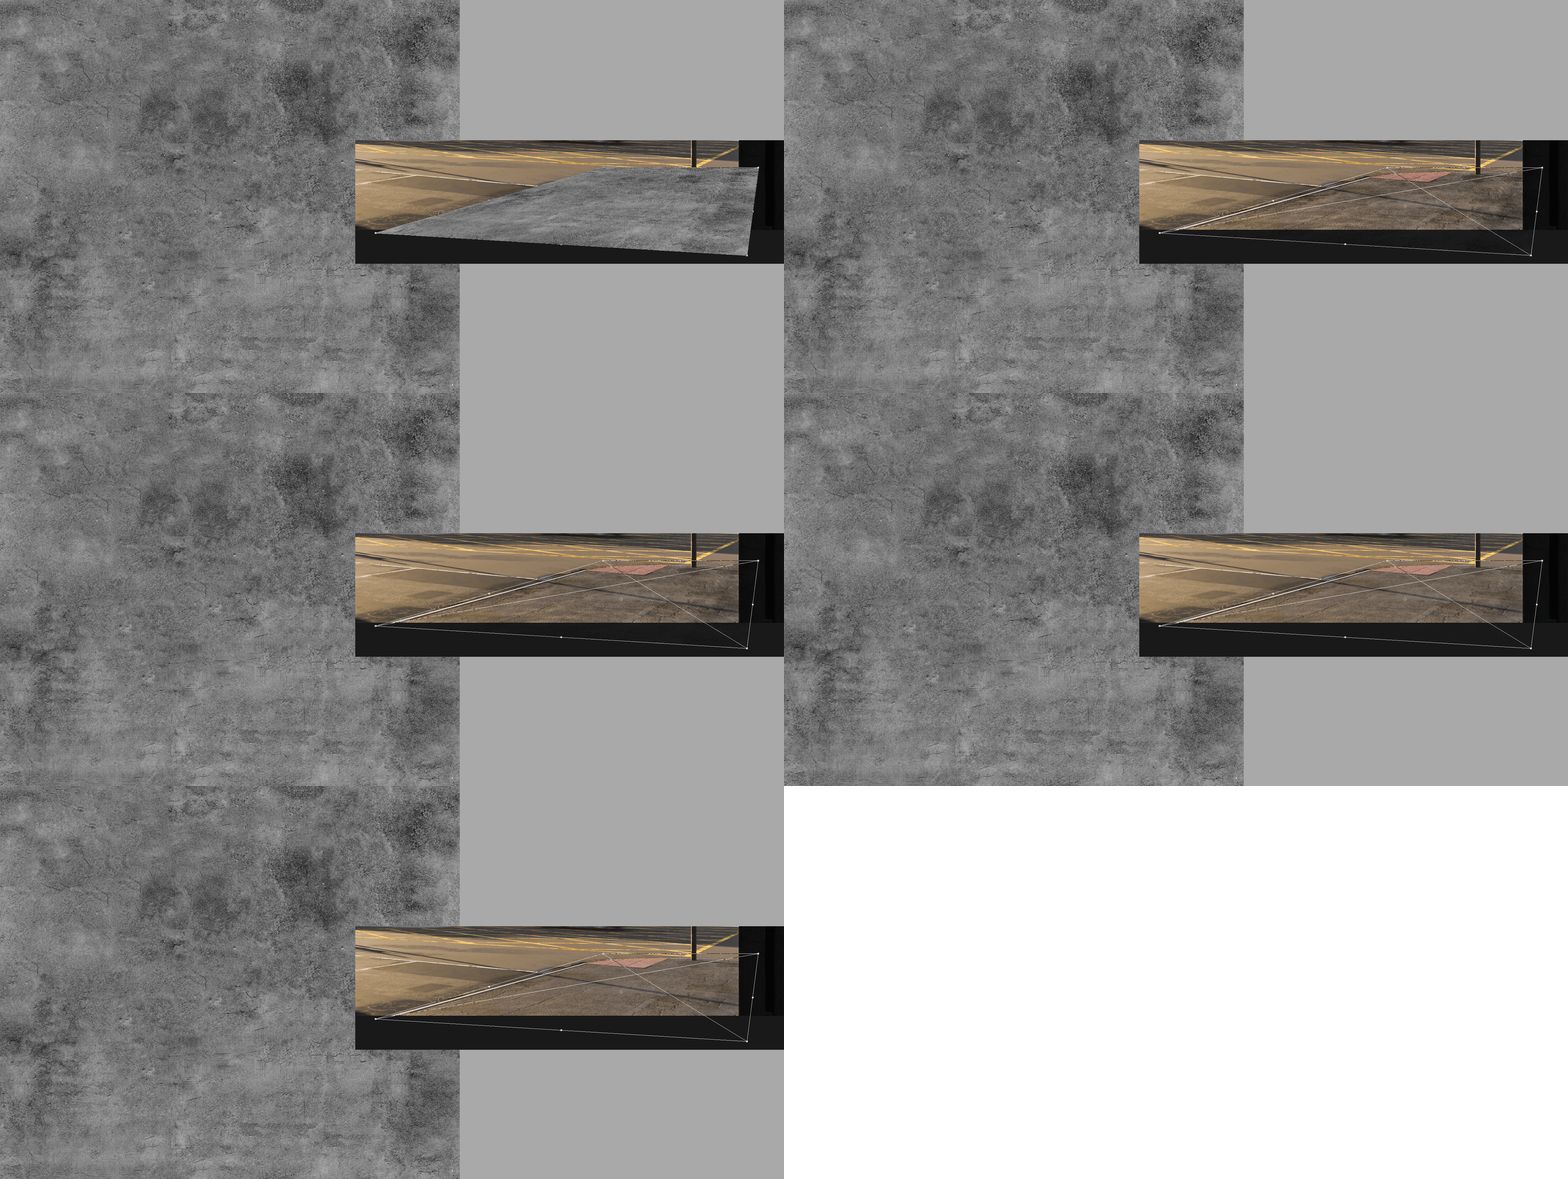
Usually, the first thing I do is a converting the raw render layer into a smart object and make the initial adjustments in the Camera Raw Filter. Next, I worked a little on the sidewalk in the foreground (I removed the tiling of the texture in several places and overlaid the texture of concrete to add a bit more realism to it).
Then I selected and made buildings around the edges of the image a bit darker to create an accent on the main building with the help of this contrast. Also, I added a manhole with smoke.
Further interesting point: the dark walls on the left and on the right look rather dull, I copied the region with flecks of sunlight, which we reviewed earlier, and placed them on top with the Color dodge overlay mode. After that, I used a mask to slightly soften them.
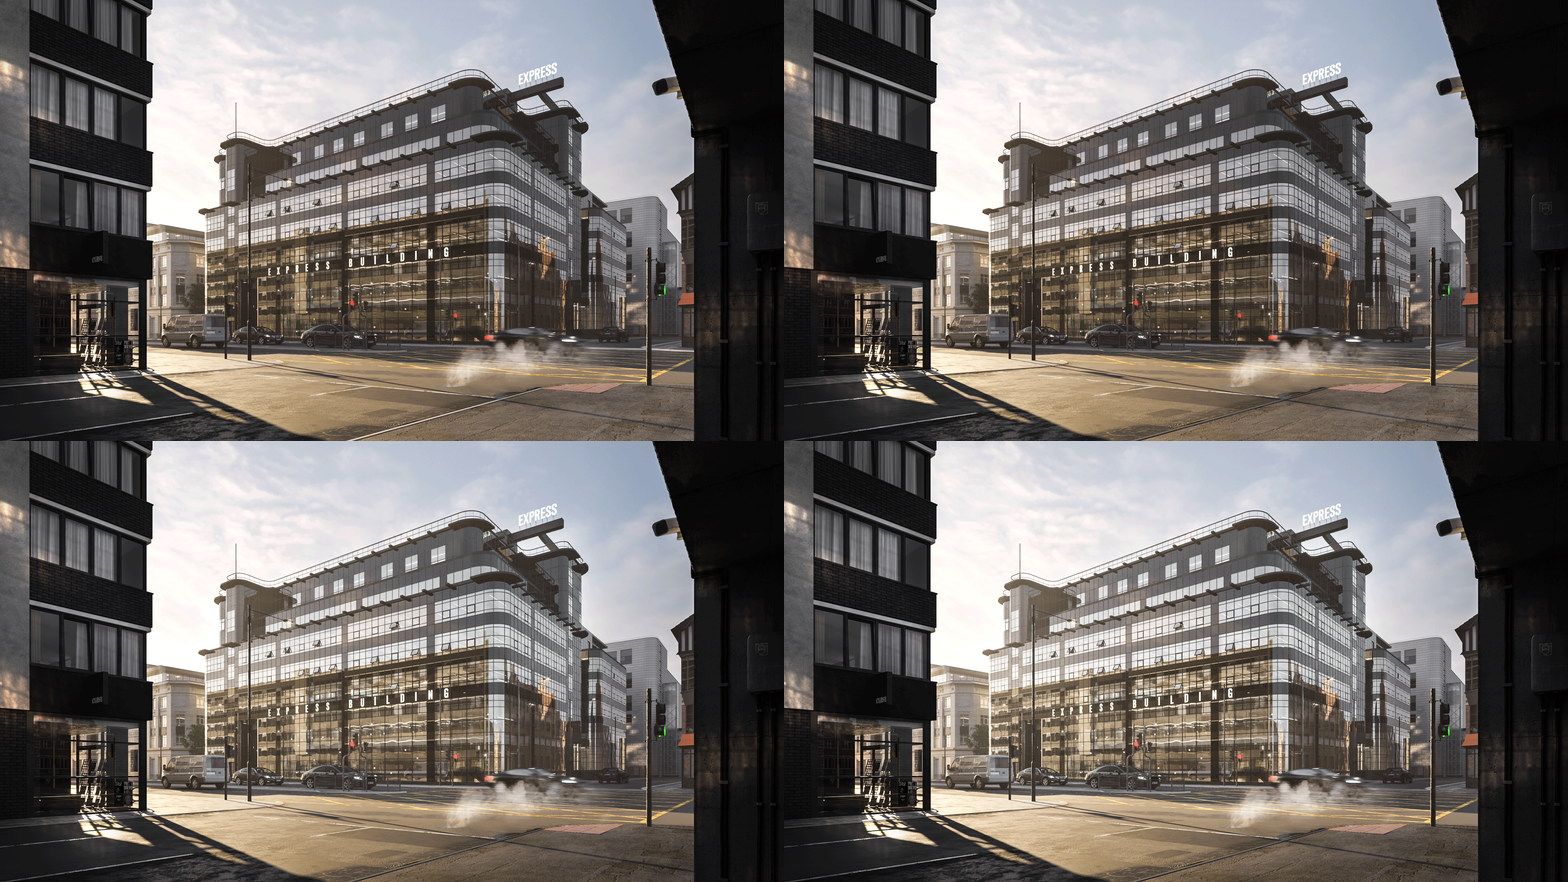
A bit more work in Photoshop. I copied a region with the Express Building on a new layer, made it brighter and added sunlight to the left on the main street + a couple of adjustments to the sidewalk and curbs.
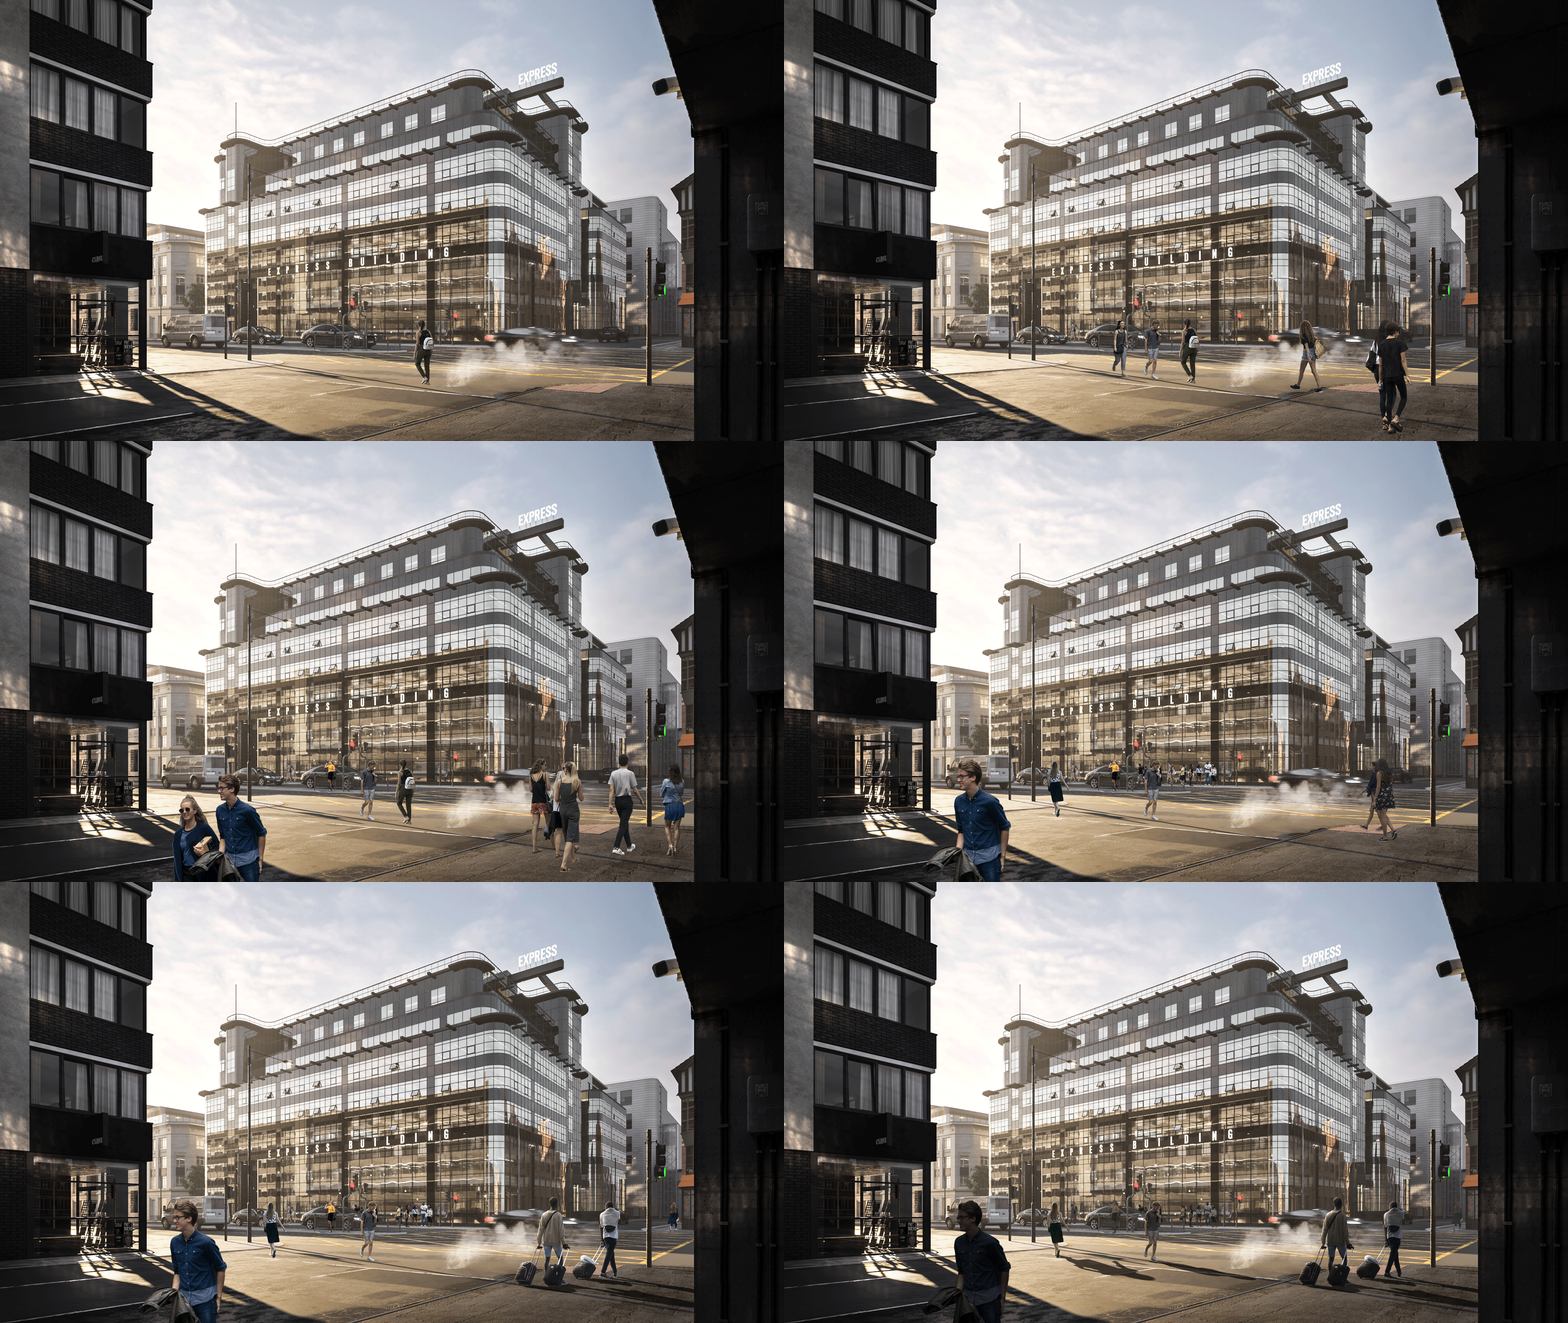
The next stage is to work on the integration of people.
All used people are our own, which you can purchase by this link. The first collection is available for download absolutely free.
Final touches: I made the flecks on the foreground walls darker, then bring all the layers together into one and made the image colder.
Here it is!
Final Comments
With this article, we showed our approach to creating images. We have trained ourselves to notice unusual things in real life and to embody them in our projects. We appreciate the creativity, bold experiments and how an artist expresses himself through his projects.
It is important to draw inspiration not only in your field of activity, but it will also allow you to find new exciting techniques and ideas. We are looking for inspiration from photographers, designers, cinema, motion design, etc.
I hope the presented material will be useful to you.
The rest of our works you can find on our website www.cylind.com.

