
Originally published at: https://www.ronenbekerman.com/making-of-lush/
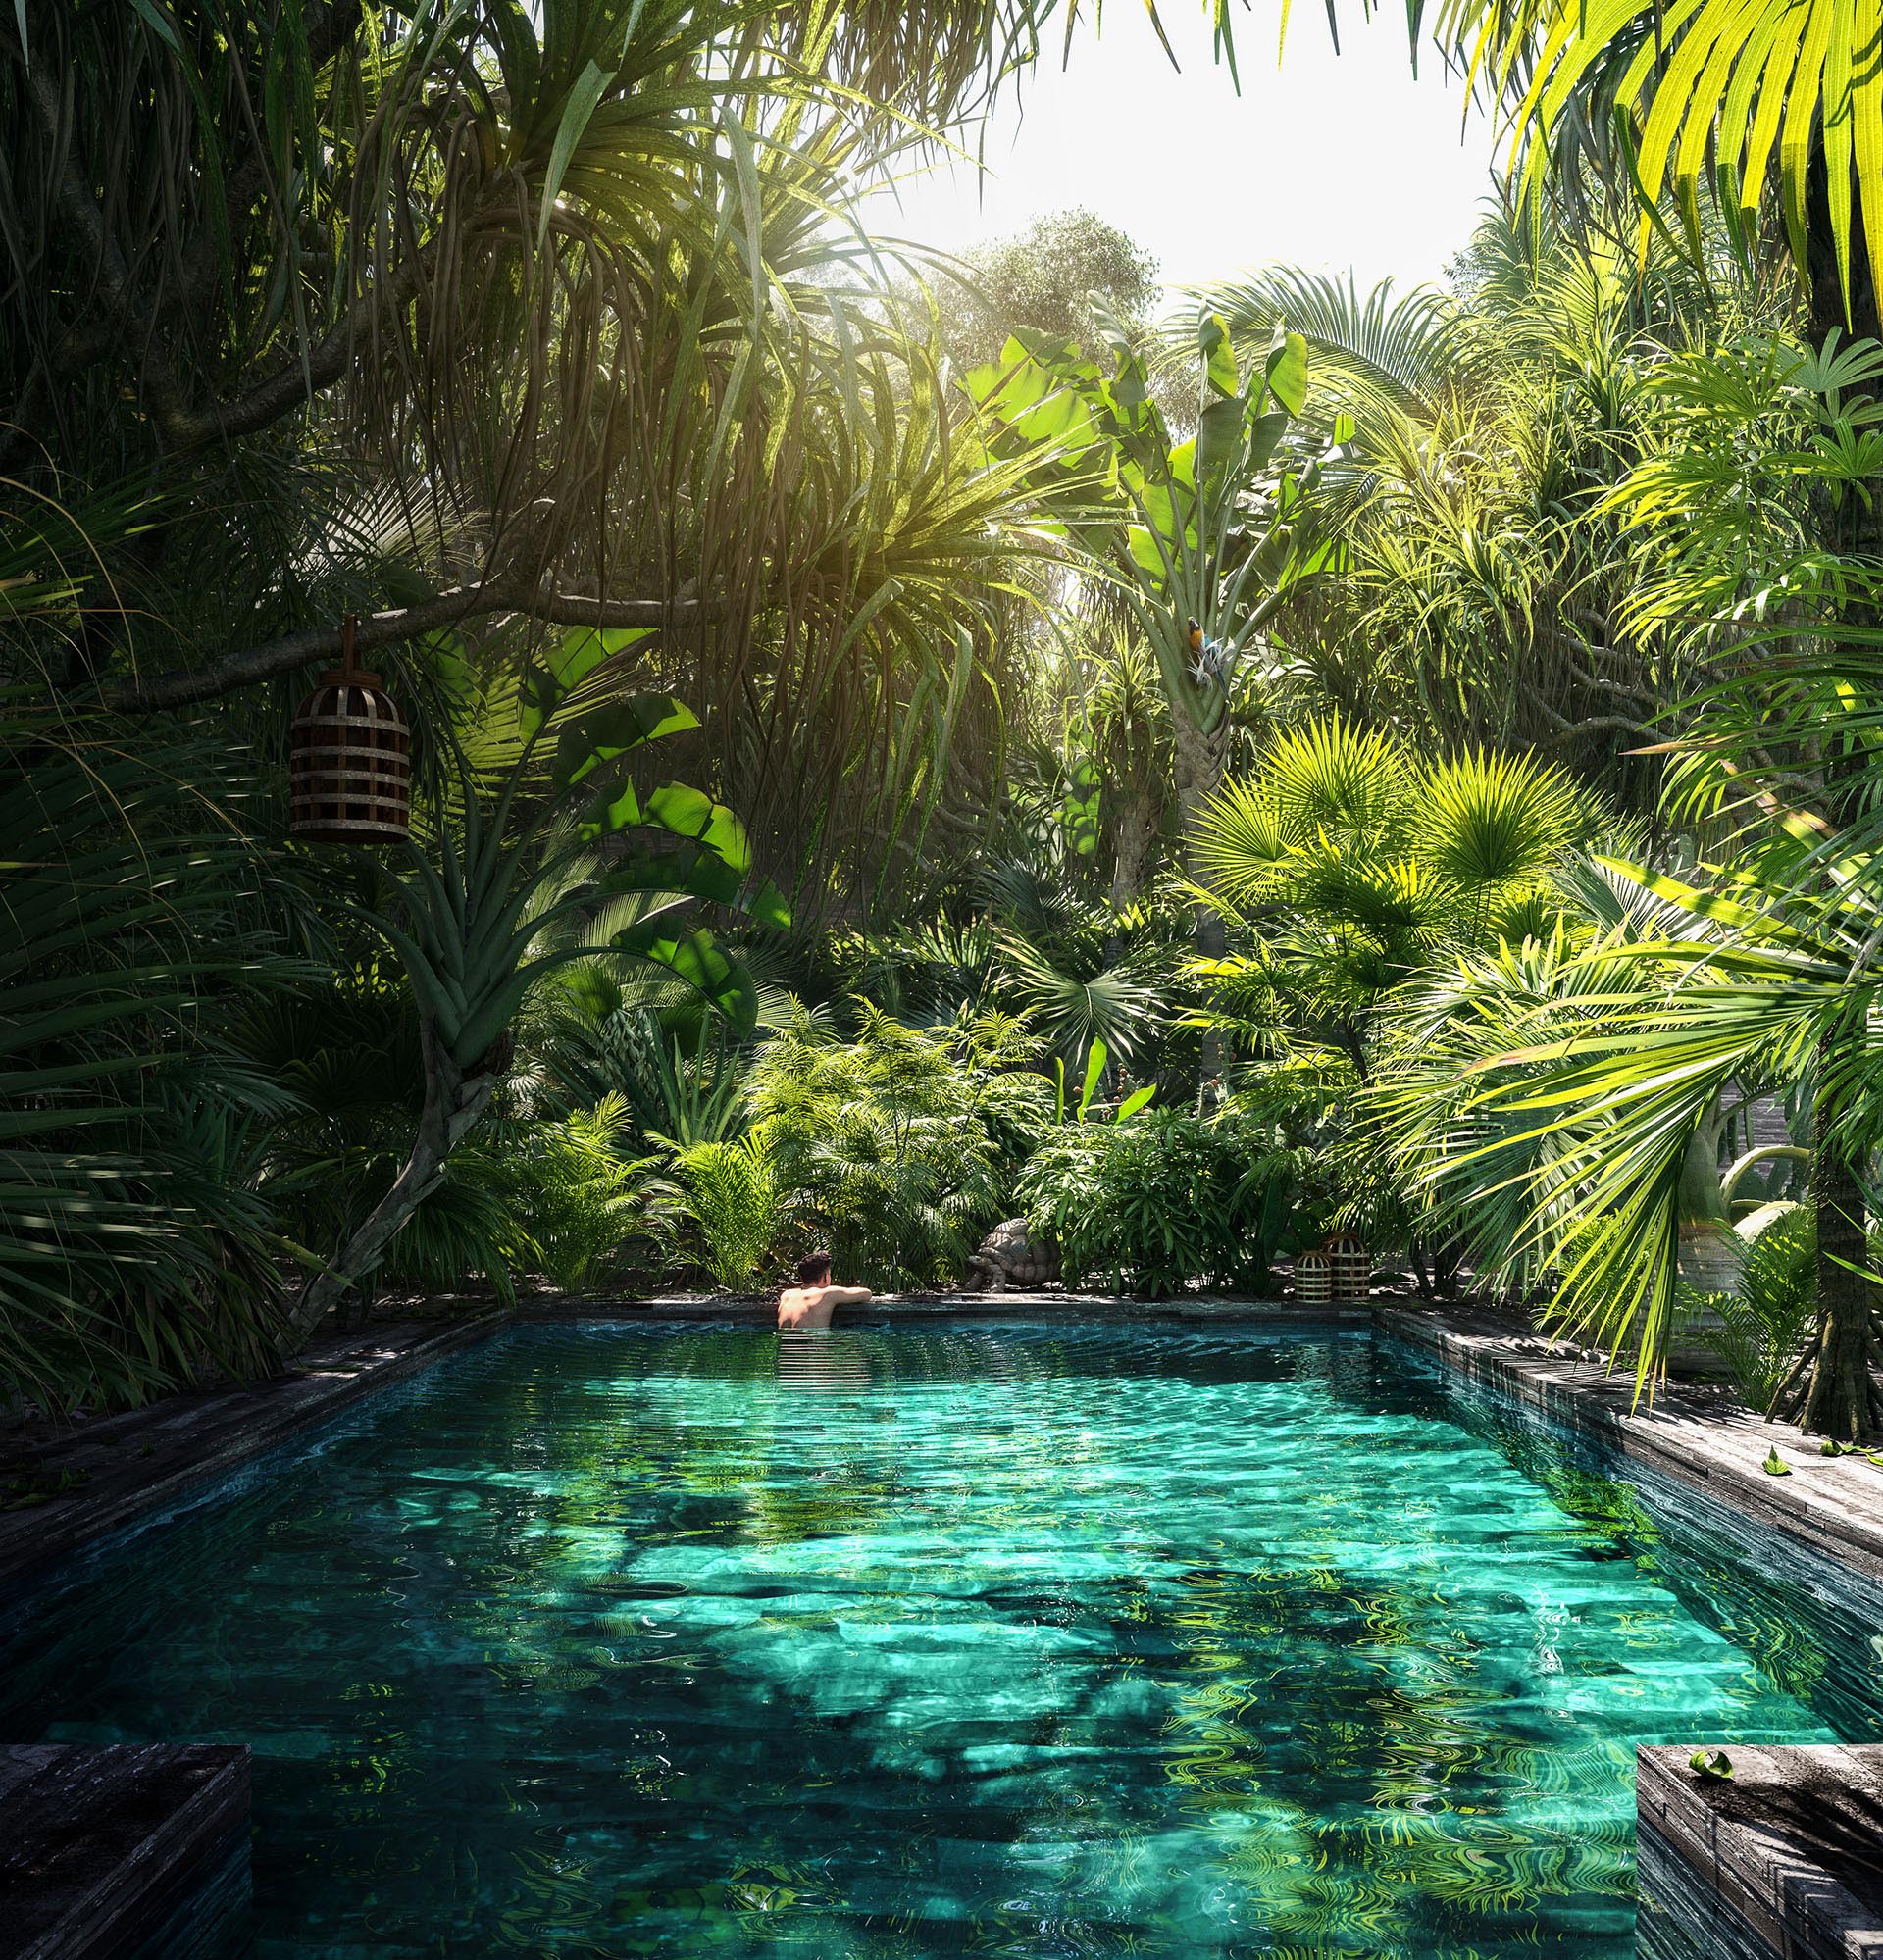
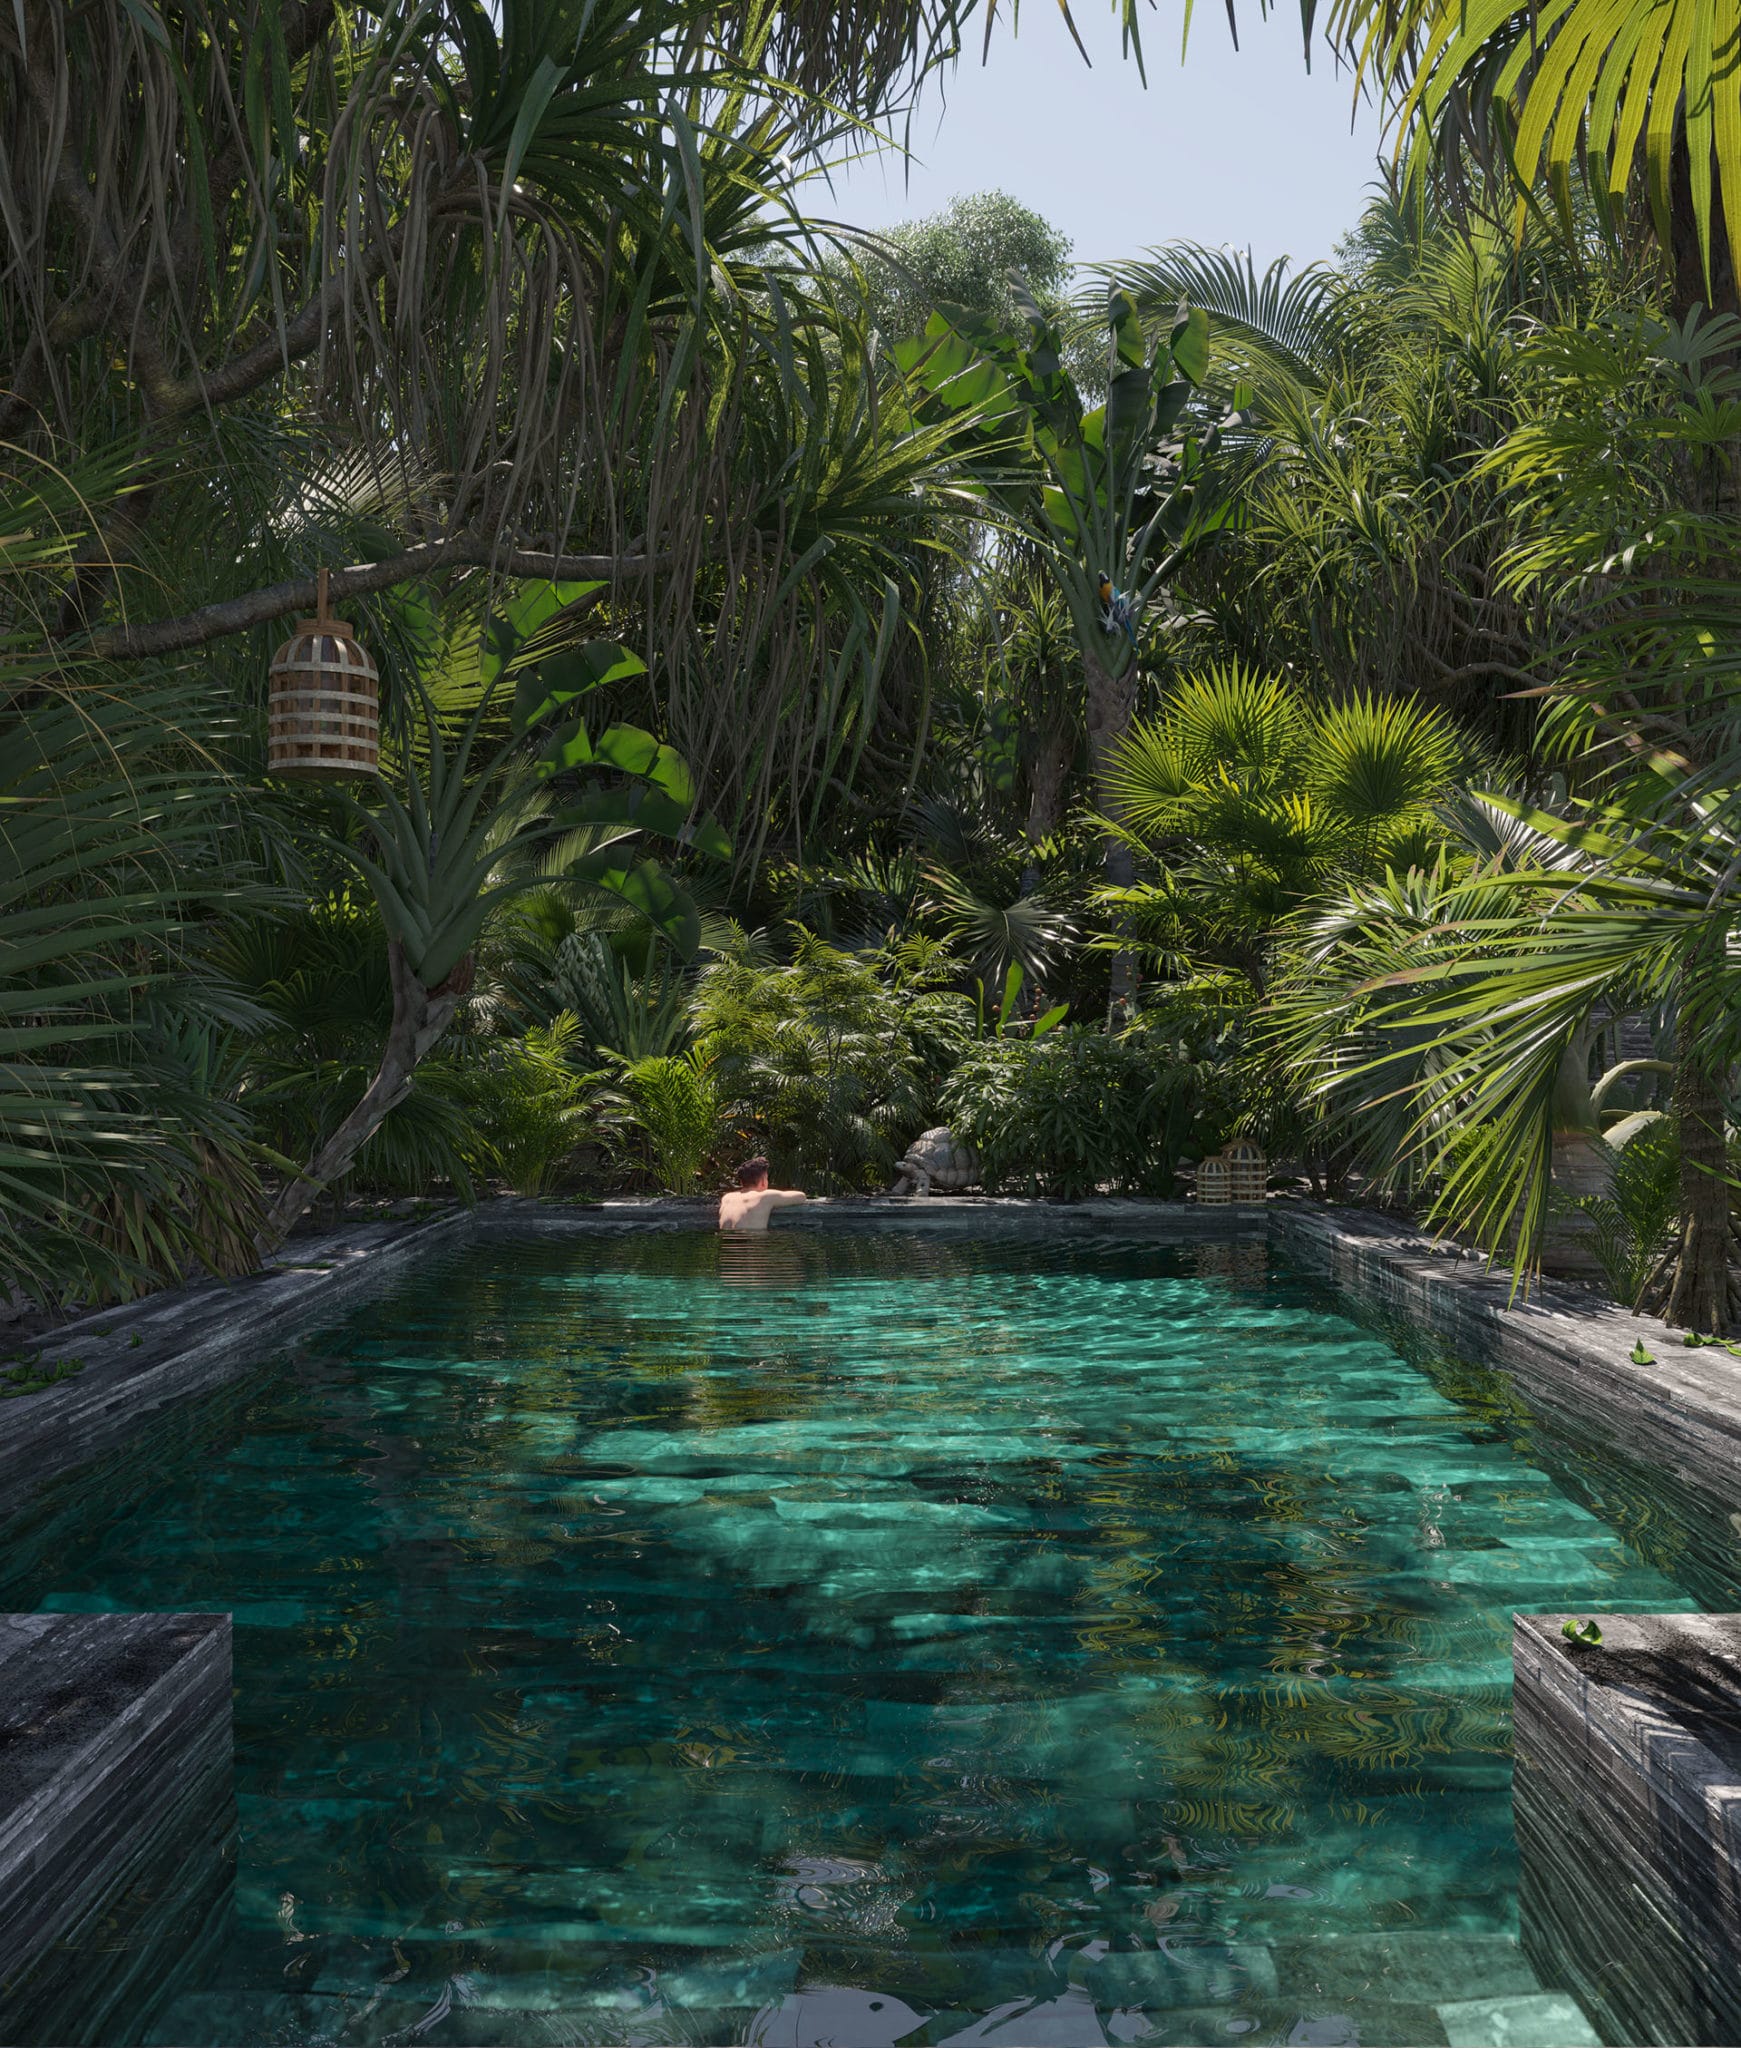
This is Lush, Lisa Della Dora’s personal project, and the only way to travel in the past year! This is a project of escape and a test of caustics too. Can you spot the animals?
Hi everybody, I’m Lisa. I’m a 3D artist, the art director of the MADI (Post-graduate Master in Digital Architecture of the Iuav University of Venice), and the creator of the Italian blog and ArchViz community Render IT!
I’m thrilled that Ronen invited me to show some insight into one of my latest personal projects: Lush. I developed the image in 3ds max + Corona Renderer, and I did post-production in Photoshop.
Here you can see the final results I achieved with this scene, and I’m going to explain to you more in detail how I developed the main frontal image.
![]()
![]()
References for Lush
When I work on a personal project, I do some research. Sometimes I base it on I photo I shoot. Most of the time, it’s many ideas that become clearer once I find the proper references.
In this case, I knew that my main goal was to play with water and caustics, so I based my research on understanding how water, reflections, and caustics work in the real world and how to recreate the right light.
Here are some of the references I concentrated on.
[av_masonry_gallery ids=’134664,134663,134665′ items=’-1′ columns=’flexible’ paginate=’pagination’ size=’flex’ gap=’large’ overlay_fx=” container_links=’active’ id=” caption_elements=’none’ caption_styling=” caption_display=’always’ color=” custom_bg=”]Also, here is the link to the Pinterest board I created for the project:
3d Modeling
The scene is quite simple. I placed the plants one by one by hand to recreate the exact composition I had in mind.
There’s just one light source, a basic Corona Renderer Sun and a Corona Renderer Sky in the environment.
I used a physical camera with the Depth of Field enabled. I like to use it, even if slightly because it helps define the image’s depth more.

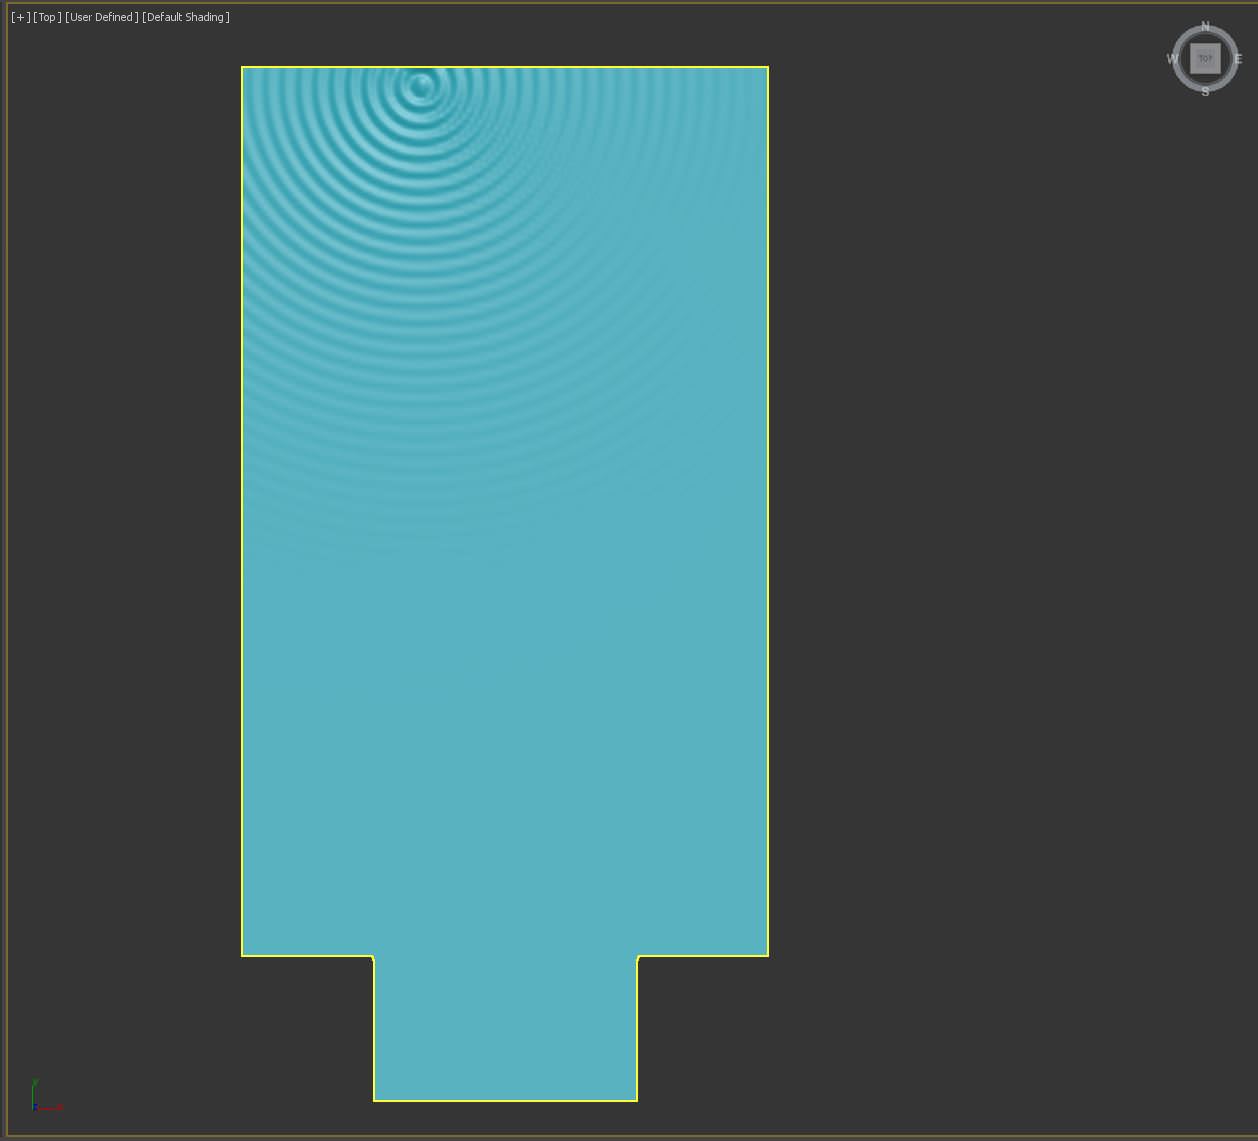
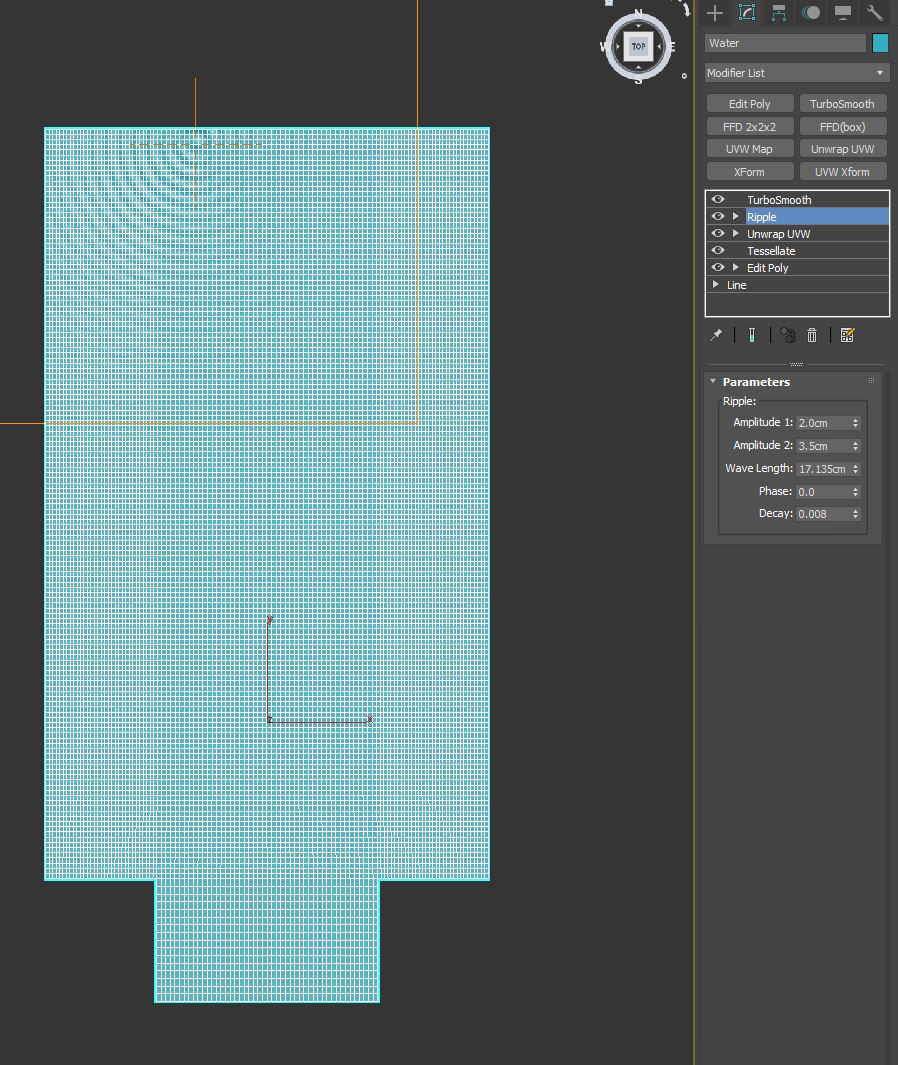
What I think might be more interesting about the scene is how I recreated the water.
The starting geometry was a simple spline, with an Edit Poly on top to create the surface. I wanted to test out the ripple effect around the guy chilling in the water. To do that, I had to add a lot of geometry, using the Tessellate modifier, to have enough definition to apply the Ripple modifier. I moved the center of the modifier exactly where the man is standing, so the effects propagate from there.
What I wanted to achieve with this image was a realistic caustics effect in the water, so I worked on the material to recreate it.
The first thing that I noticed studying the references is that the only way to get the caustics is to work with an uneven-wavy surface that breaks the light refraction. I reached that using a noise both in the bump and in the displacement.
As you can see in the attached screenshot, the water material is elementary. The color was brought in by the absorption in the material’s volumetric scattering, playing around with the distance values.


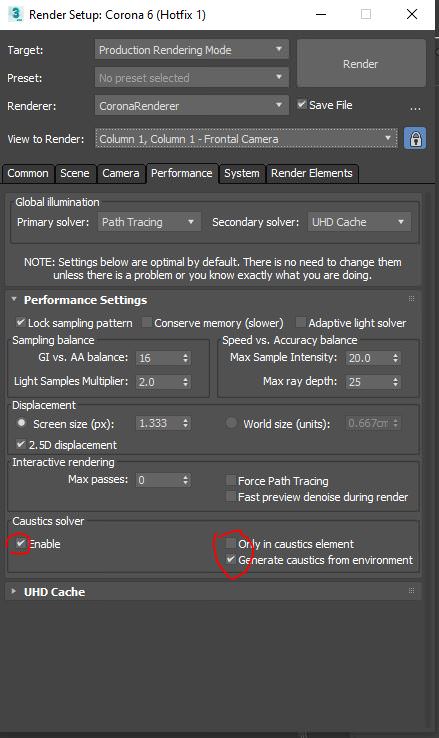
Important: when you want to work with caustics, be sure to activate everything that is needed, check that the primary light source creates caustics, tick in the “caustics (slow)” option in the refraction of the material, and be sure to tick “enable” in the caustic solver that you will find in render settings > performance, and untick “only in caustic’s element.”
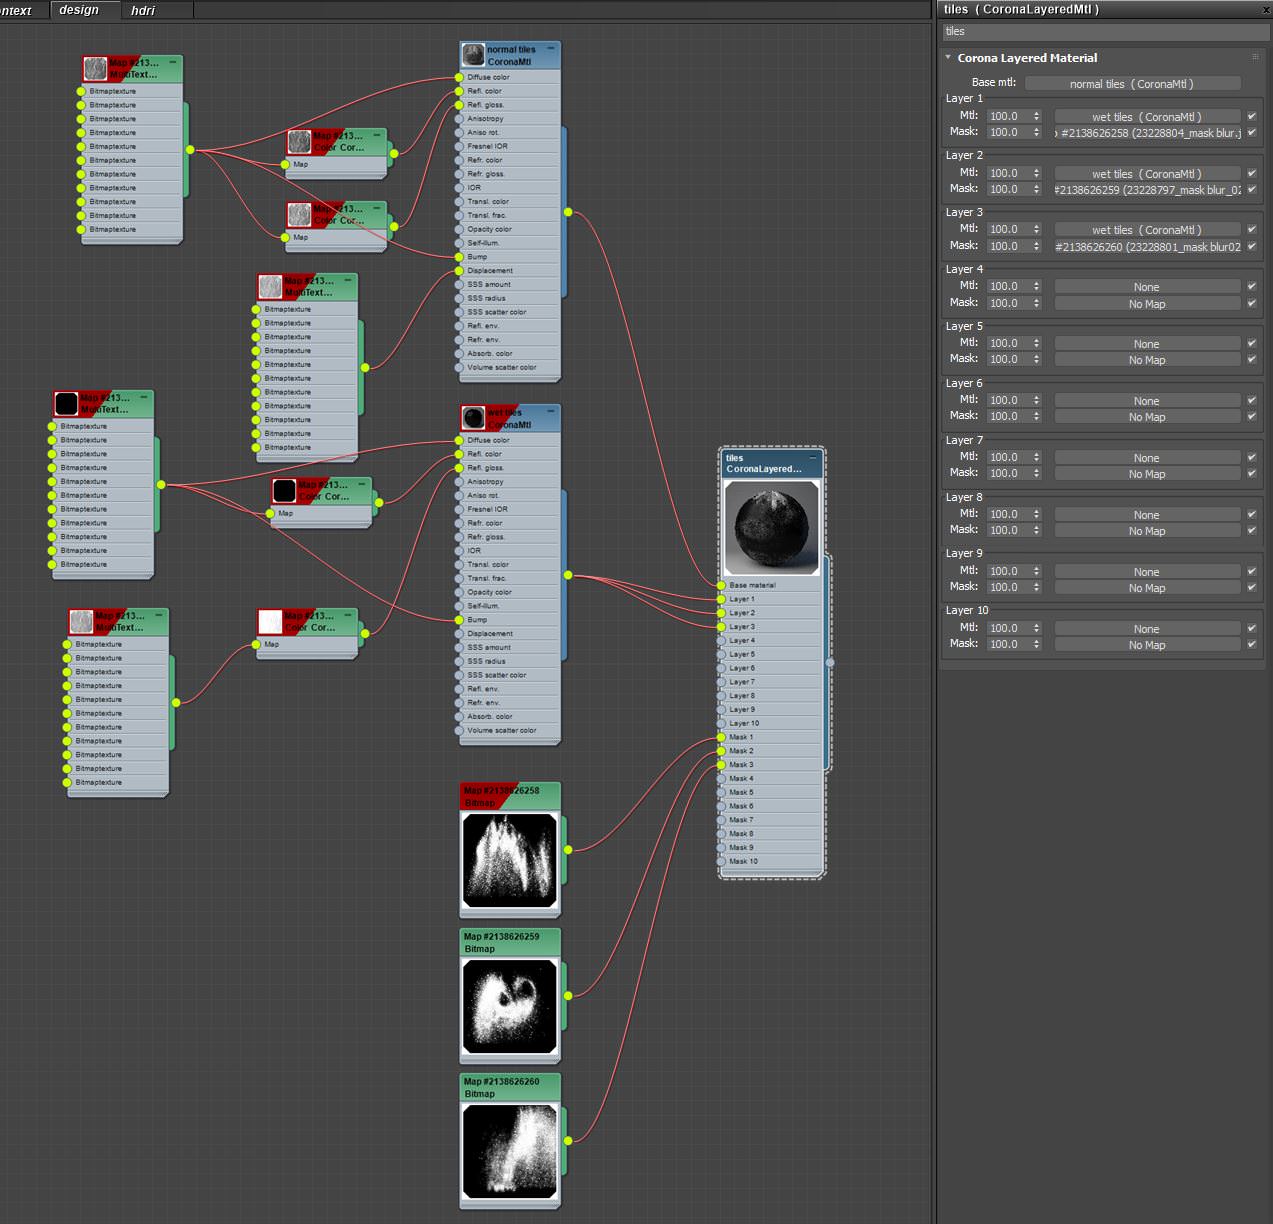
Something that might be interesting is how I achieved the water splashes on the borders of the pool, it’s not that visible, but I think it’s one of those details that can help make a difference.
I used a Corona Renderer layered material. The primary material was the material I had for the stone tiles. There I worked with a MultiTexture combined with the floor generator applied to the pool surfaces. I made a copy of that material and pushed a lot the darkness and the reflection of it. Then I used three different masks to place in another spot.
To do that, every mask has been assigned with a different map channel, so with a stack of UVW Maps, each of them with a different map channel, to be able to move and place the masks (so the splash effect) where I wanted it (before, I disabled to “tiling” option from the bitmap of the masks).
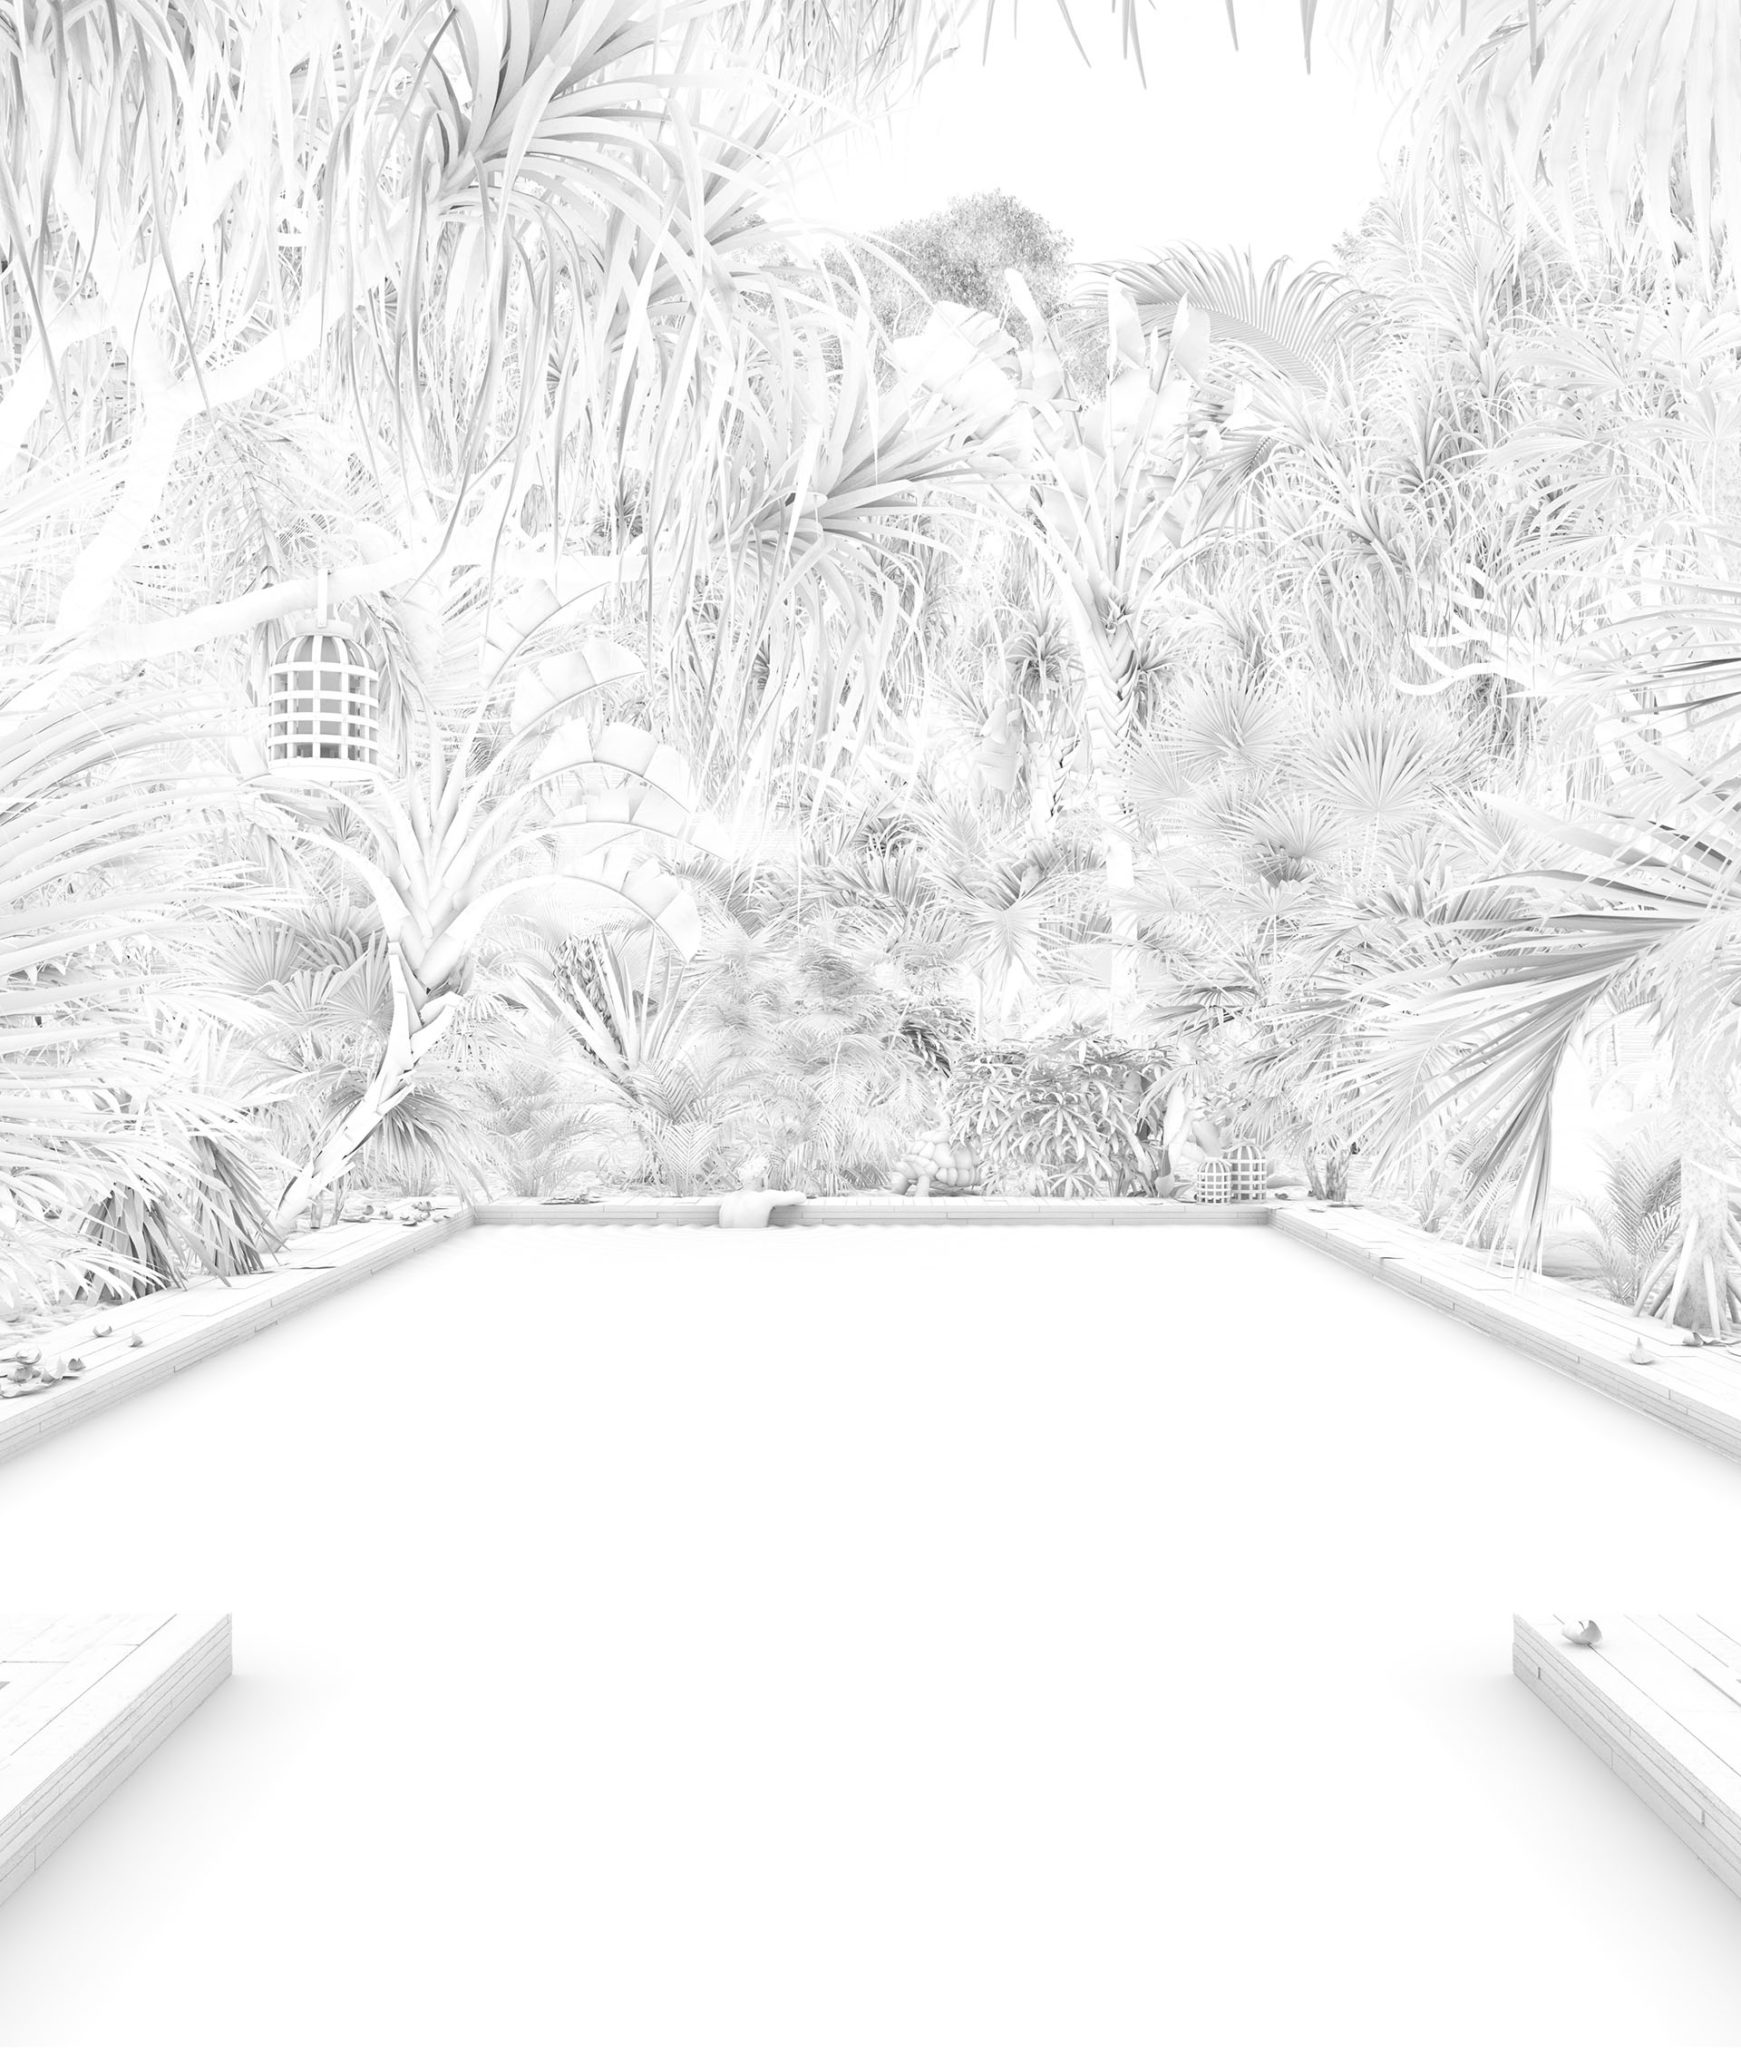
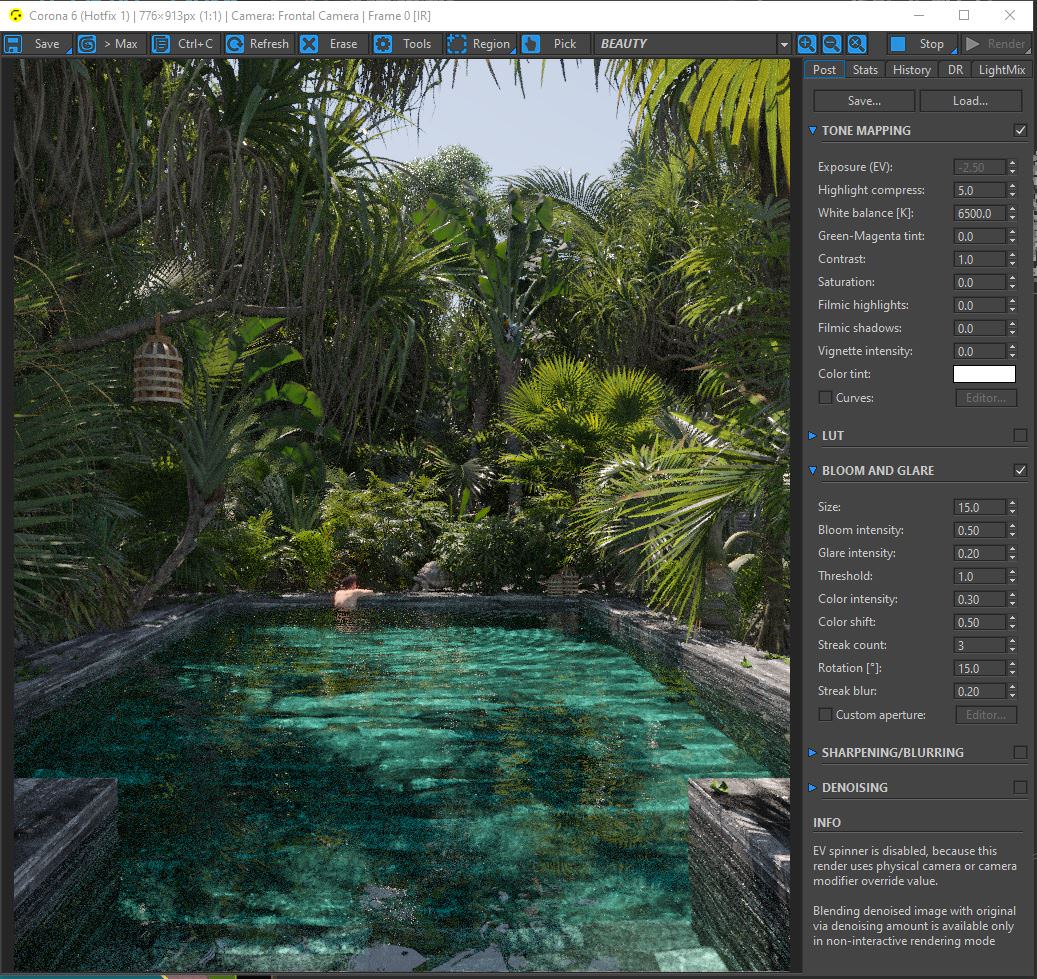
Before sending the render, I added bloom and glare in the virtual frame buffer, but the post’s main post-production was done. As you can see, the raw render was relatively flat.
Post-production
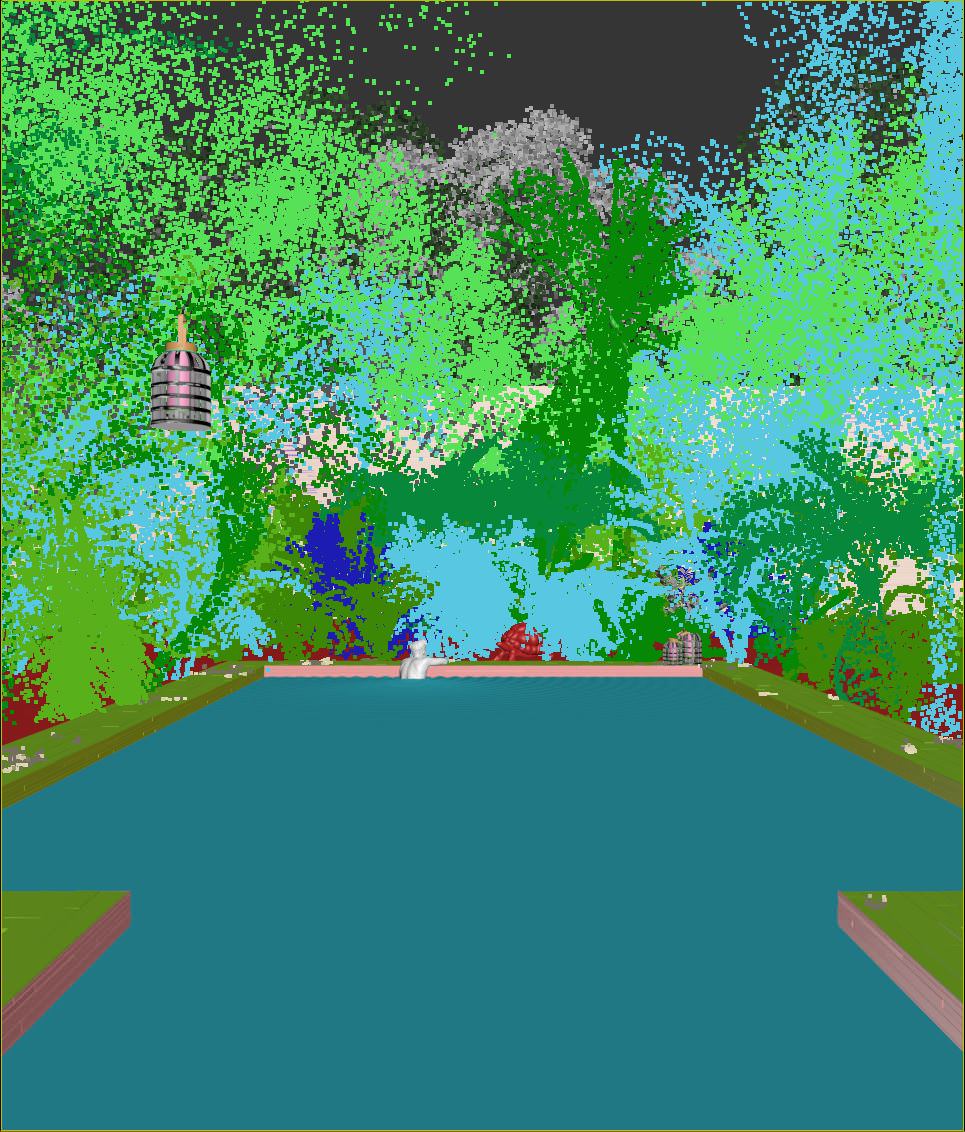
For the post-production, I made a breakdown of my photoshop file. I think this way, it is relatively faster to understand the process.
I hope this quick making-of is helpful to some of you!
Thank you for reading,
Lisa.