
Originally published at: https://www.ronenbekerman.com/the-making-of-a-virtual-reality-experience-for-archviz-with-unity/
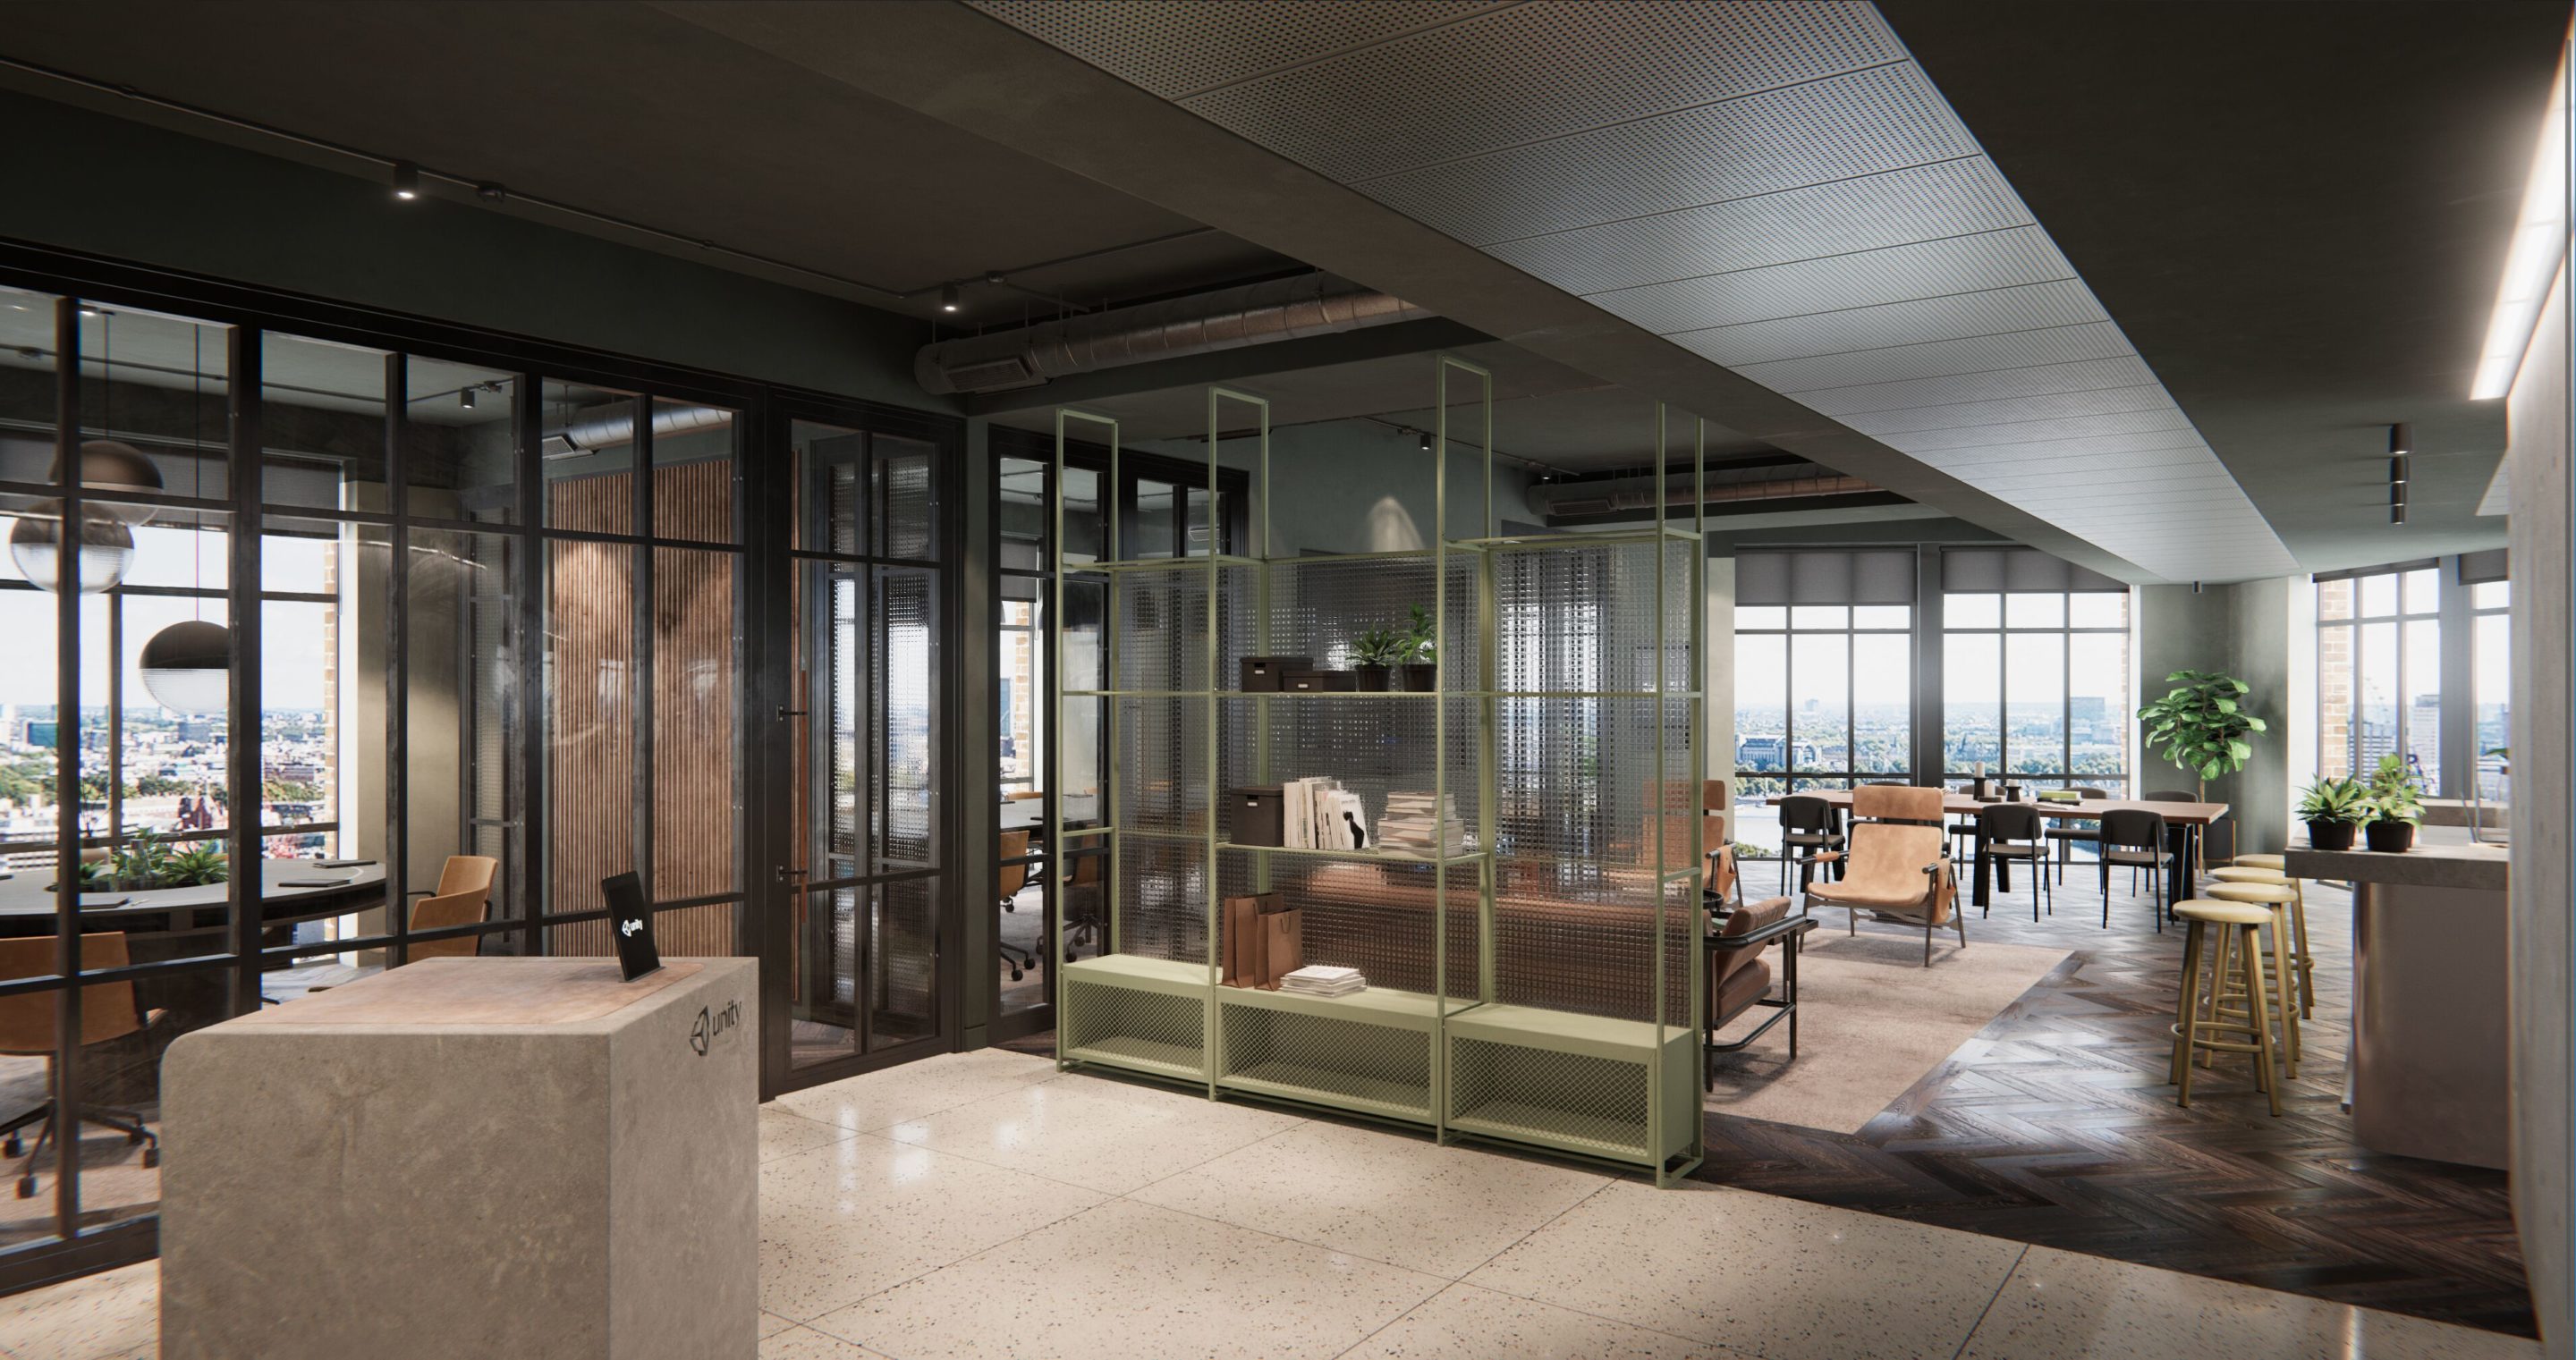
Always curious about implementing VR in ArchViz, I found a great article on Allegorithmic’s blog by Mirko Vescio from Oneiroes featuring the use of Unity. I kindly asked him if he can dive a bit deeper into the process, and that he did. The project covered in this article actually features a collaboration with Unity to showcase their HDRP (High Definition Render Pipeline) through a virtual walkthrough of their newly opened London office, designed and built by M Moser Associates.
My name is Mirko. I’m the CEO of Oneiros, a startup company based in Milan, co-founded with Ruggero Corridori, Lead Artist and head of ArchVizPro series and Antonella Contin, Academy Director.
Oneiros was founded in 2016 with the goal of offering enterprise virtual reality solutions, using Unity, for the architectural industry as well as others.
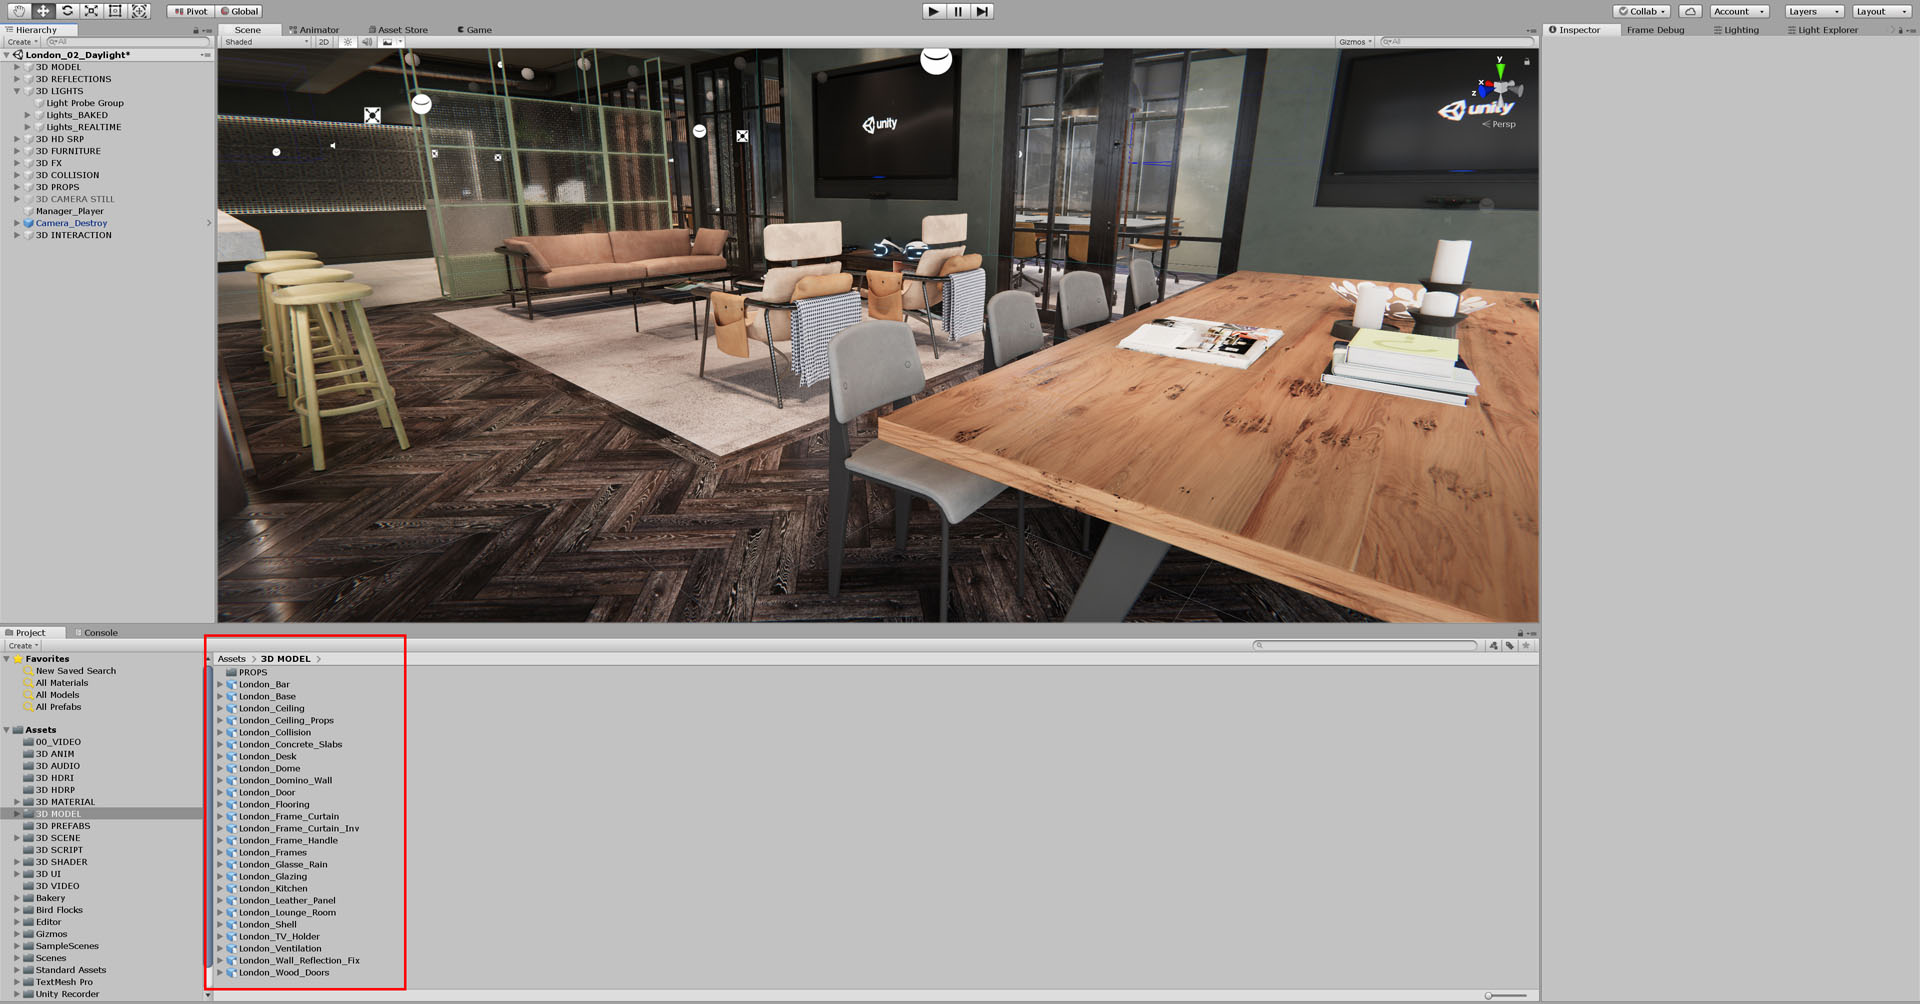
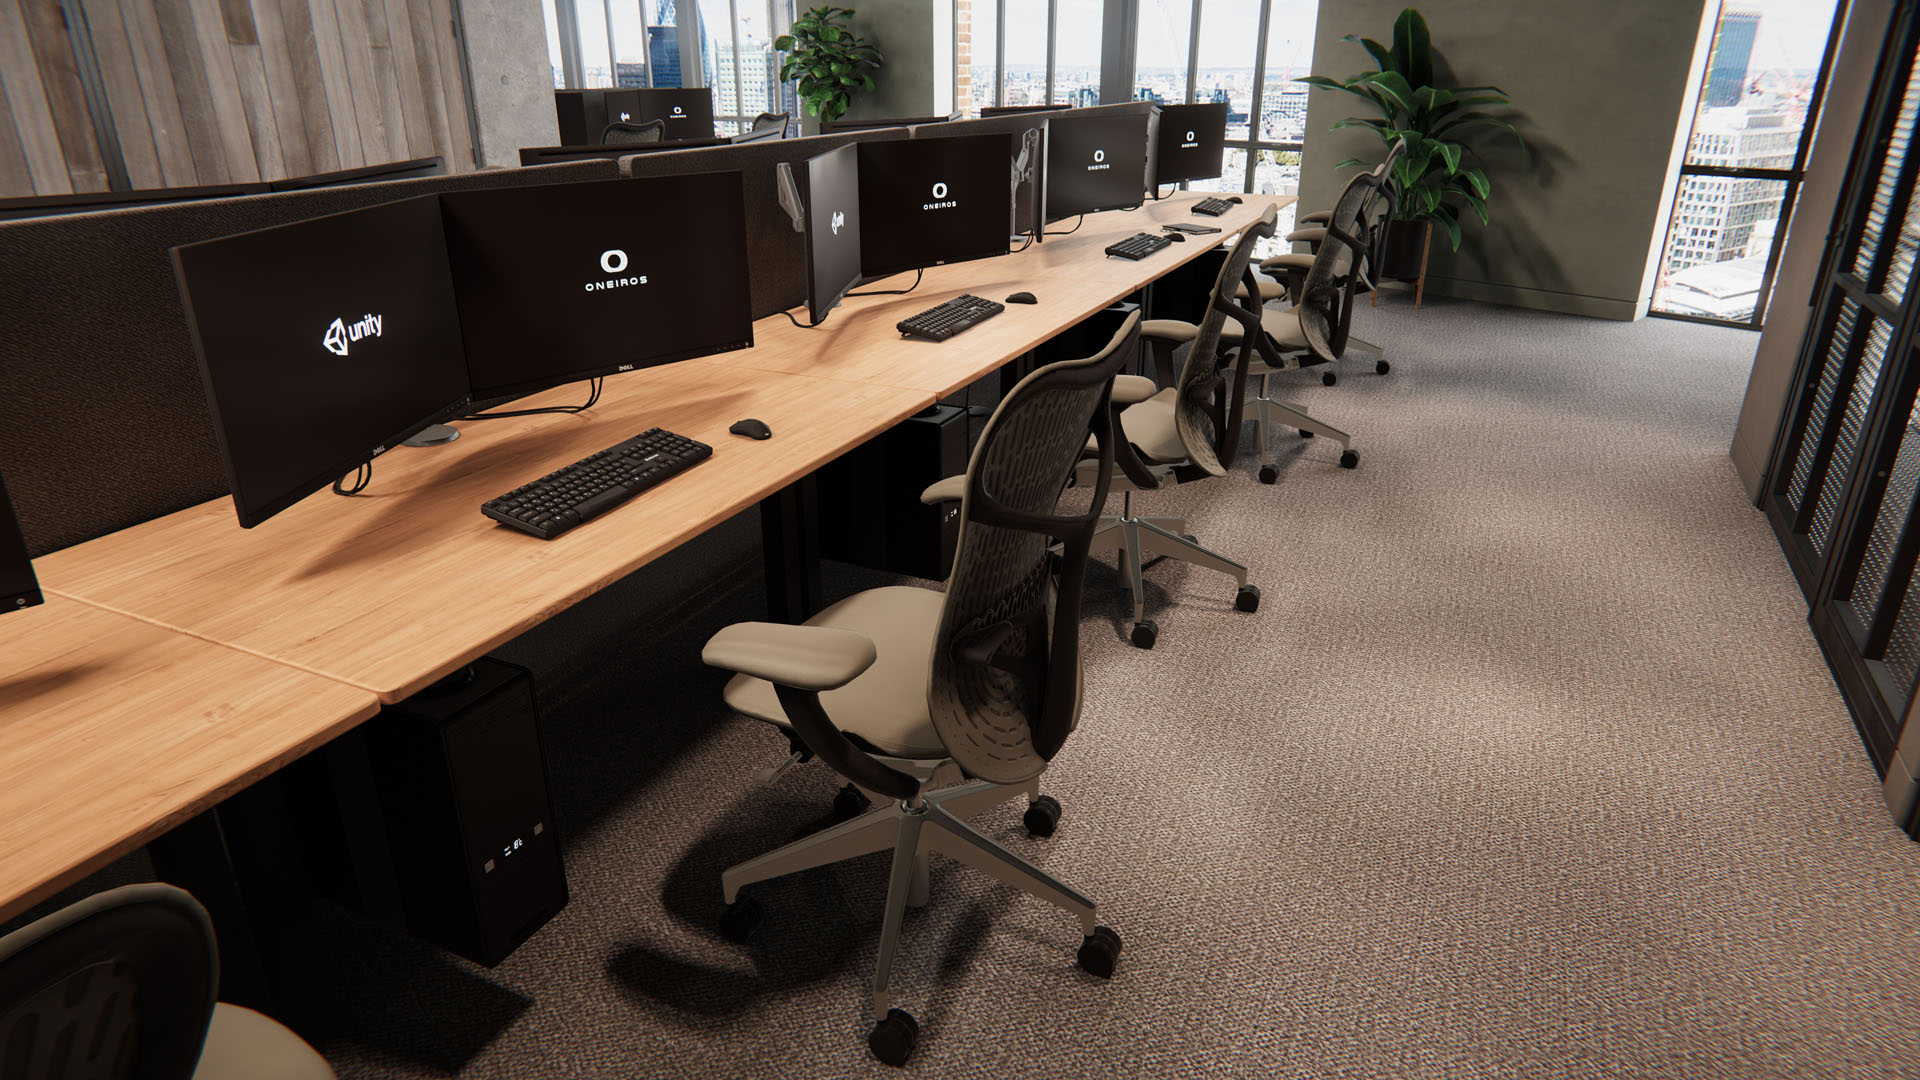
One of our latest projects was made in collaboration with Unity to showcase their HDRP (High Definition Render Pipeline) through a virtual walkthrough of the newly opened London office, designed and built by M Moser Associates.
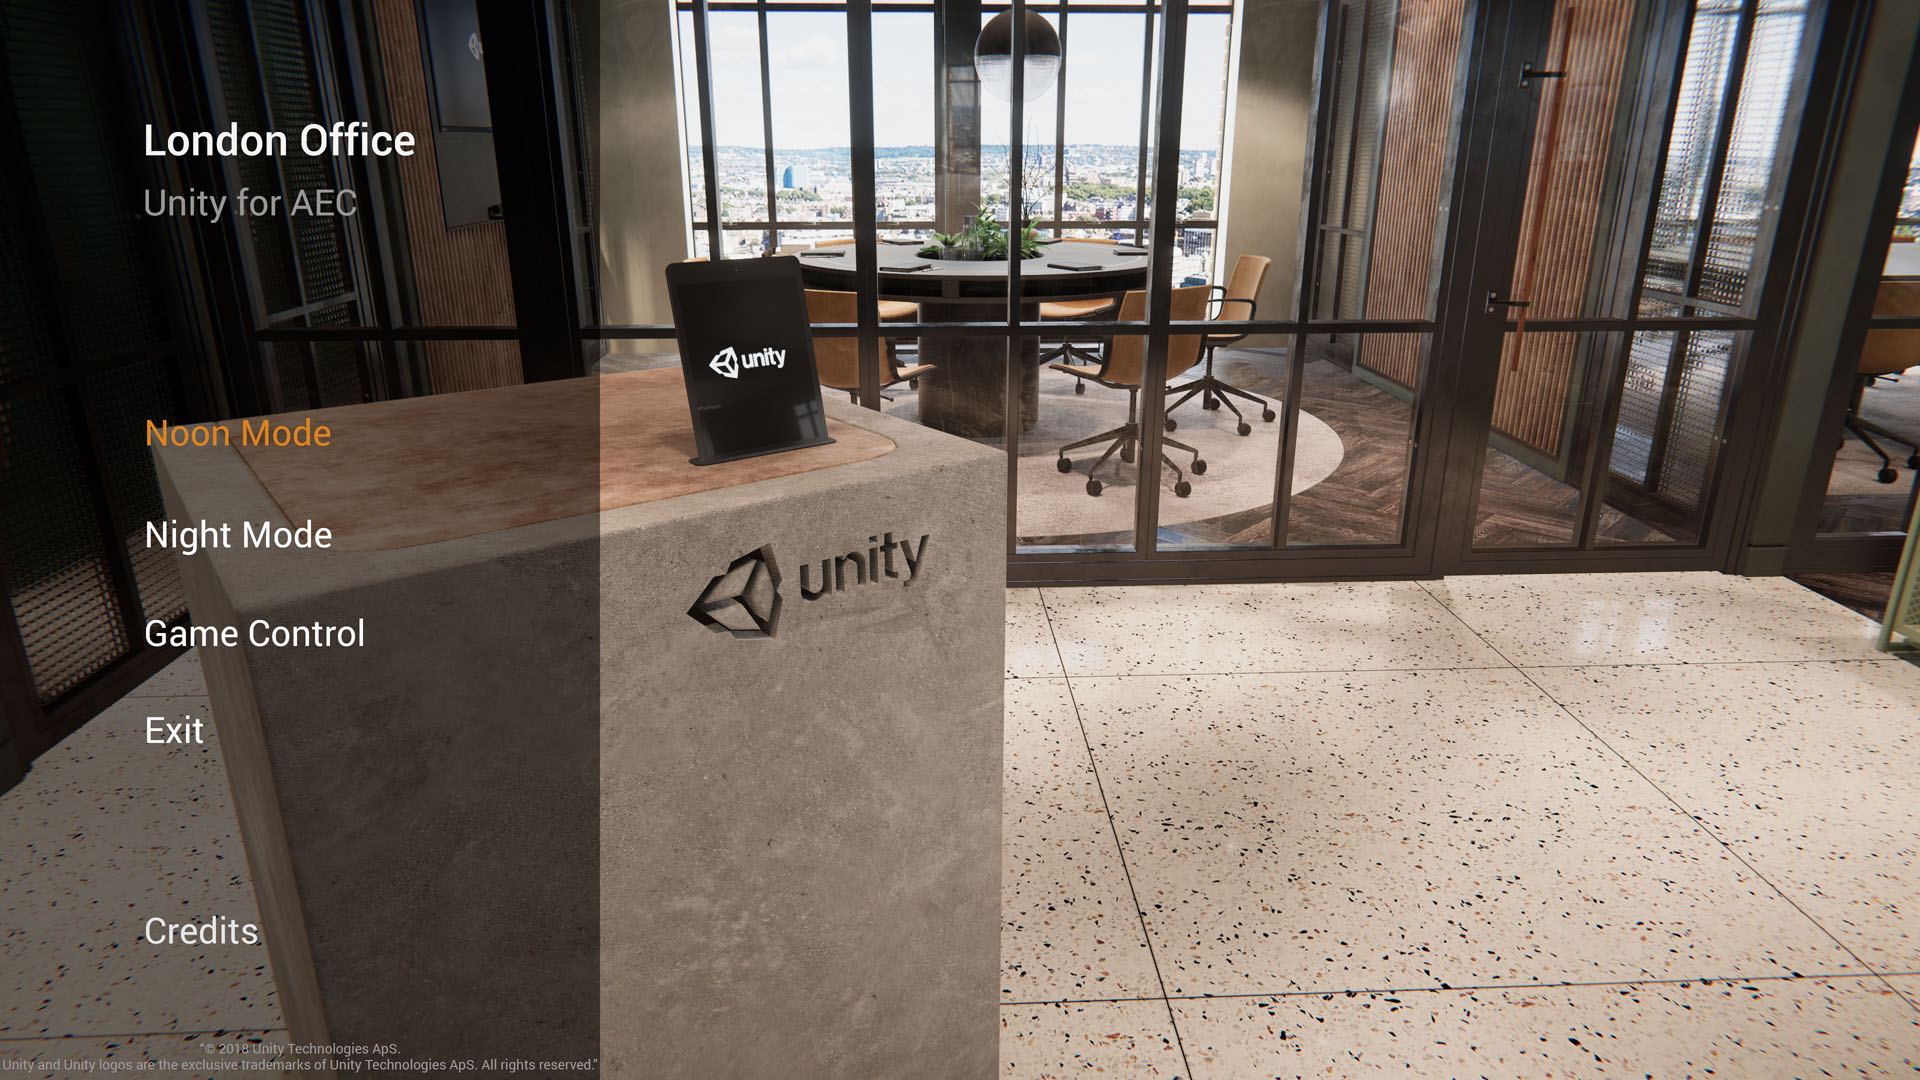
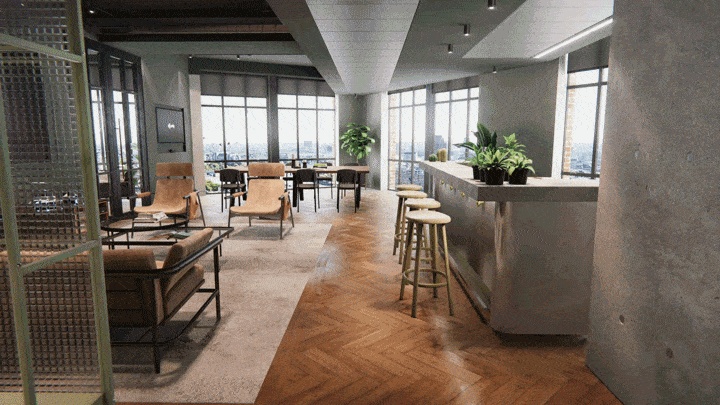
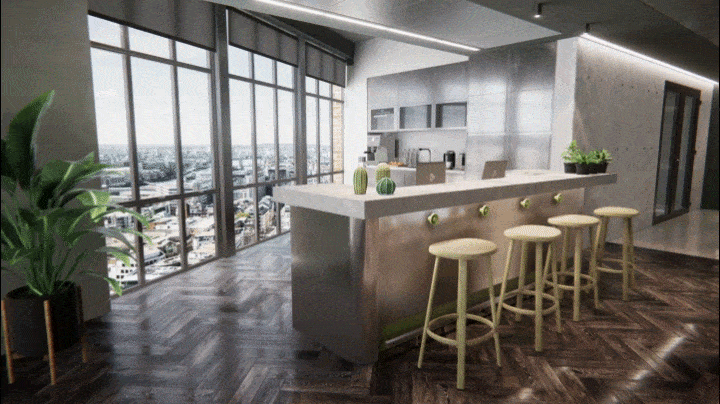
The walkthrough allows users to interact with various aspects of the space, including the ability to switch between a day/night scene, change floor materials, turn on / off TVs and lamps and access BIM information related to the project!
In the next paragraphs, I’ll share some of the workflows and techniques that brought us from a “standard” 3D model created for rendering engines like V-Ray or Corona Renderer to a scene made to run in real-time engines like Unity.
One of the advantages of using Unity in Architectural Visualization is that you can get different types of output from the same scene.
For example, it is possible to make a video in cinematic mode.
As well as a video in Virtual Reality mode.
Moreover, of course, static rendering images and the interactive PC build (usable with keyboard and mouse) that you can download at the end of the article!
References
In this case, the architectural design provided for us was already defined. The architectural studio sent the entire 3D file of the office and furniture and also some 360 image renderings that helped us to reproduce the lighting required.
3d Modeling
One of the first things we did was divide the process into two different parts.
The first one called “single assets” included all the furniture and props.
The second, called “environment,” included the office building itself.
We did this because the two parts require different workflows.
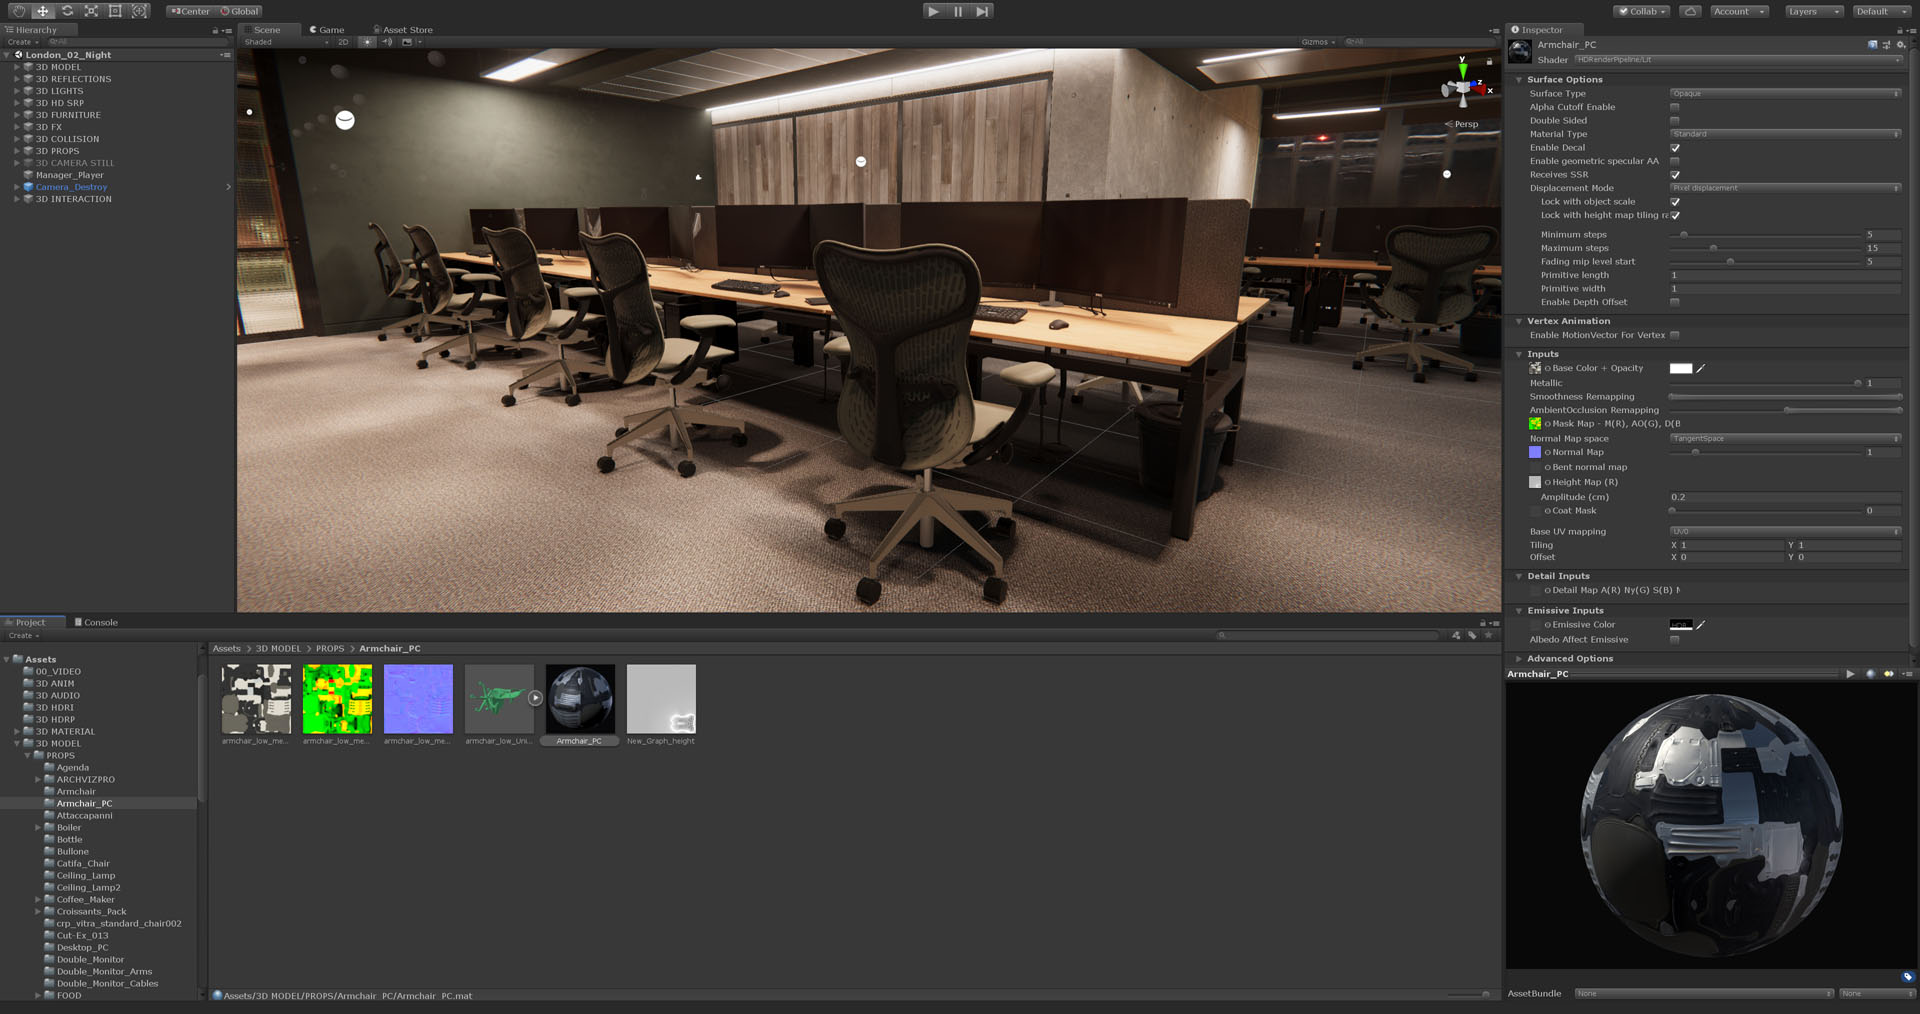
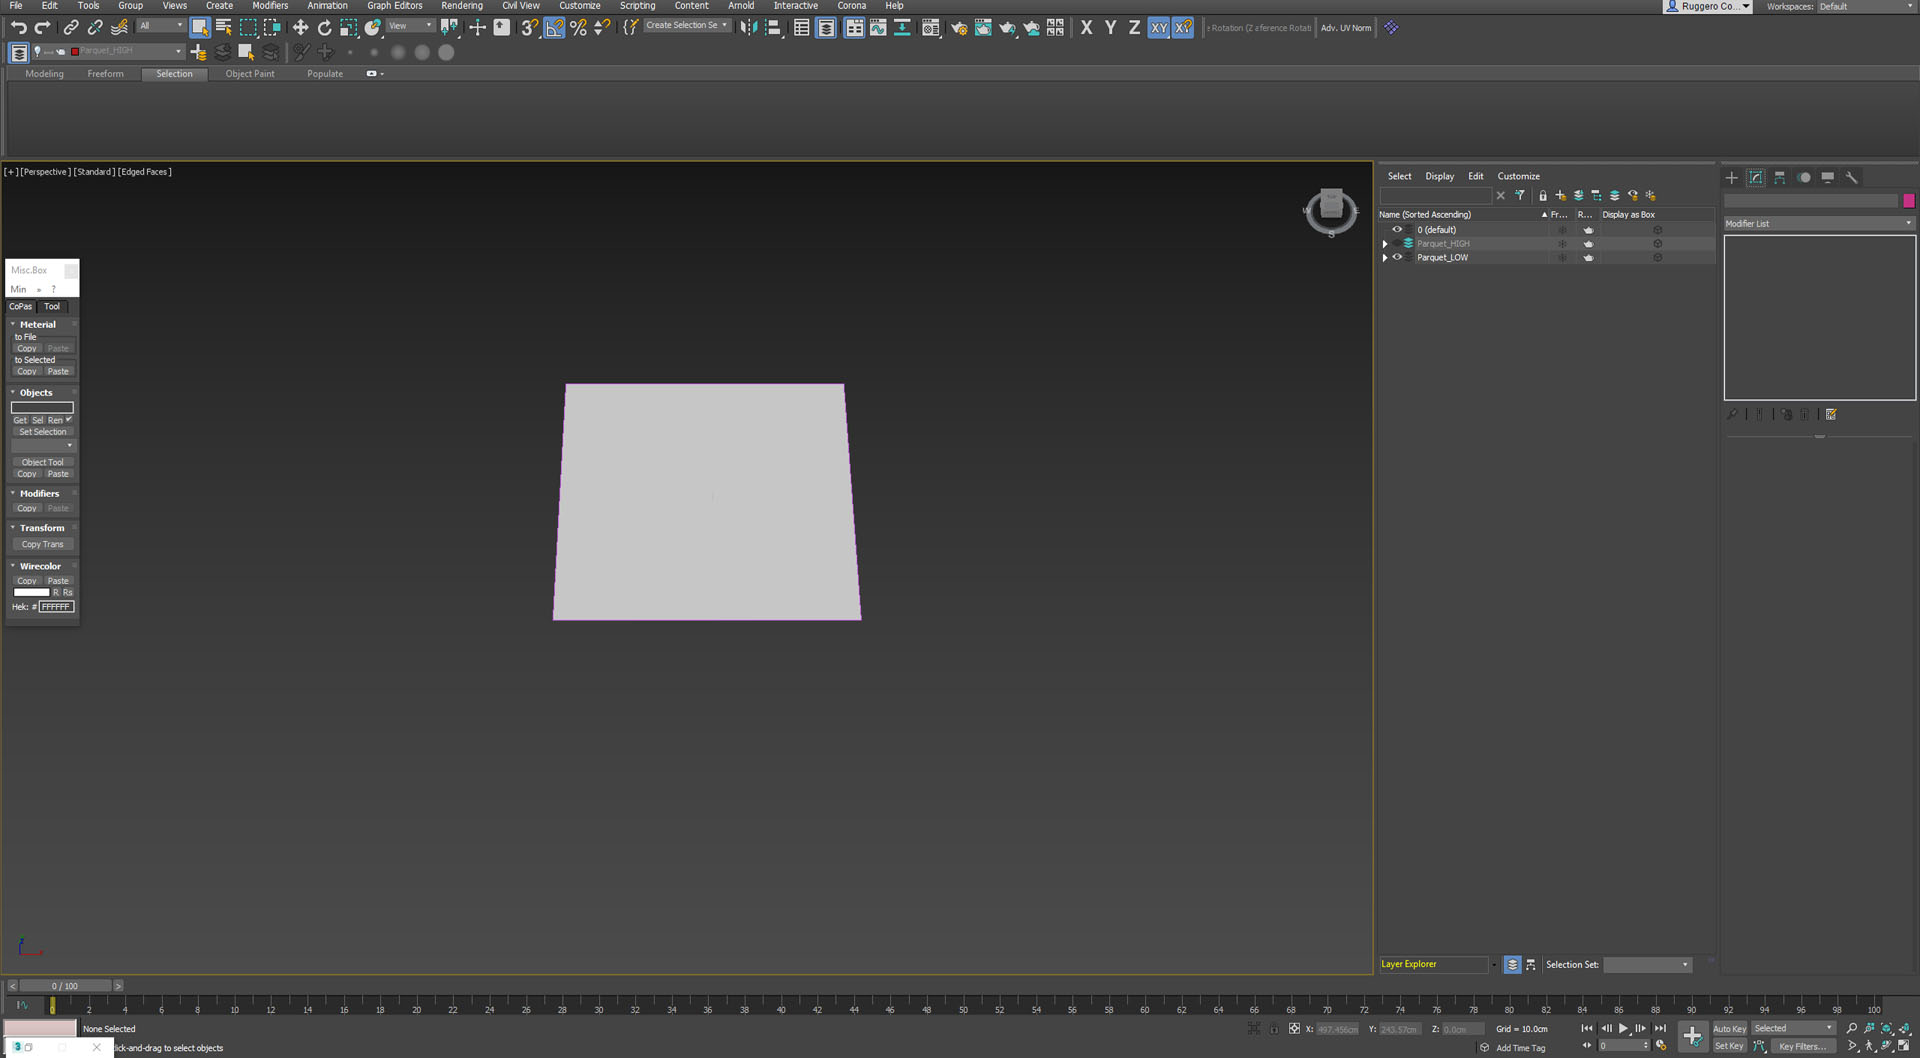
The creation of a single asset is generally a standard process. Starting from the high-poly 3D models supplied by the architects, it was necessary to evaluate each one’s topology, and after that, build the low-poly assets.
Once the low-poly version was created, the second step required us to import both 3D models (high and low poly) into Substance, where we could work on the textures and create the PBR materials shown in the next paragraph.
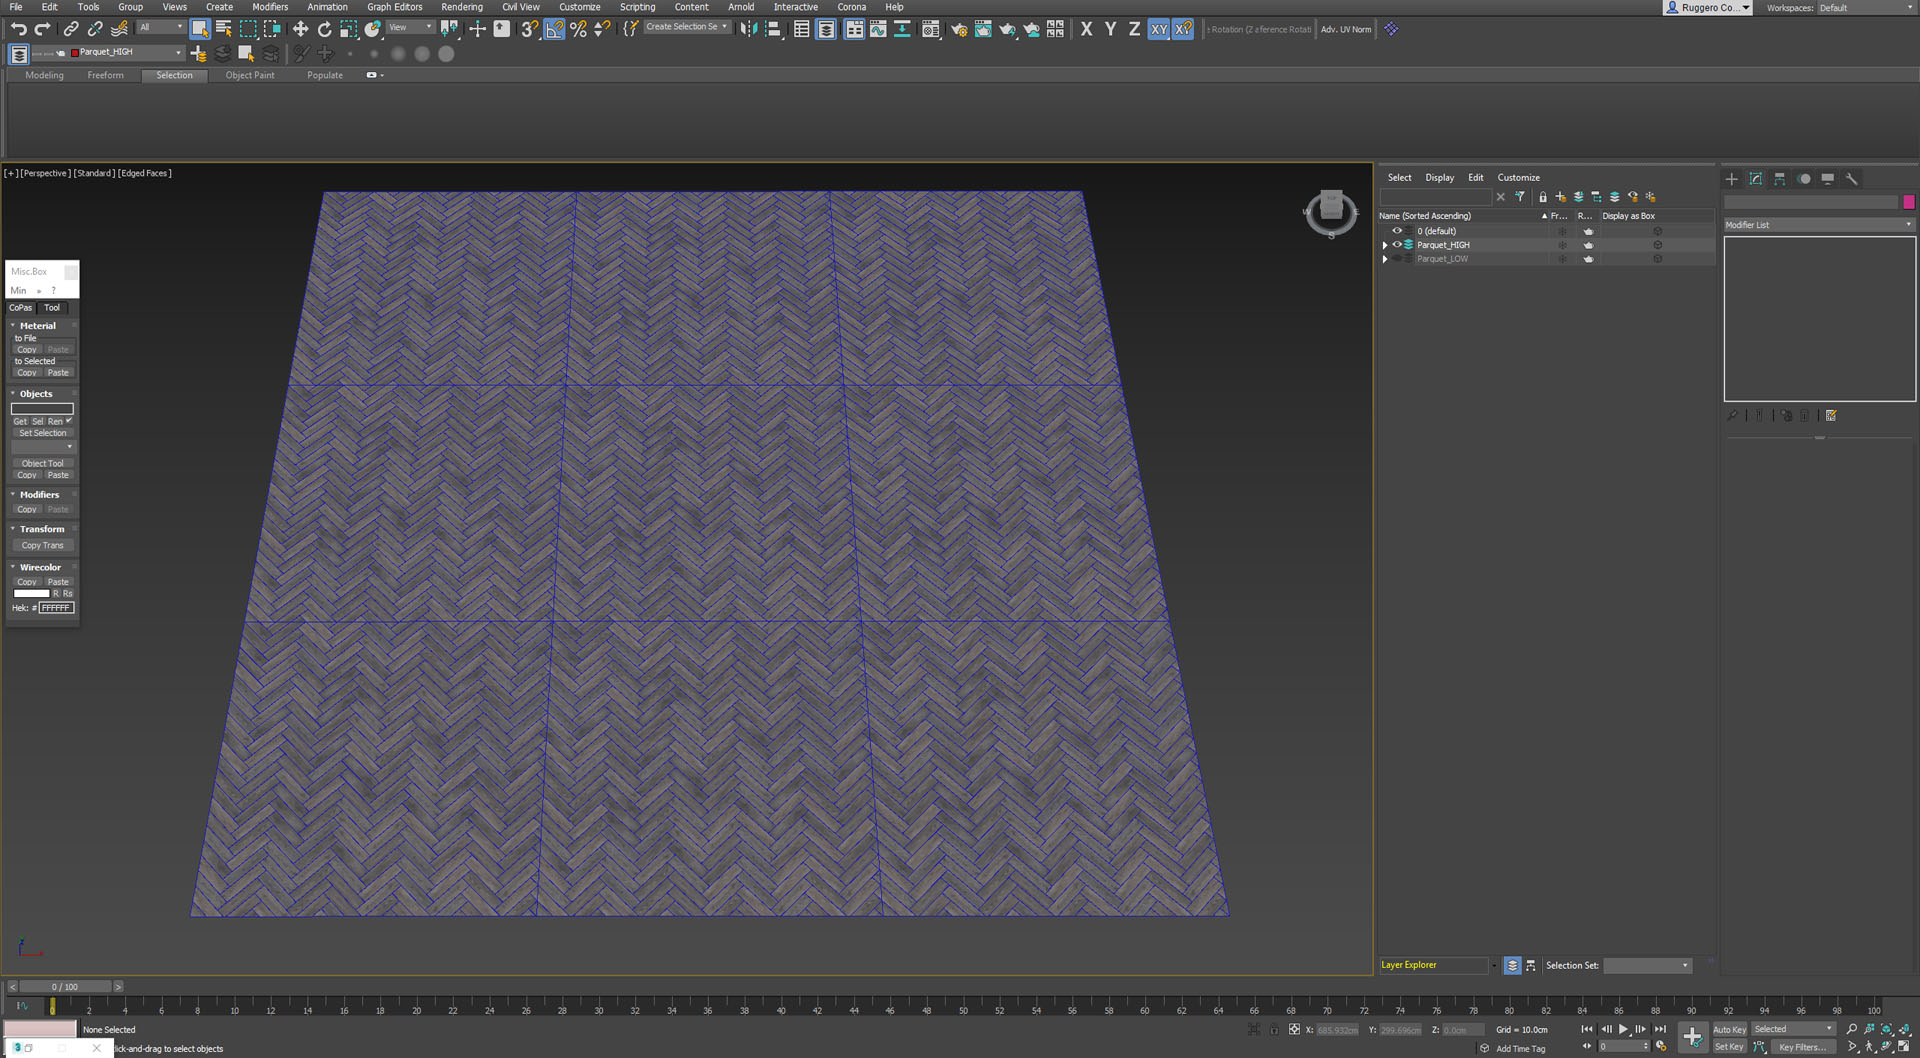
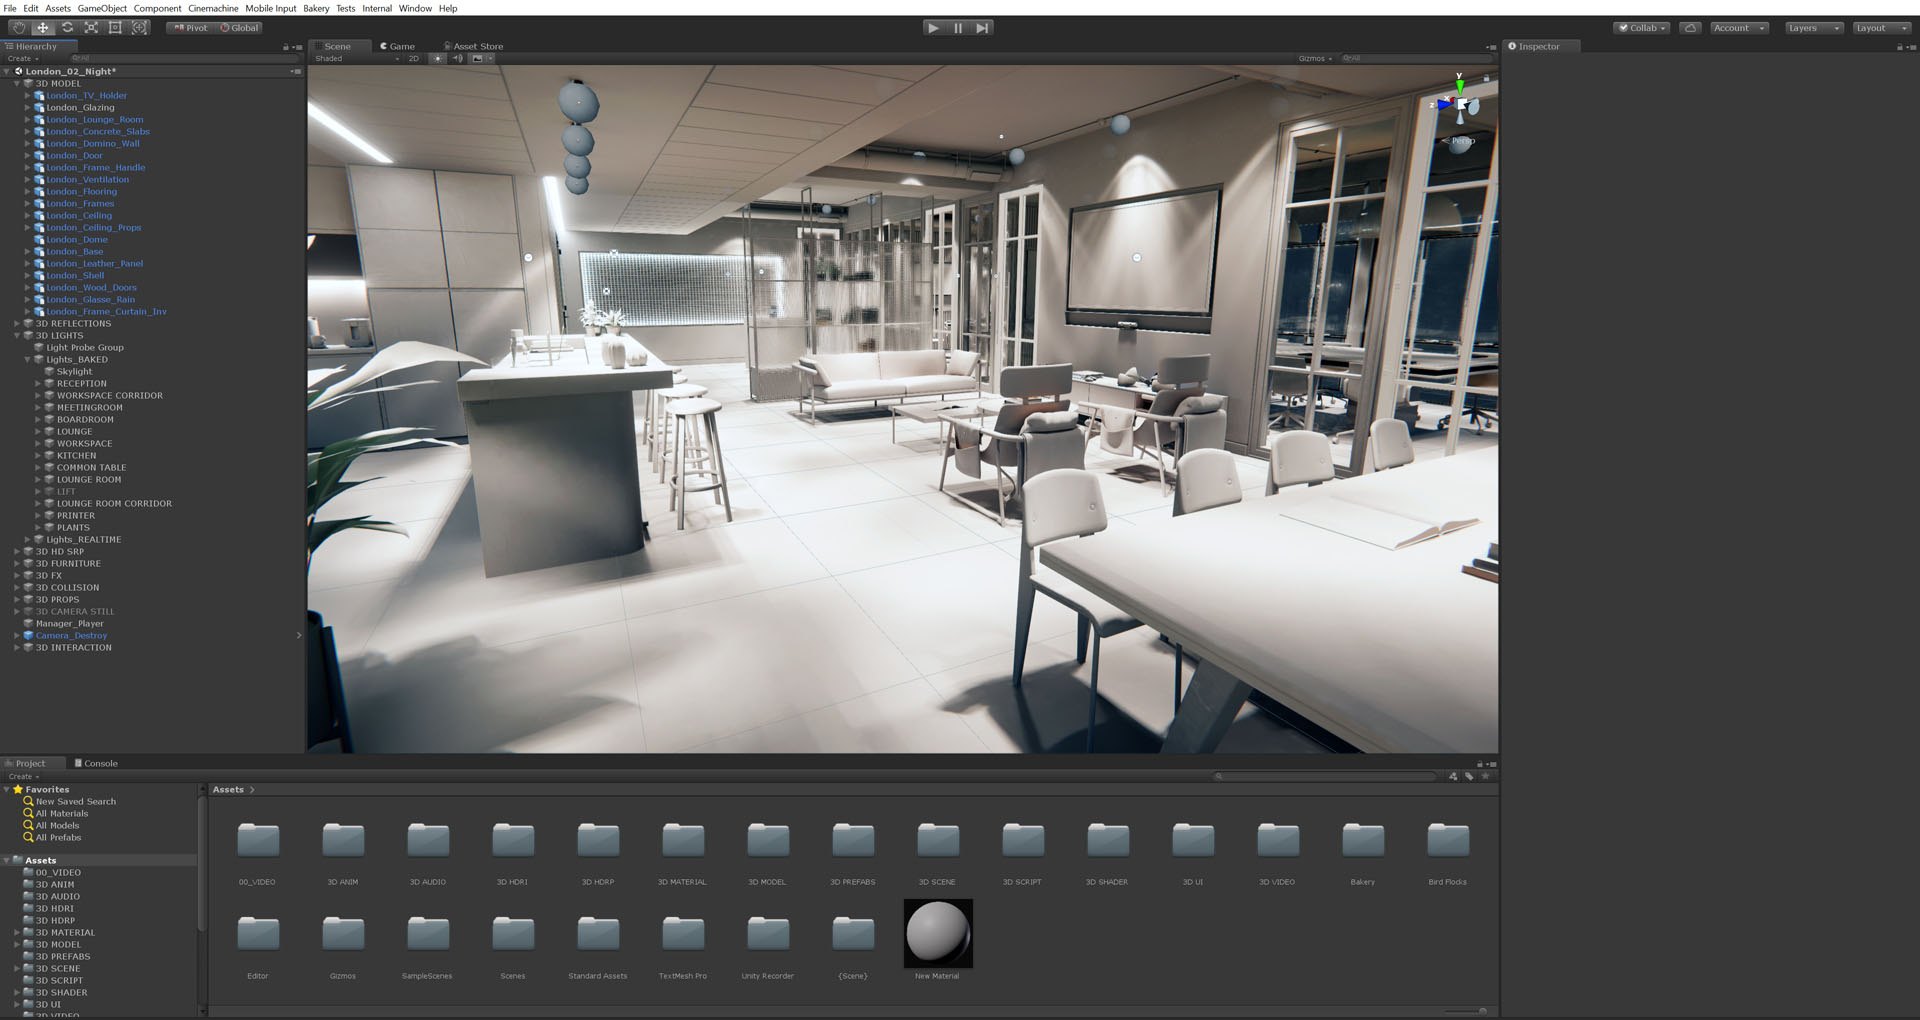
The environment modeling and optimization, on the other hand, is highly connected with the Unity scene.
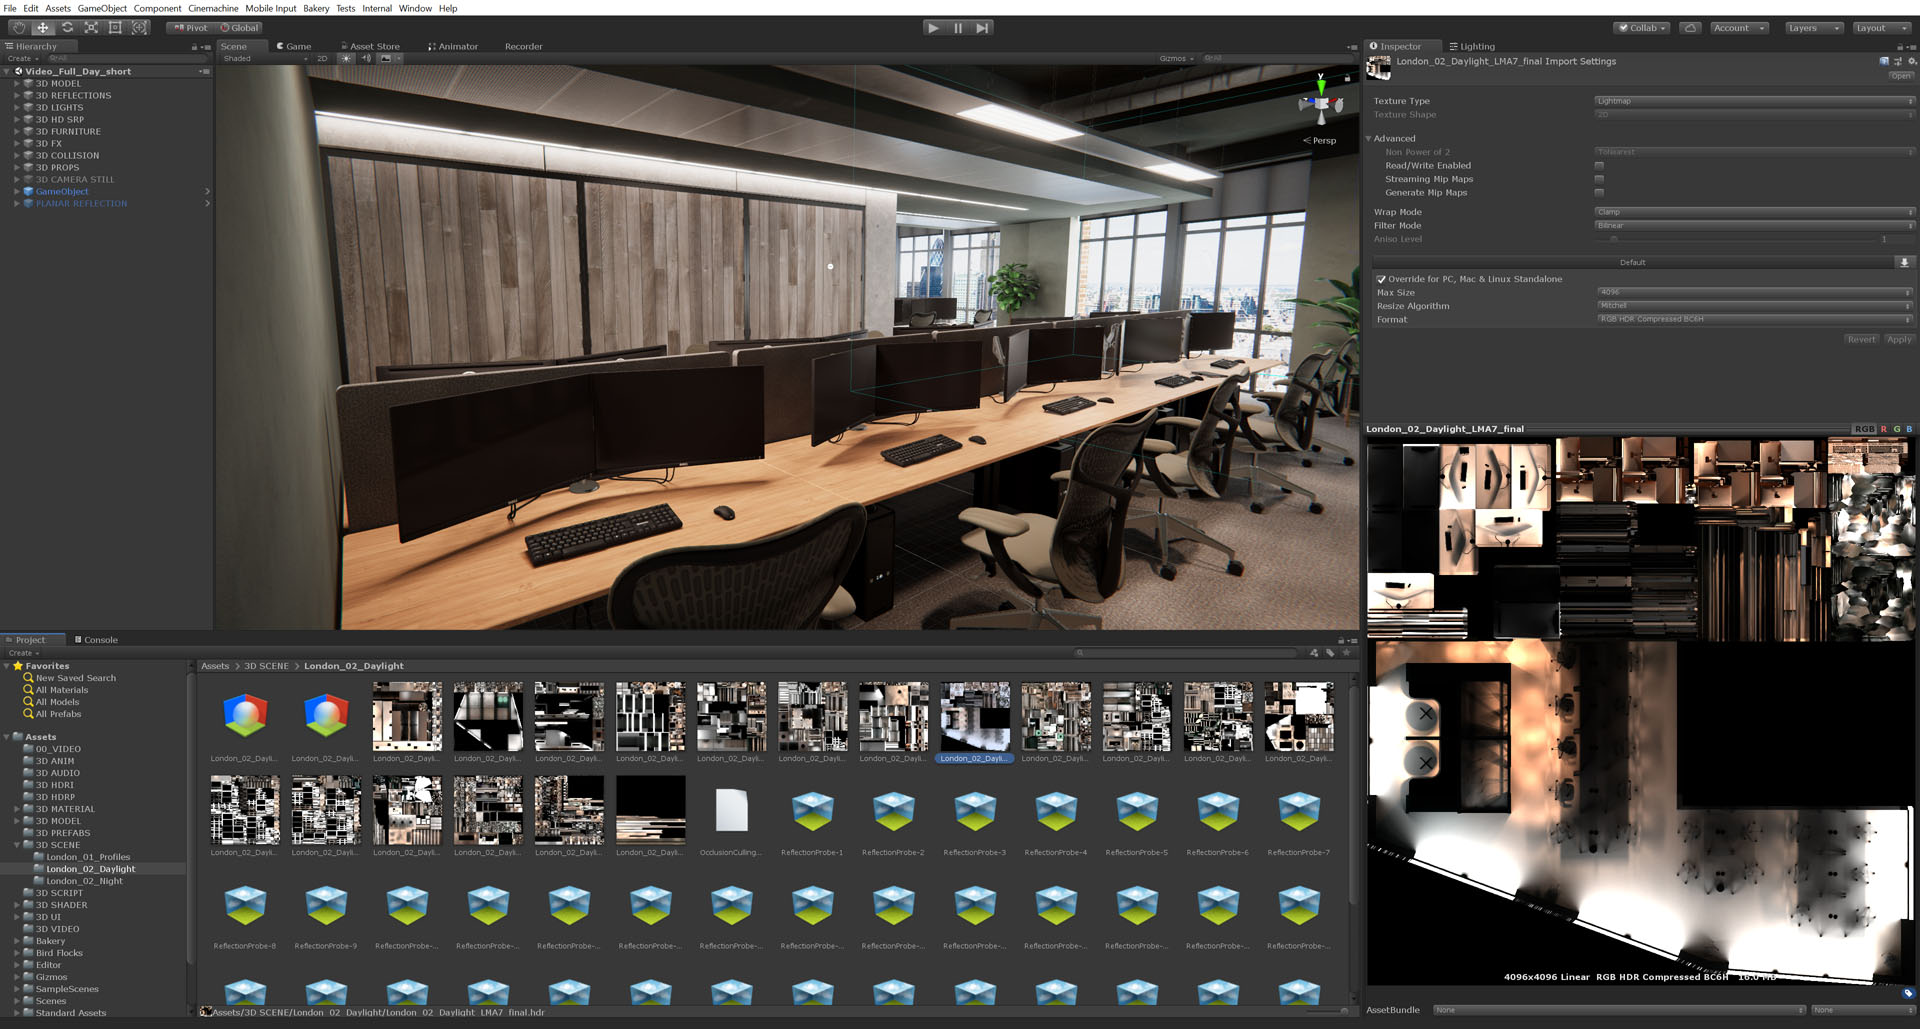
We started our first pass at modeling and optimizing the 3D environment in 3ds Max, including the main elements like walls and floors. Then, once imported as .fbx in Unity, we began our first lighting setup, looking for potential lightmap problems.
After verifying that everything worked correctly, it was possible to go back and forth between 3ds Max and Unity, adding geometry details and checking possible lightmap problems.
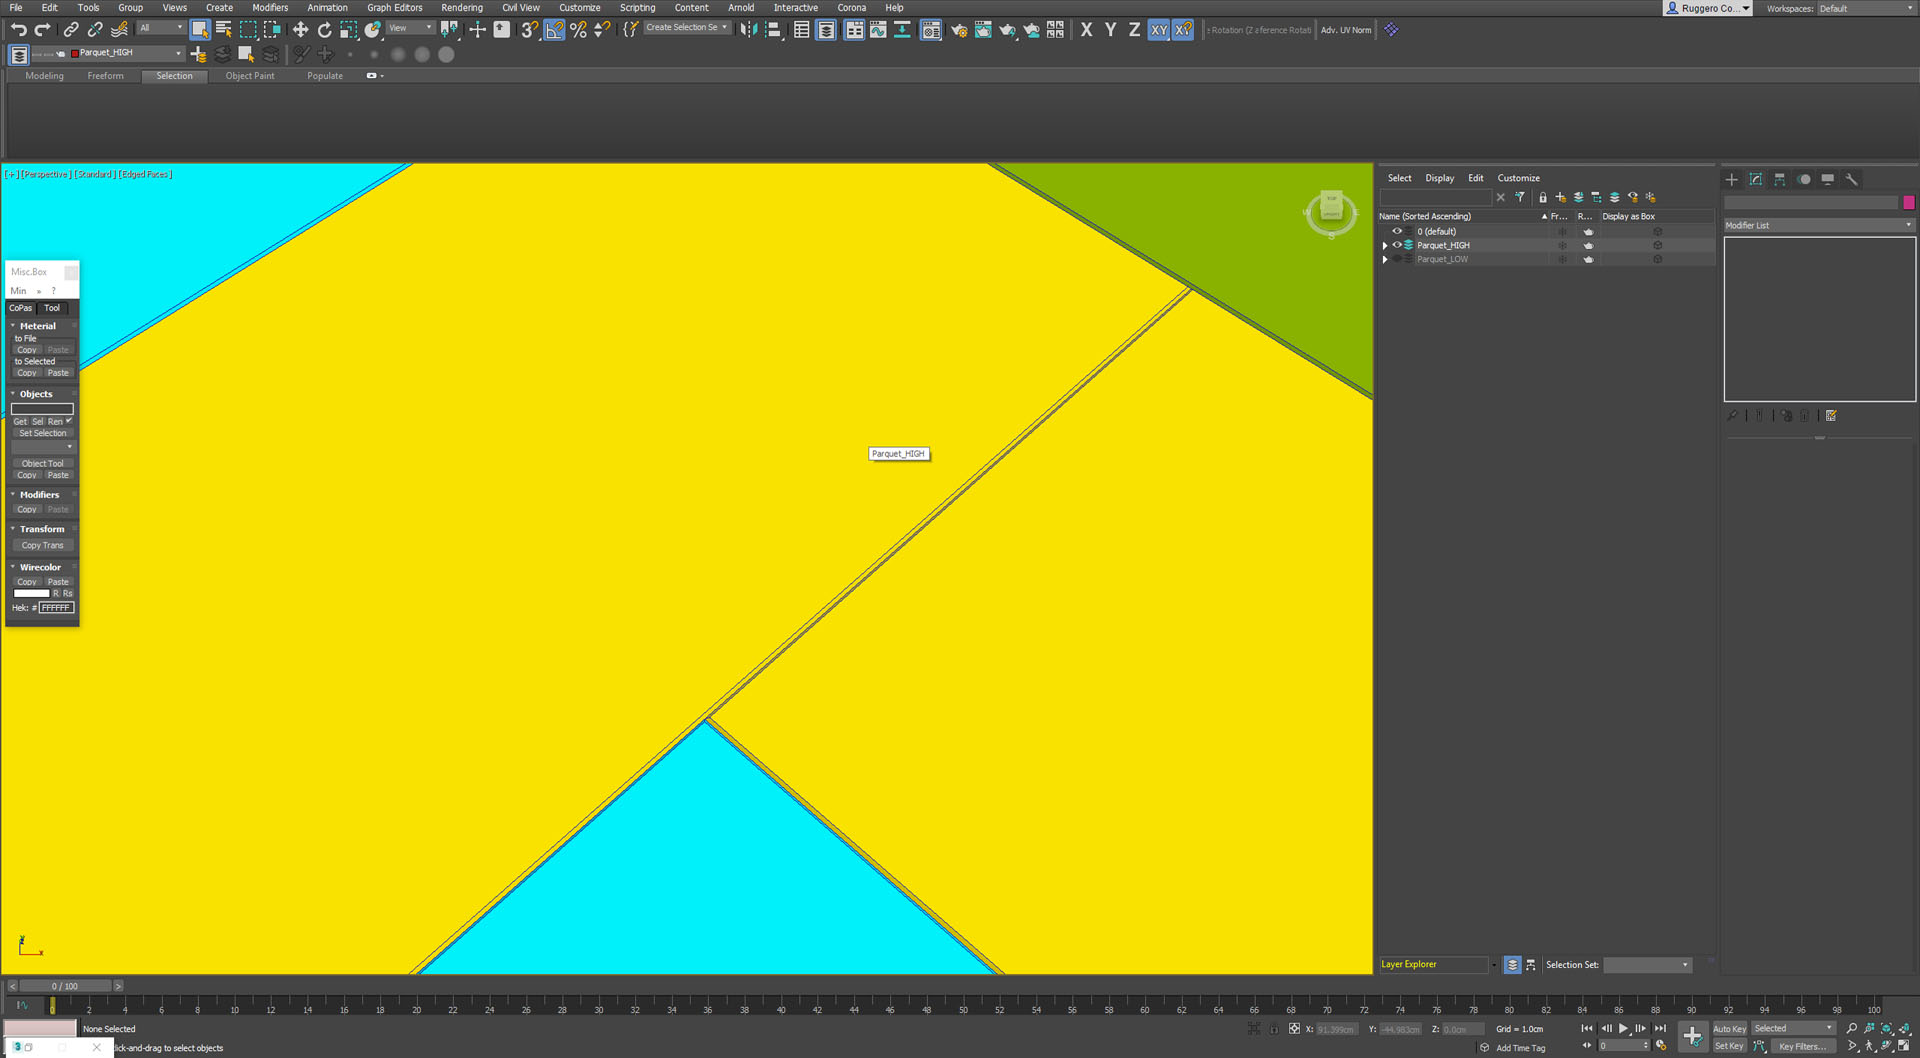
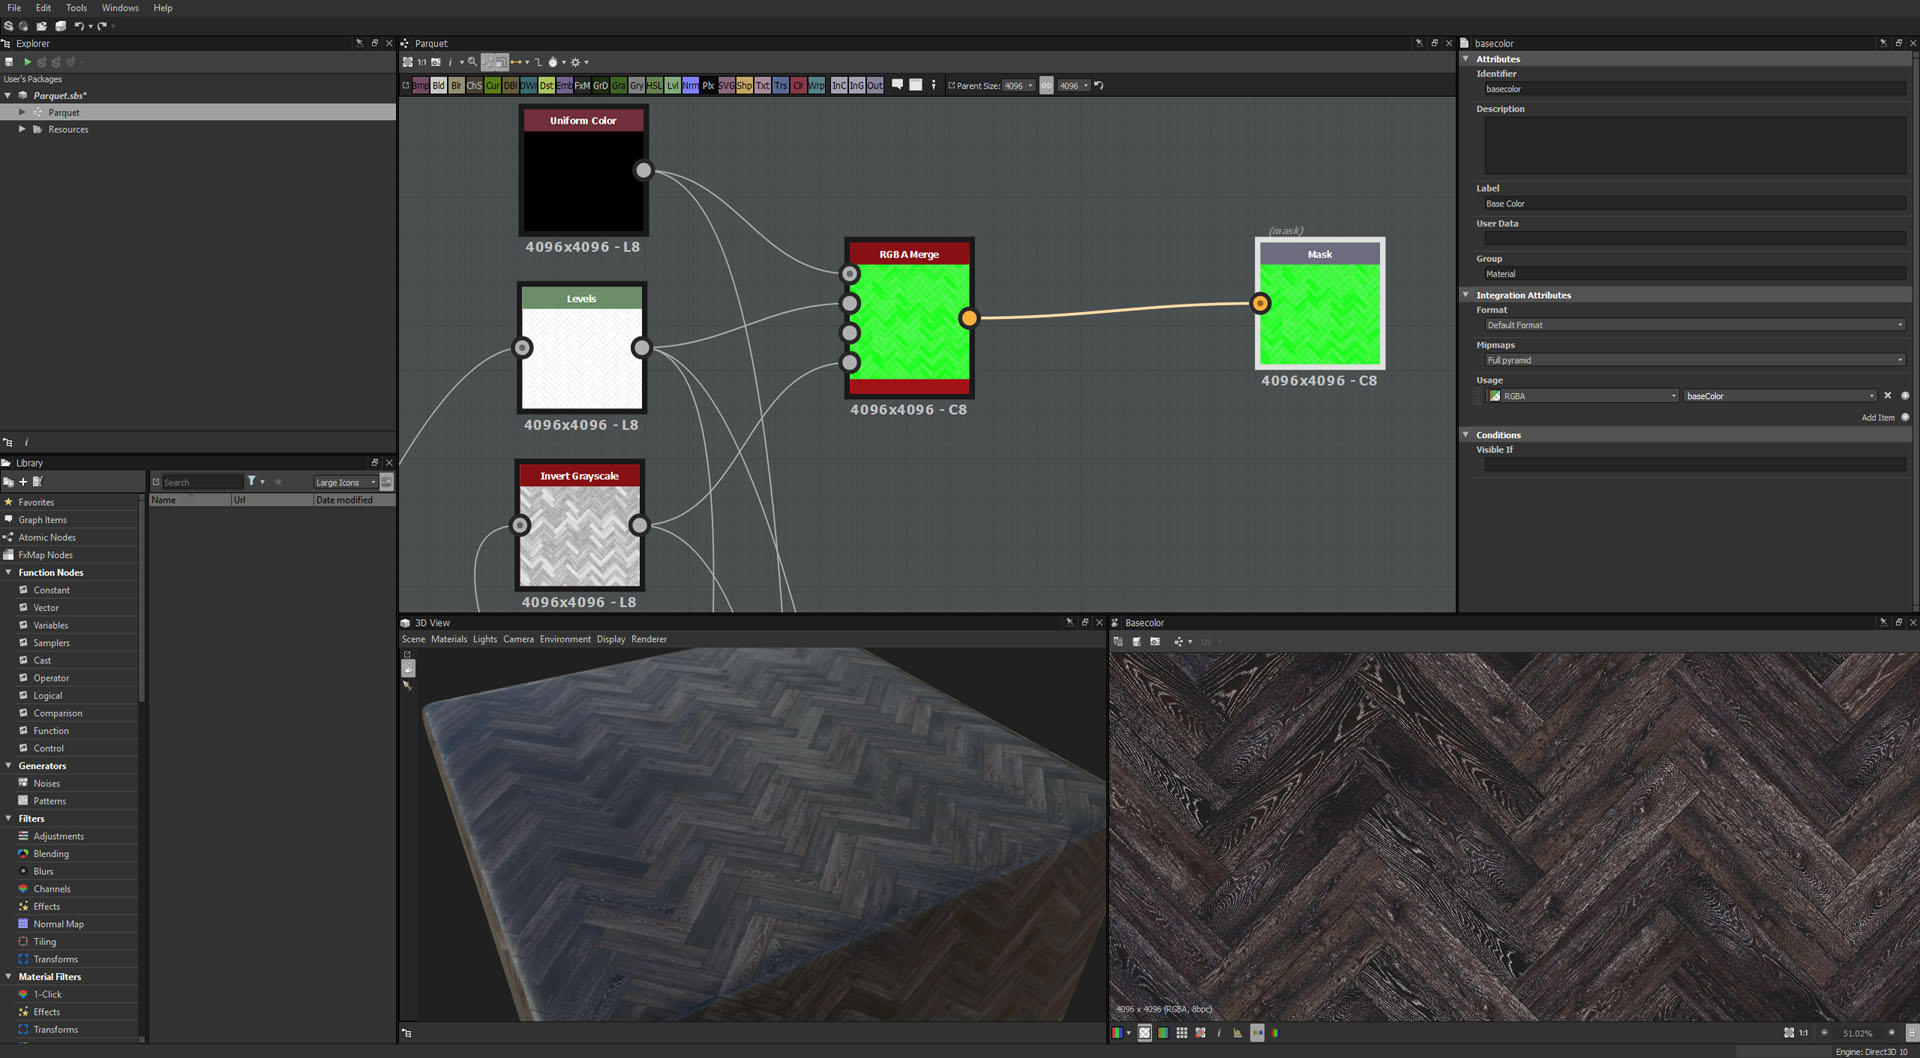
[av_masonry_gallery ids=’118046,118047,118048,118049′ items=’-1′ columns=’flexible’ paginate=’pagination’ size=’fixed’ gap=’large’ overlay_fx=” container_links=” id=” caption_elements=’none’ caption_styling=” caption_display=’always’ color=” custom_bg=”]Starting from the first draft of 3D modeling of the environment it is essential to work simultaneously on the UV map of the geometries and proceed to the realization of the materials in Substance Designer (unlike single assets where we usually use Substance Painter).
A good practice is to create the 3ds Max layers structure thinking about how you’ll do the export to Unity. Each layer of 3ds Max will become a single FBX file to be imported into Unity.
Texture & Materials
First of all, it is necessary to keep in mind that in a project like this one. A real-time PC build for AEC, Unity image effects is the only type of post-production available to you. That means that almost everything must be done in 3D. Your workflow needs to be adapted to this necessity.
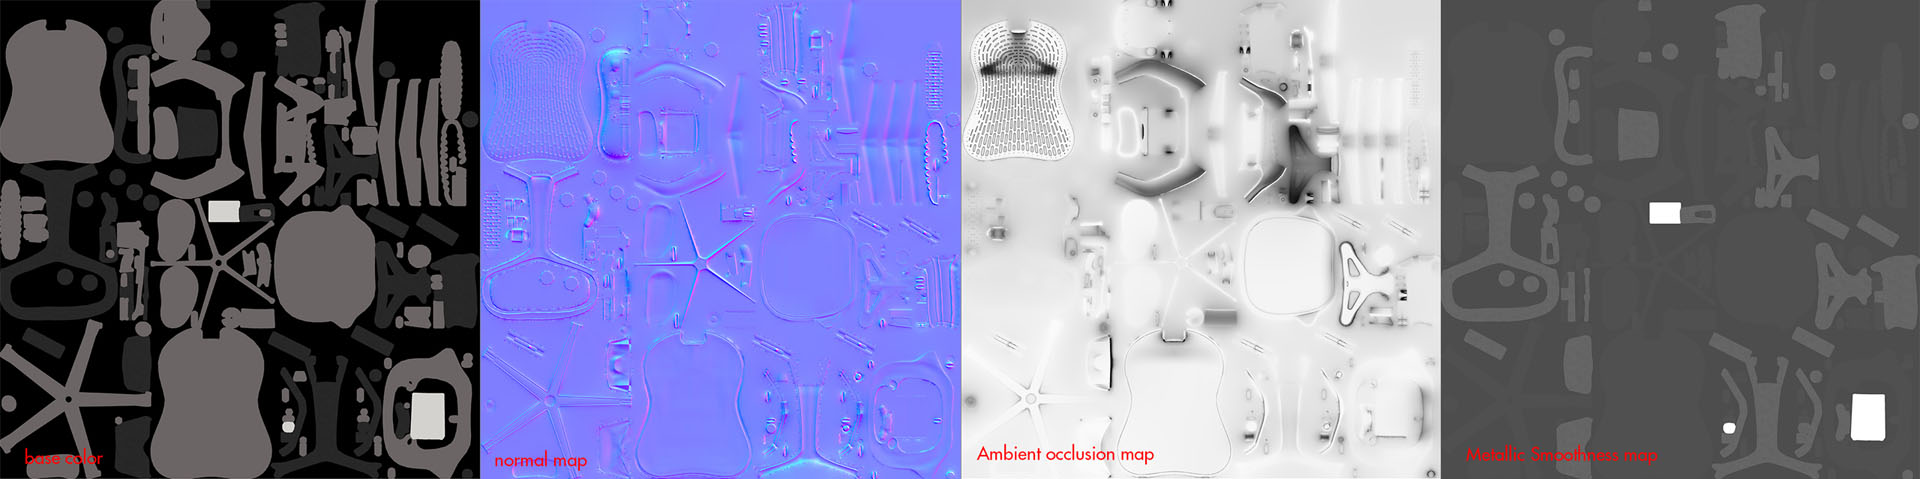
Substance Designer and Painter is a fundamental part of this process and allows us to get PBR shaders, a composition of different maps like the diffuse map, normal map, metallic, AO and more.
Once the maps are exported from Substance, it is necessary to import everything into Unity for the creation of the shader, which will be applied to the 3D model.
As anticipated in the previous paragraph, the workflow changes depending on whether you are working on a single asset or a part of the environment, like the floor.
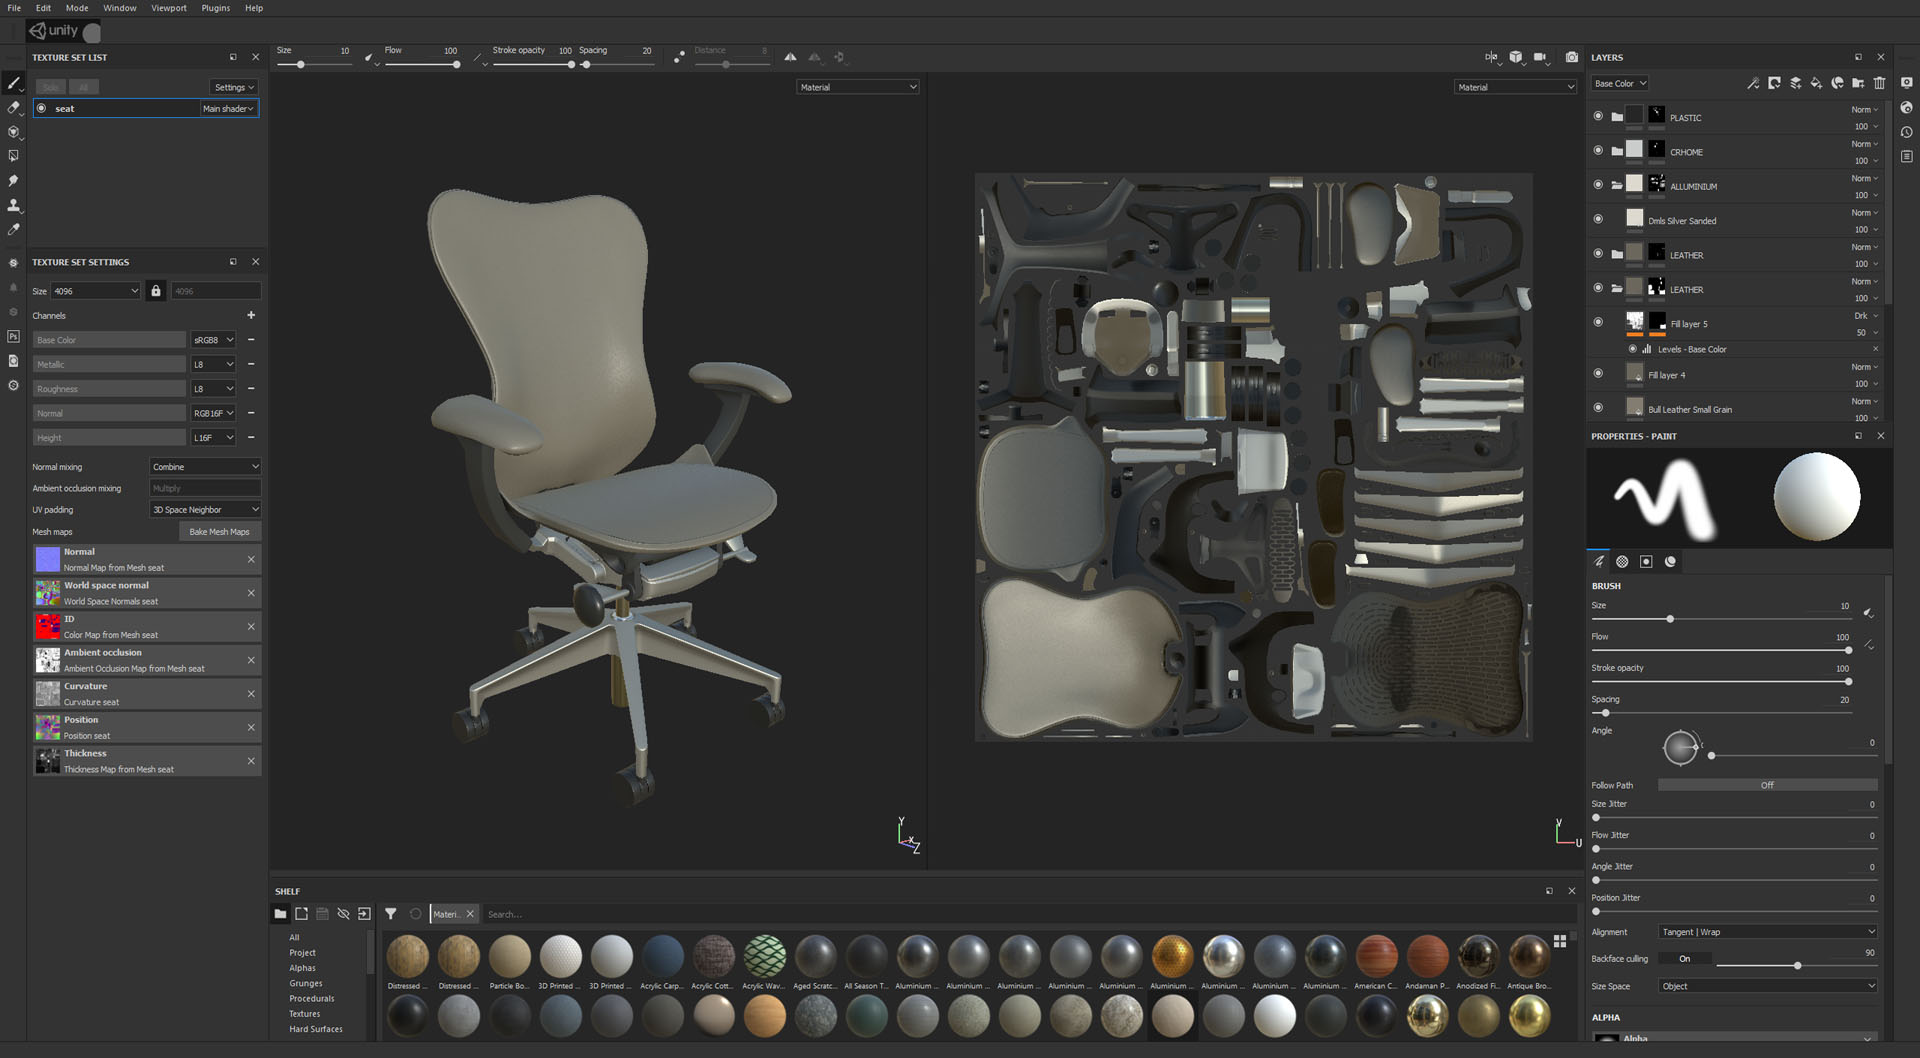
In the case of a single asset like the armchair shown previously, once we have created the low poly version and made the unwrapping of it, the high and low poly 3D models are imported in Substance Painter where it’s possible to add details and bake all the maps you need to create a PBR material.
For the floor, we started from the 3D high poly model.
Working on details
Creating the multi-material
Creation of the low poly version (just a quad)
Bake option of 3ds Max to get different maps
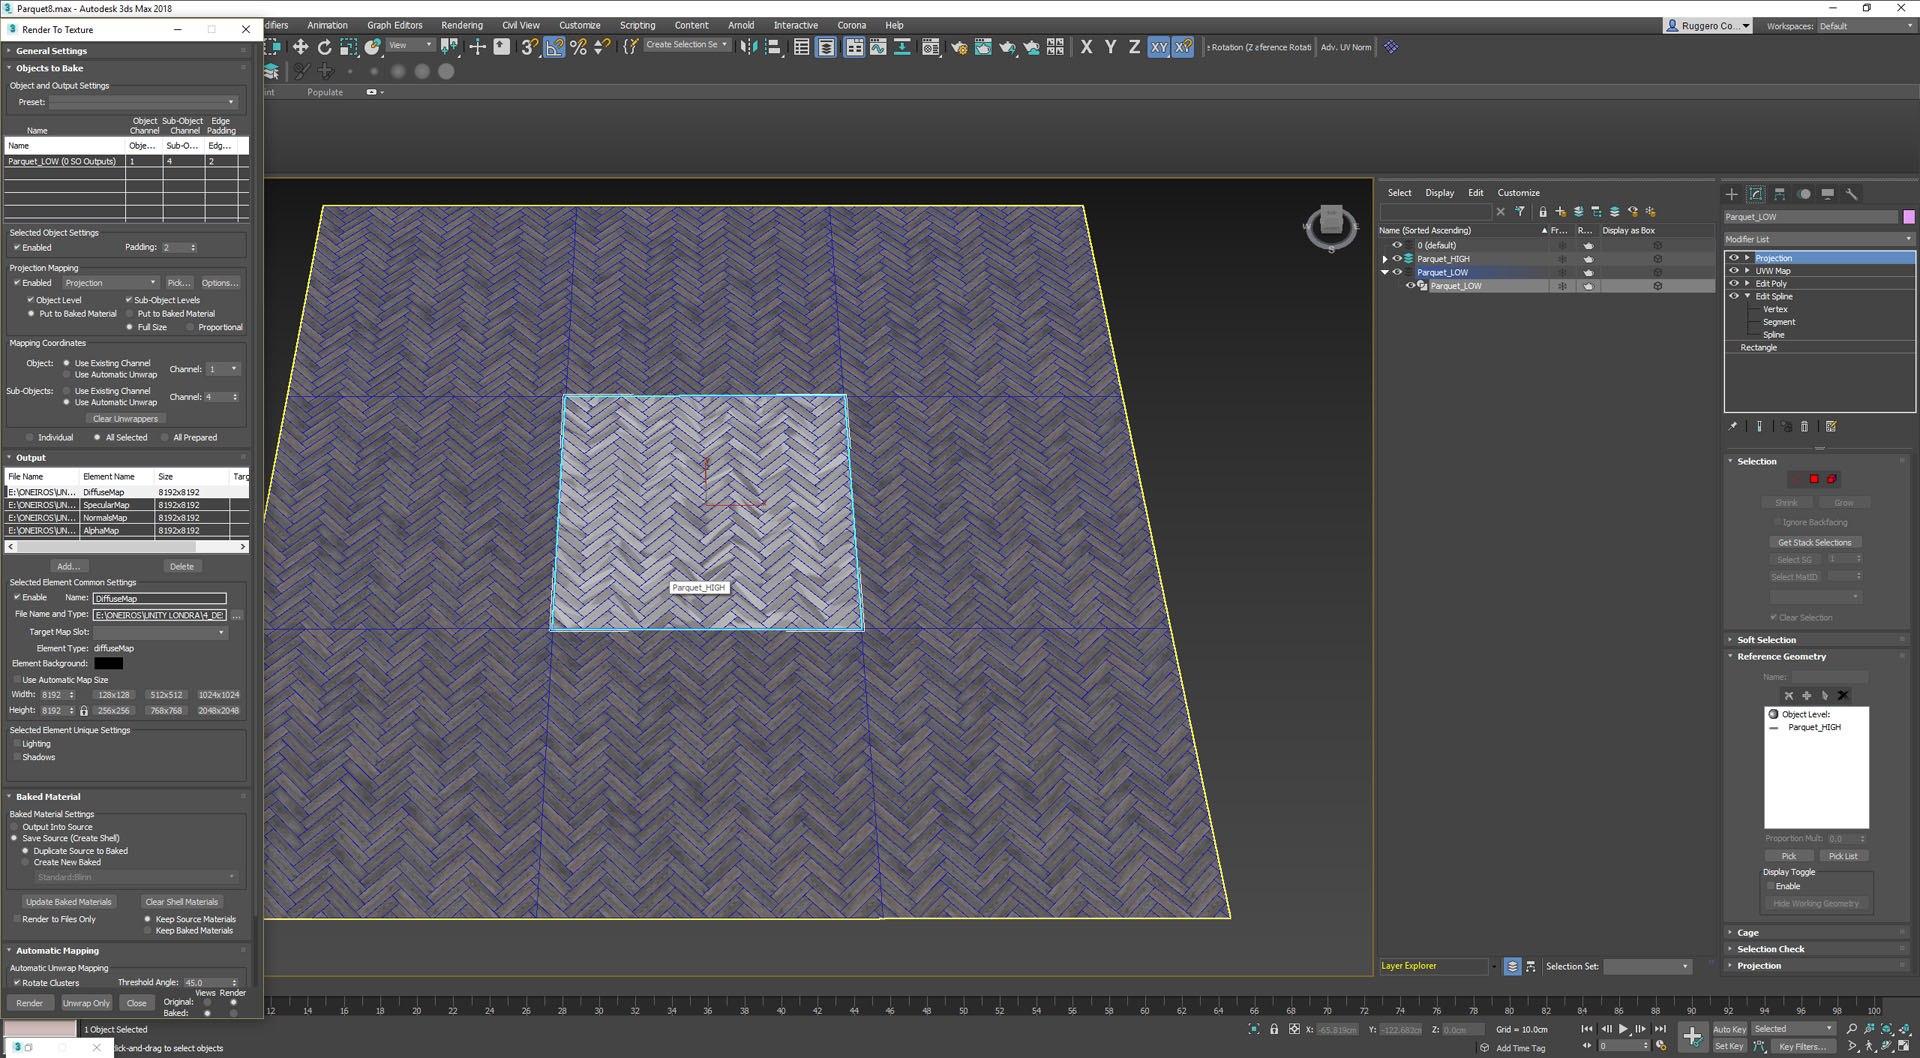
Once finished all these steps in Max, it is necessary to use Substance Designer to compose all the maps created and obtain the final material.

Exporting the HDRP channel
I want to open a brief interlude below regarding the new possibilities offered by the new HDRP of Unity.
In the new HDRP, the “old” standard shader become a “Lit Shader,” and it was introduced the “Shader Graph” that allow creating custom shaders without hand-writing code.
Just below it is possible to find an example of Lit shader produced using Substance Designer graph and an example of shader created with the Shader Graph of Unity.
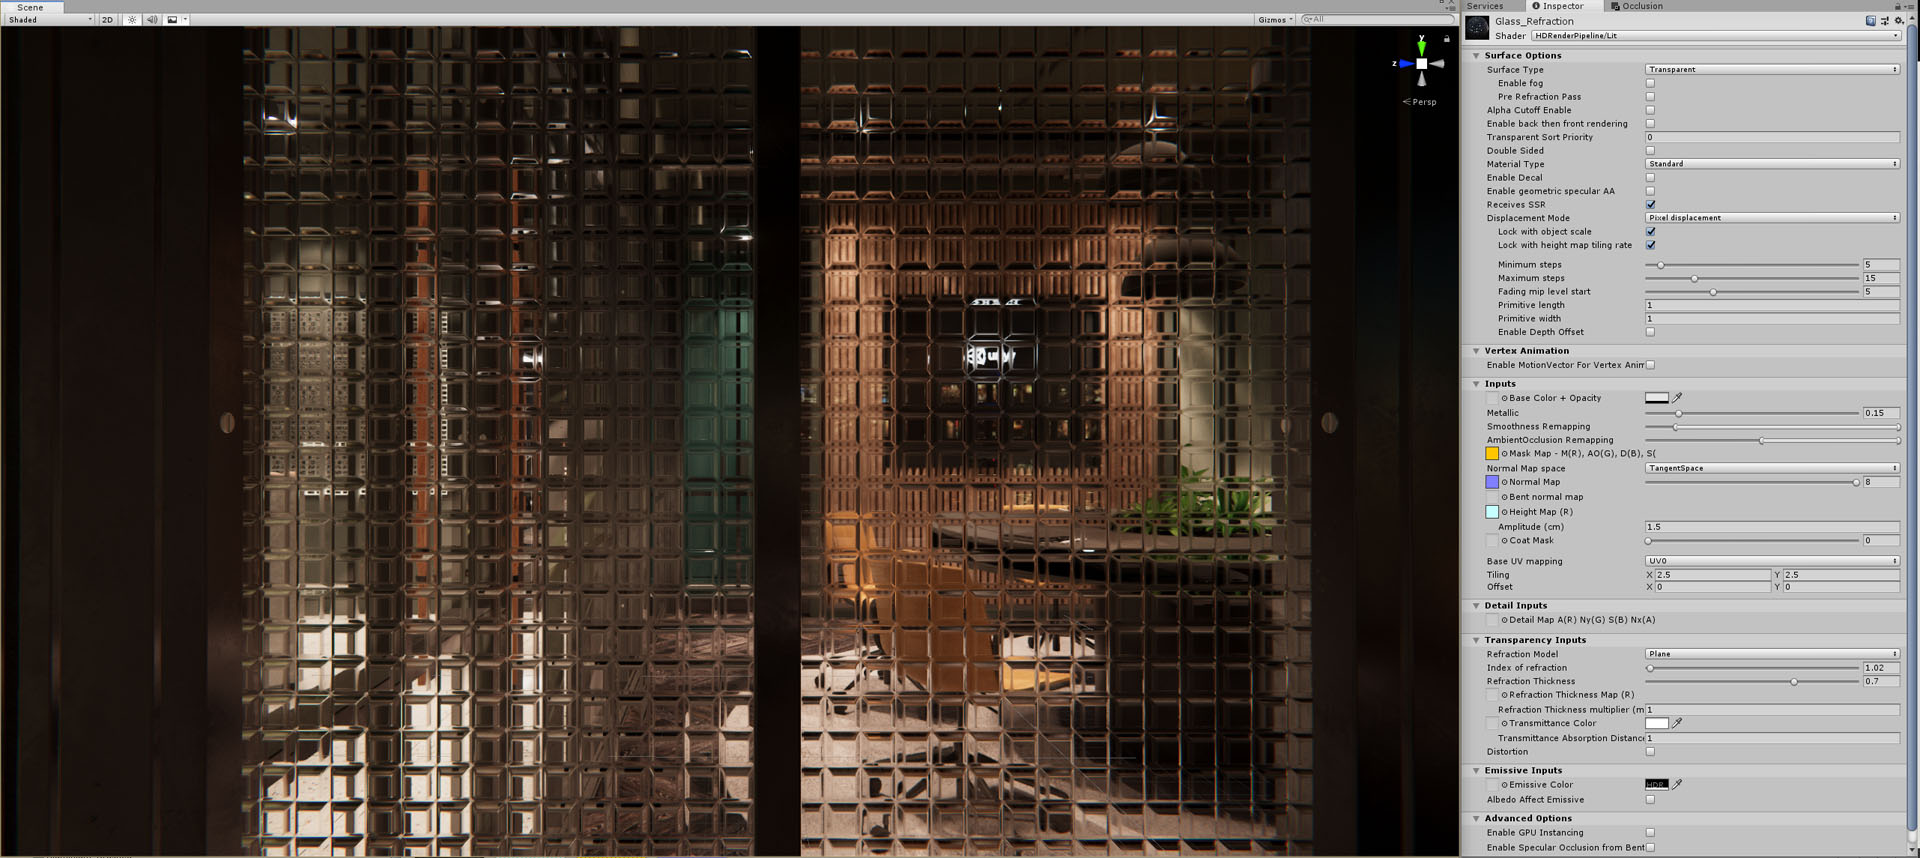
The Lit shader of a glass Refraction made with Substance Designer graph:
This image shows the shader in the scene and the HDRP shader material Lit settings.
This one shows the Substance Designer graph used to generate the textures.

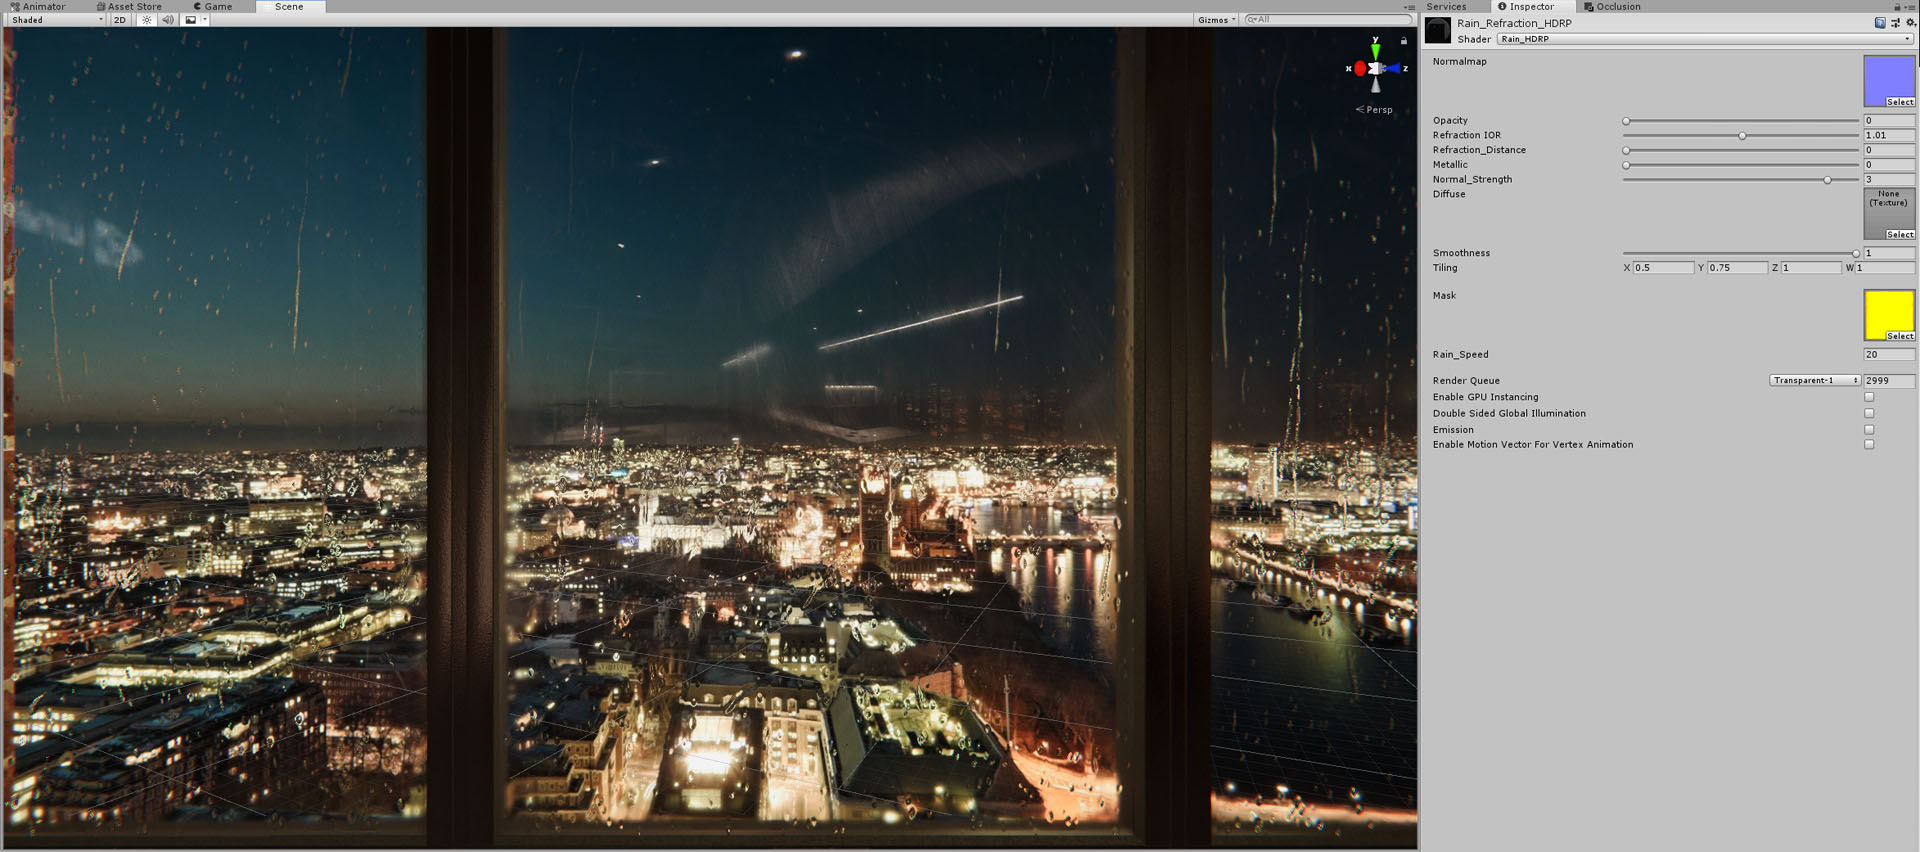
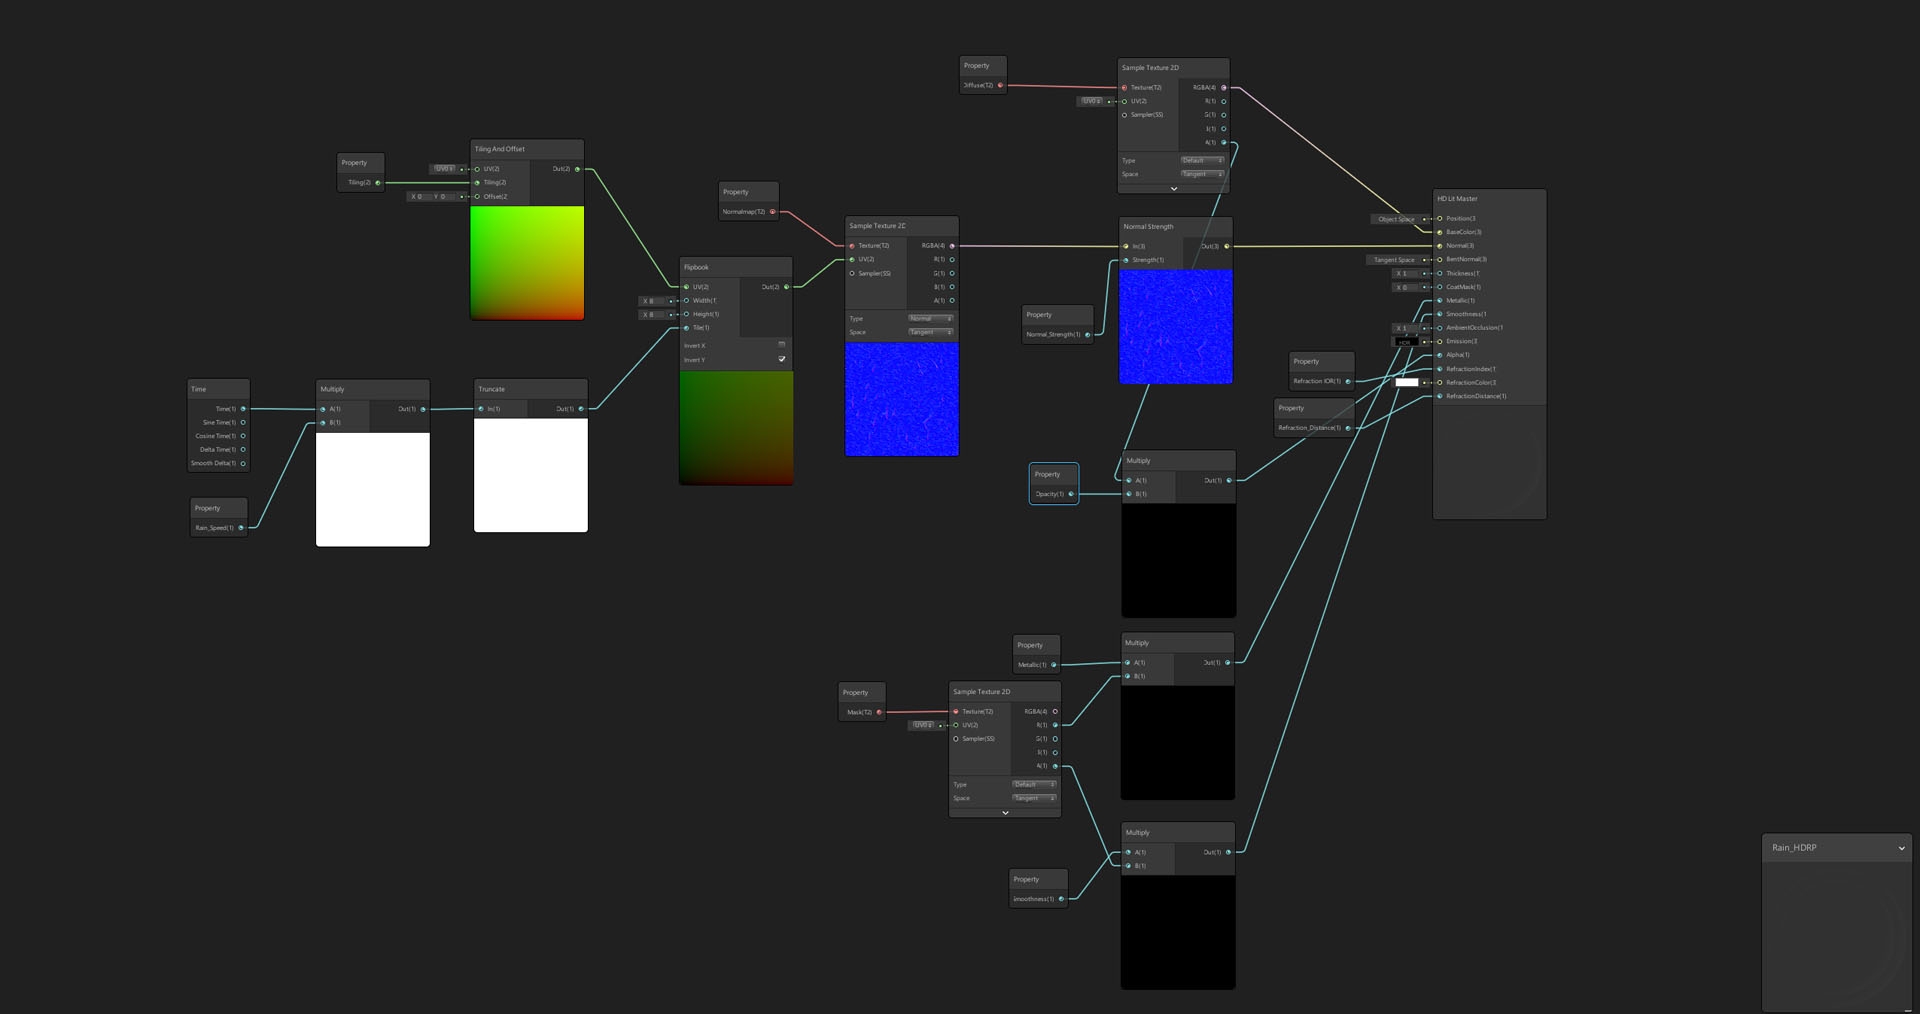
The custom shader made to produce a glass refraction rain:
This image shows the shade in the scene and the HDRP custom shader settings.
This one shows the Unity Shader graph used to generate the textures.
(adding a couple of new examples. The first one about the HDRP shader -made with the new material graph- and the second one about the HDRP lit material)
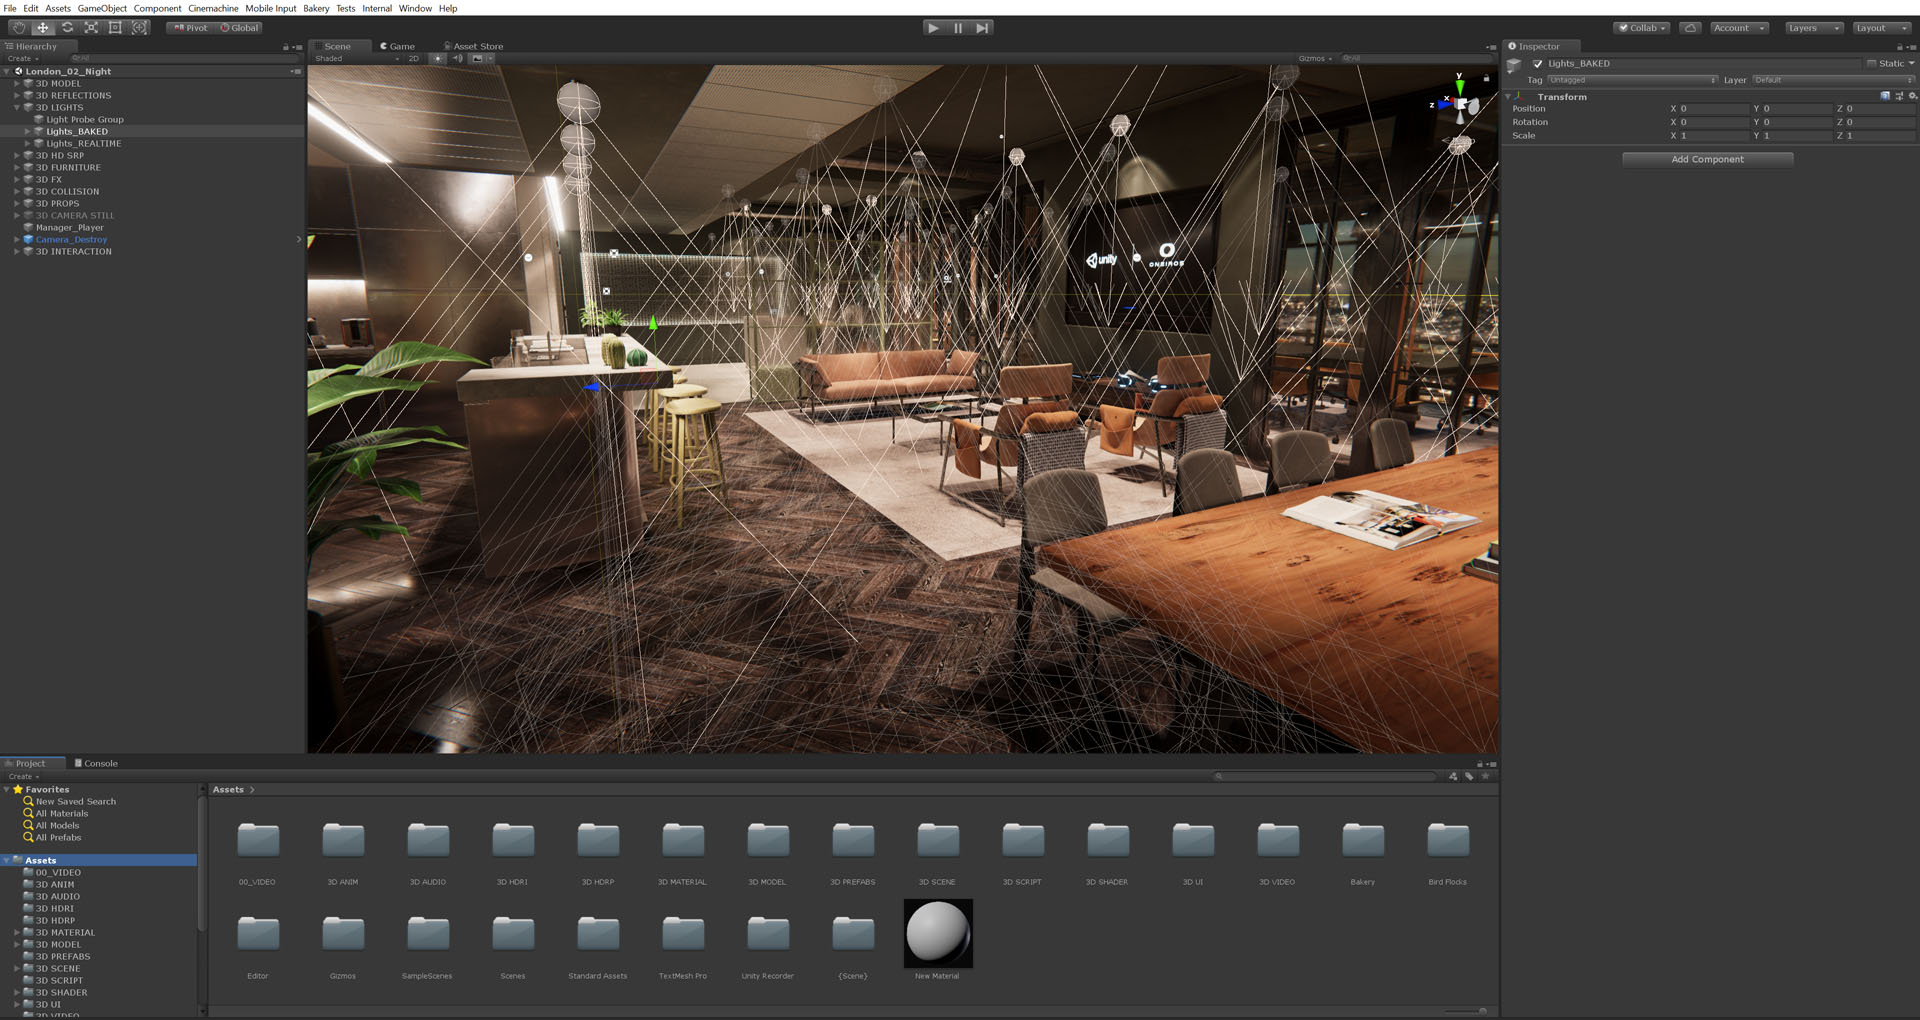
Lighting
The lighting setup in Unity requires you to differentiate the use of real-time lights and baked lights. The first one will be calculated each frame, and the second one creates a unique map called lightmap.
In real-time engine as Unity is fundamental to understand the importance of the term frame rate.
When we are using a rendering engine like V-Ray or Corona Renderer, produce a single image may require between 5 minutes to several hours to be finished but in Unity you need to render 30 images per second at least! It means that you have to optimize everything possible. That’s why in the prior paragraph I explained the importance of creating and using low poly 3D models.
In the lighting composition, a real-time light requires a lot more CPU and GPU power to be calculated, and it means a lower performance than use a baked light.
So it is essential to try to use more baked lights as much as possible than the real-time lights to increase the frame-rate.
The difference between them concerns not only the frame rate issue. Another equally important aspect related to the baked light is about the generation of the ambient occlusion map.
Other advantages and disadvantages of both are linked at the beginning of this paragraph.
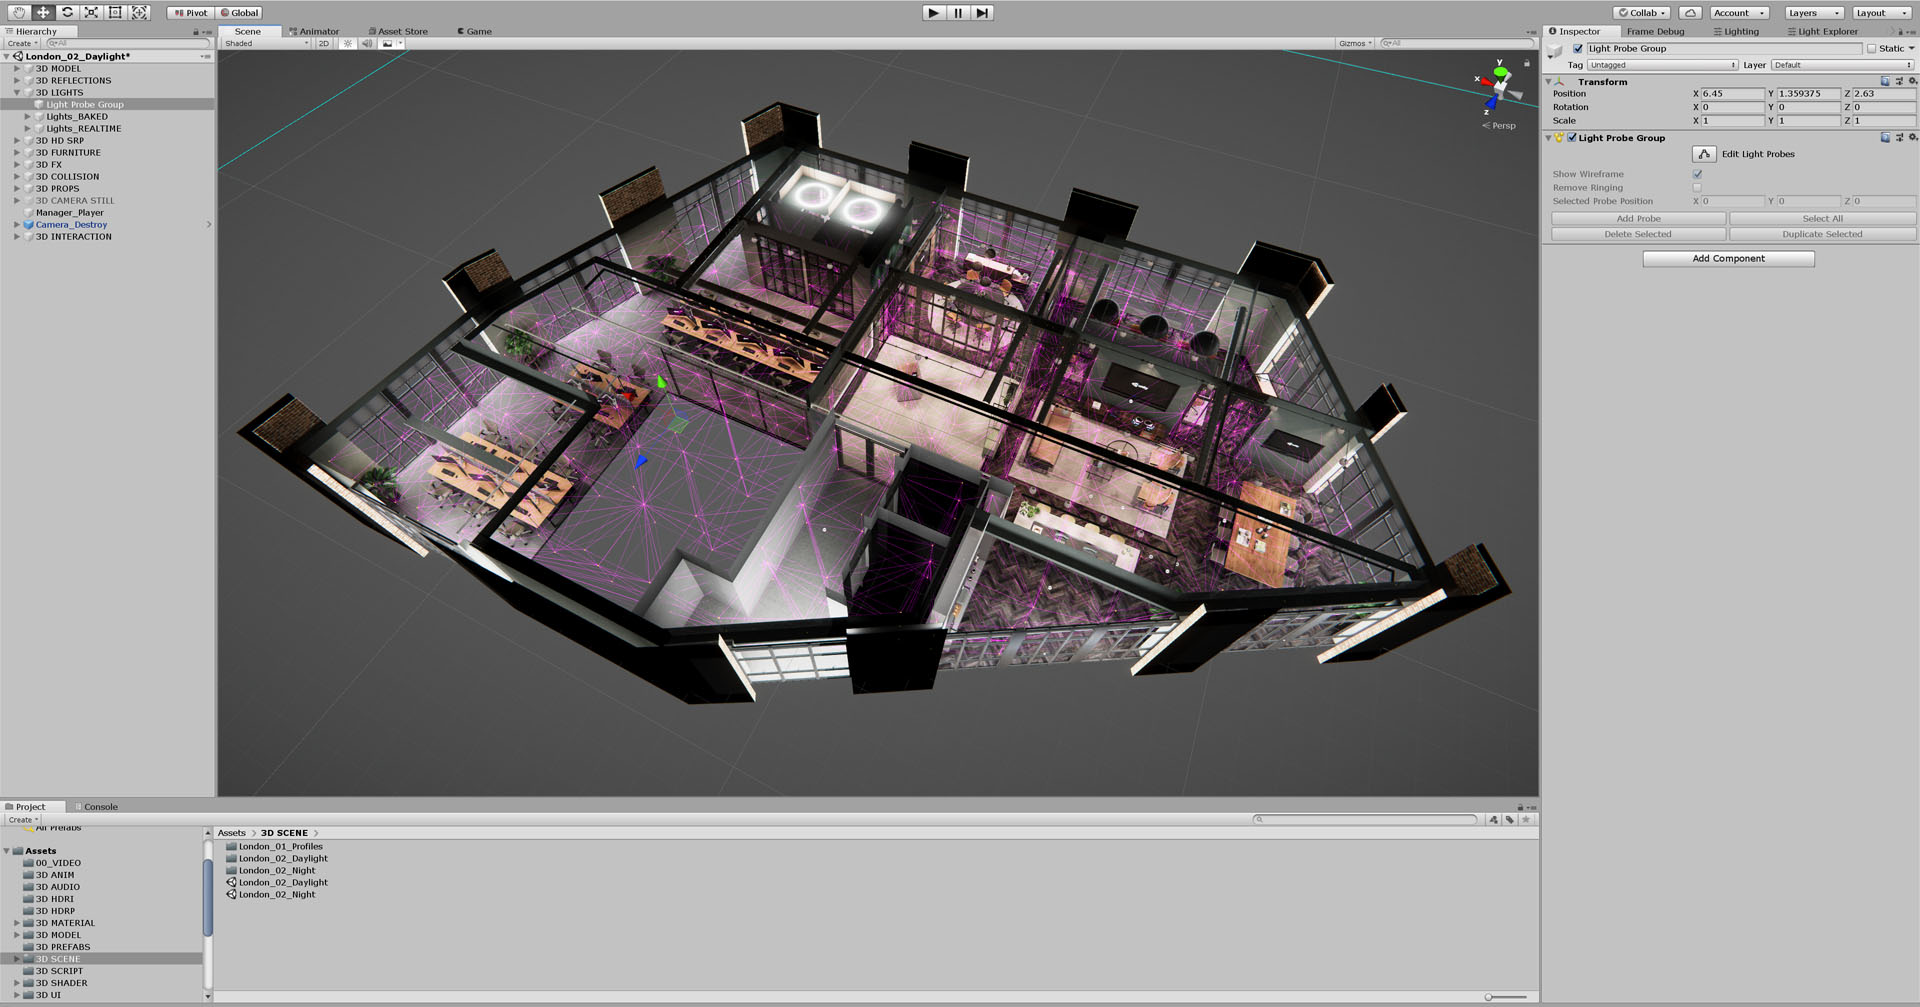
Once a base setup including your real-time and baked lights is made, it is essential to set the reflection probes and the light probes.
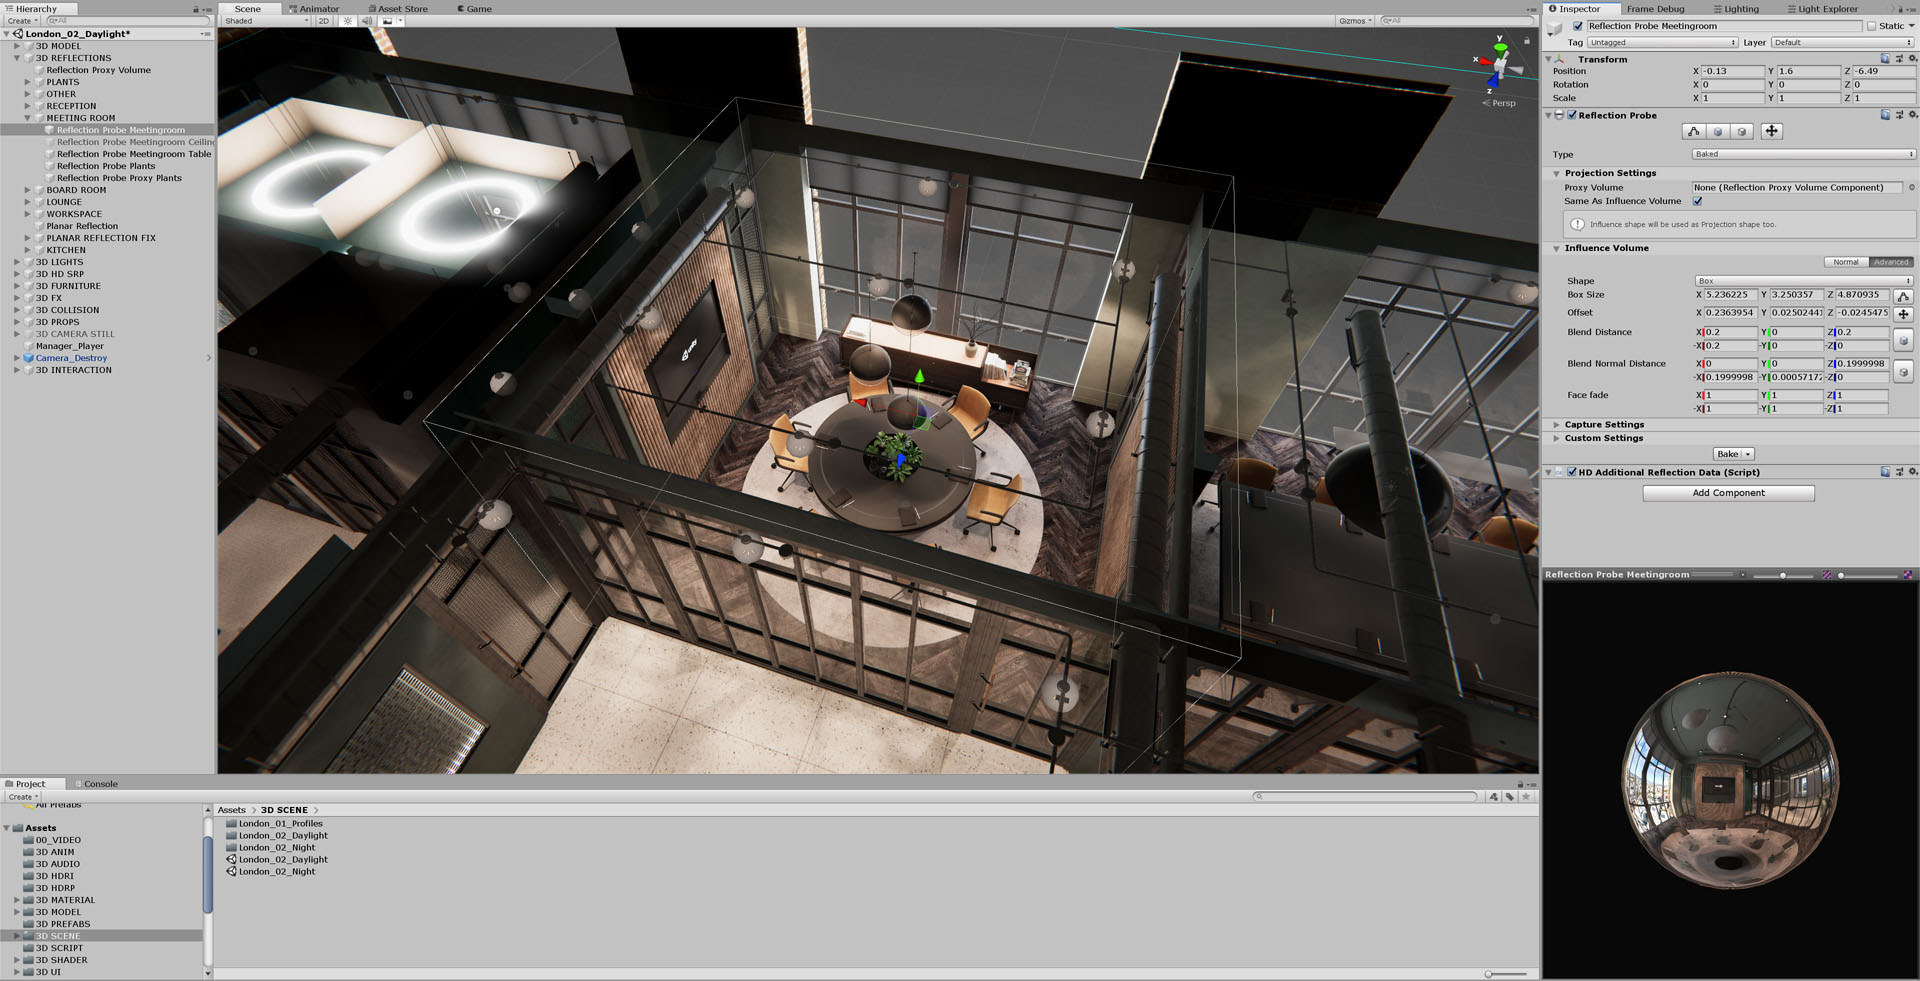
Here an example of with/without use of a reflection probe:
If you remember, the idea of this project was to give to the user the ability to switch from a day scene to the night scene, so it was necessary to create a second lighting setup.
Finished the whole lighting setup, the post-processing camera is the final step.
Post processing is fundamental to simulate a physical camera have better control of color grading, exposure, etc.
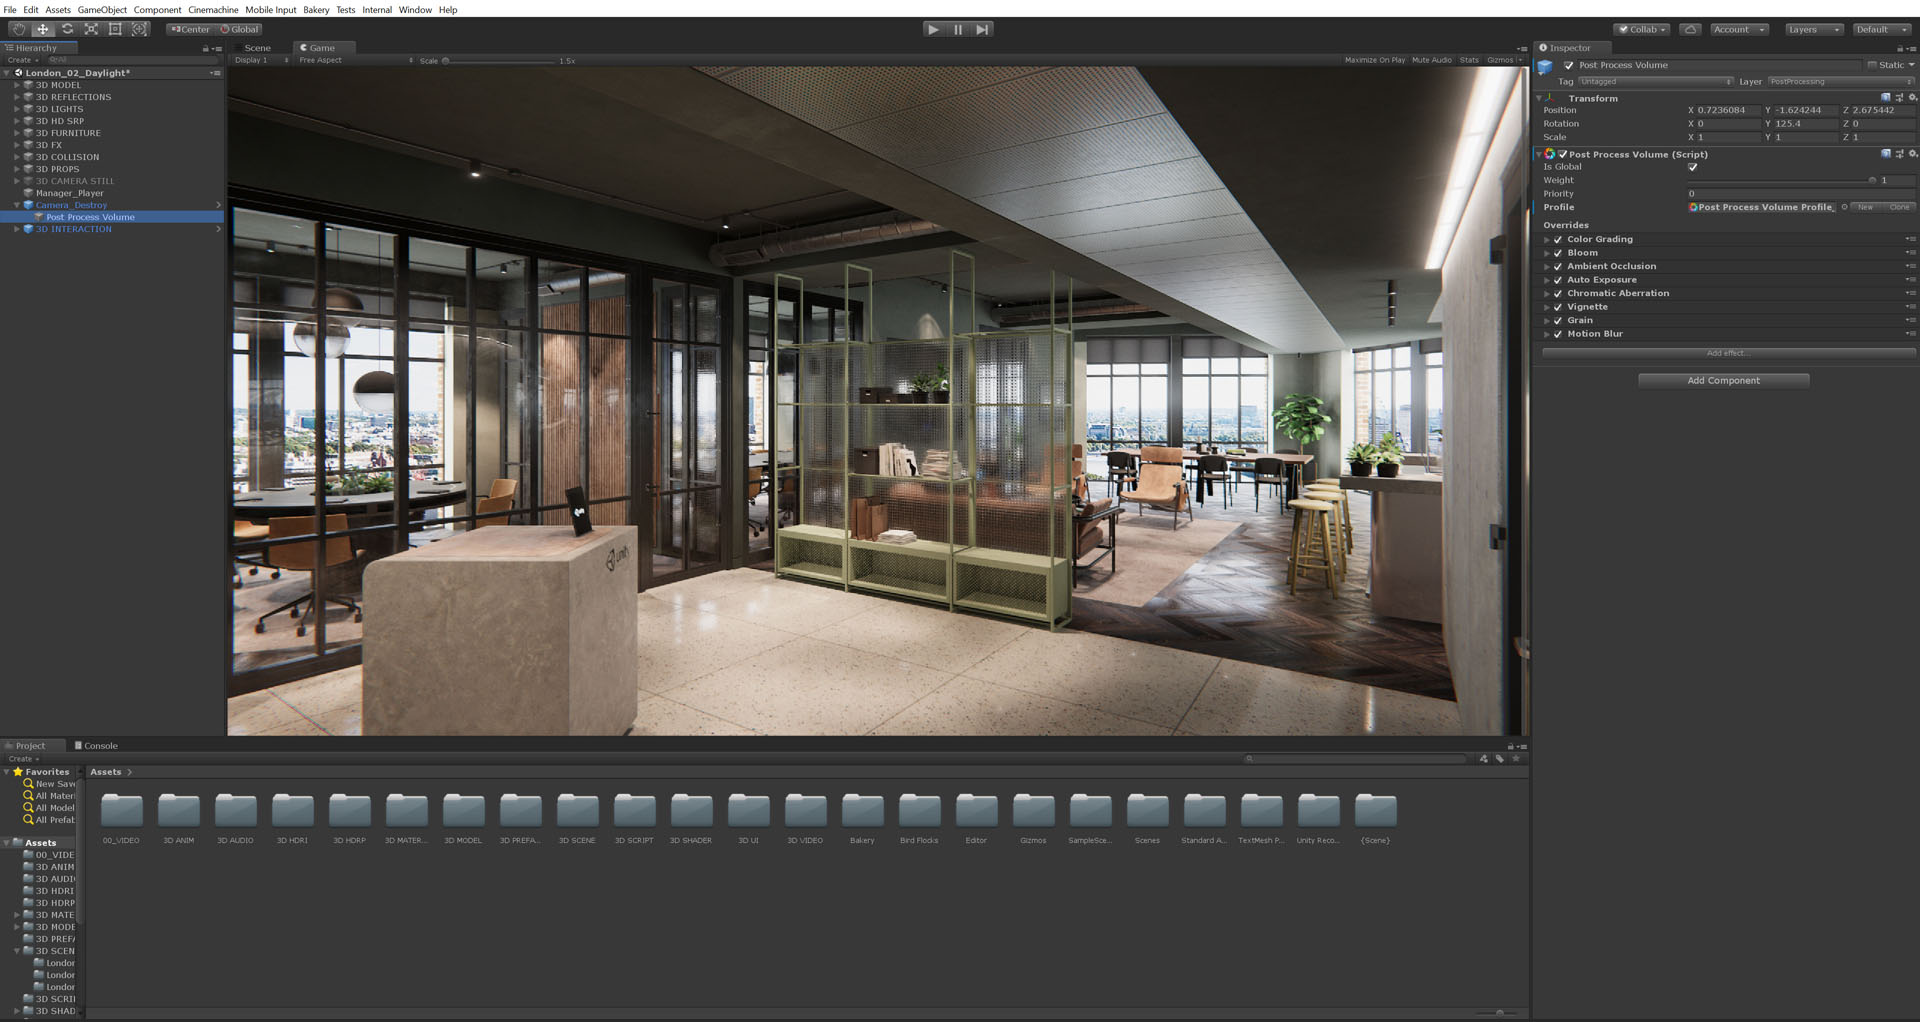
Working in Linear Color Space tends to flatten the image even though it does produce more natural light looking results. To make up for this, Color Grading is significant to introduce contrast into the image and balance shadows/highlights.
Correct PBR values are fundamental in this process to get correct looking materials. It is imperative to avoid an albedo being wholly white or black. This is one of the most common mistakes in the PBR workflow. The Eye Adaptation is also very important to “feel the light.”
We have seen how it is possible to switch from a standard workflow to do still rendering to create interactive environments, how helpful is Substance in this process and how powerful could be Unity in the AEC industry.
Unfortunately, explaining every single process would make the article infinitely long and complicated, but I hope this introduction has intrigued you and brings you closer to the real-time world with the use of Unity!
It is possible to download the PC build if you would like to try the interactive scene and test what is possible to achieve using Unity and Substance!
Just below a couple of links if you would like to follow us!
– Website
– Facebook
– YouTube
– Download demo
– Instagram