
Originally published at: https://www.ronenbekerman.com/making-kalmar-art-museum/
Following Mohit Sanchaniya entry to the Tomorrow 2017 Challenge, which awarded him the Runner-up position and a job at the Tomorrow Studio, he now shares the making process of his winning entry. Mohit showcases high levels of realism in this recreation of Tham & Videgård Arkitekter’s Kalmar Art Museum using 3ds Max, Corona Renderer, GrowFX and Forest Pack. Enjoy!
Hello everyone,
I am Mohit Sanchaniya, 22-year-old from Bengaluru (Karnataka), India. It’s been three years for me in the field of CG architecture.
Before we get started, I’d like to thank Ronen & TMRW for the Tomorrow 2017 challenge, inviting me to write a blog post on my recent project of Tham & Videgård Arkitekter – The Kalmar Art Museum.
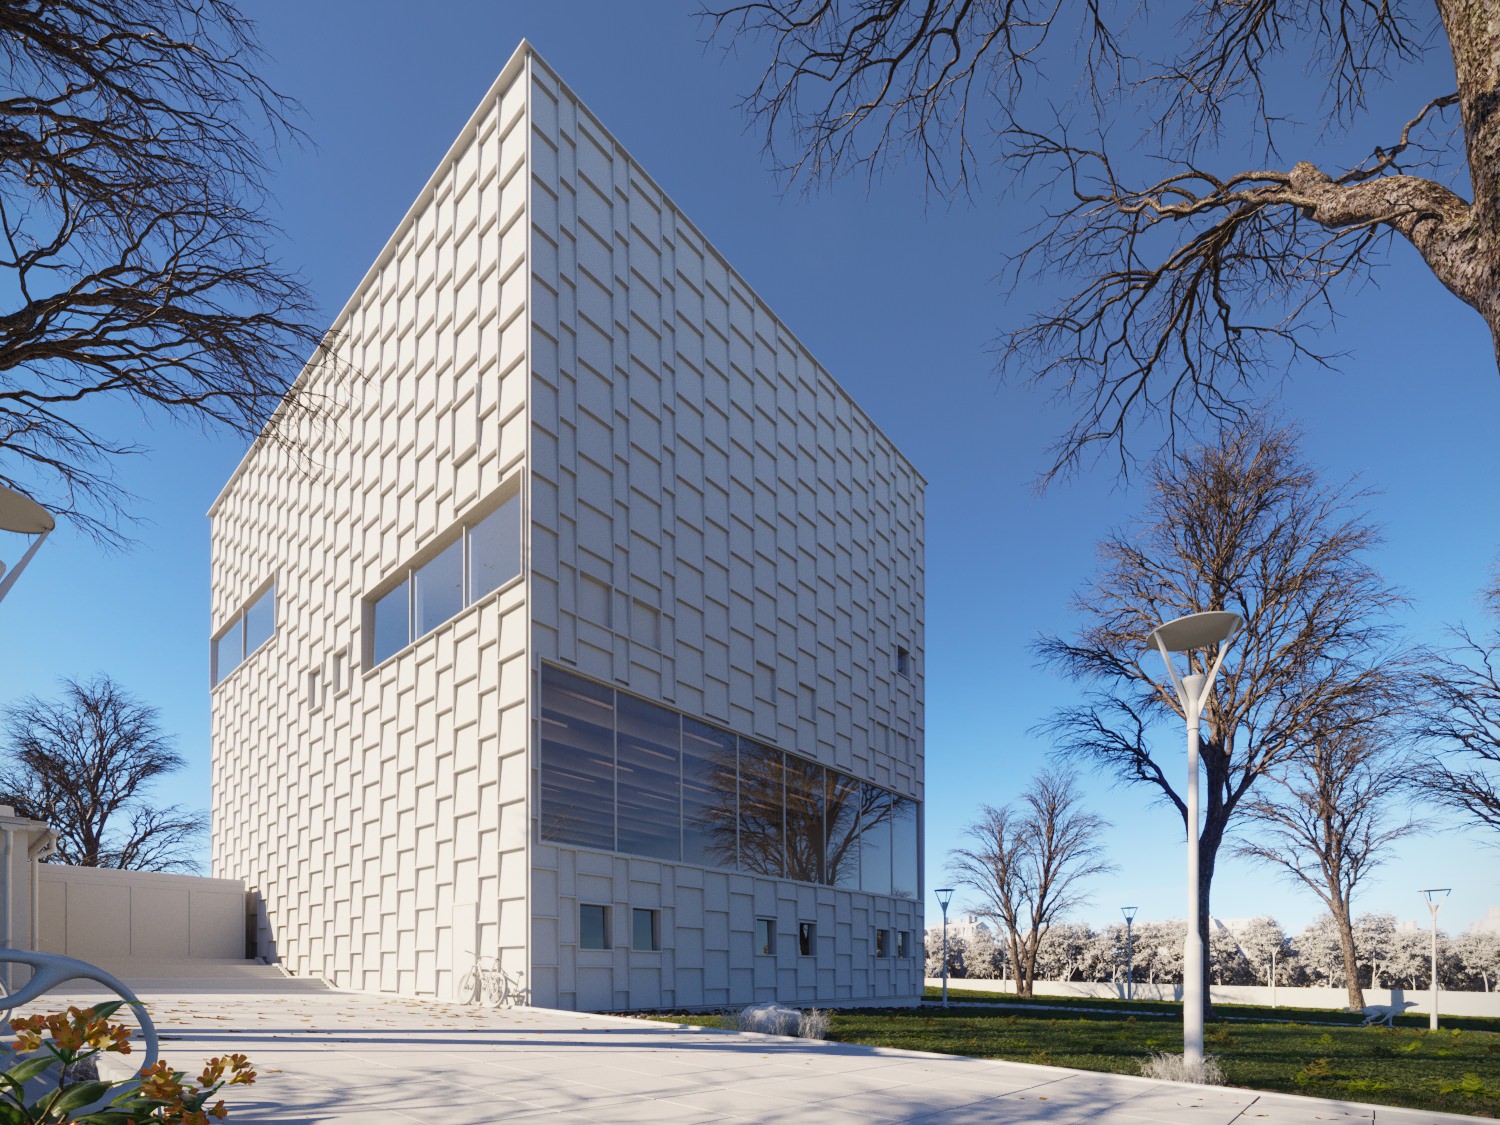
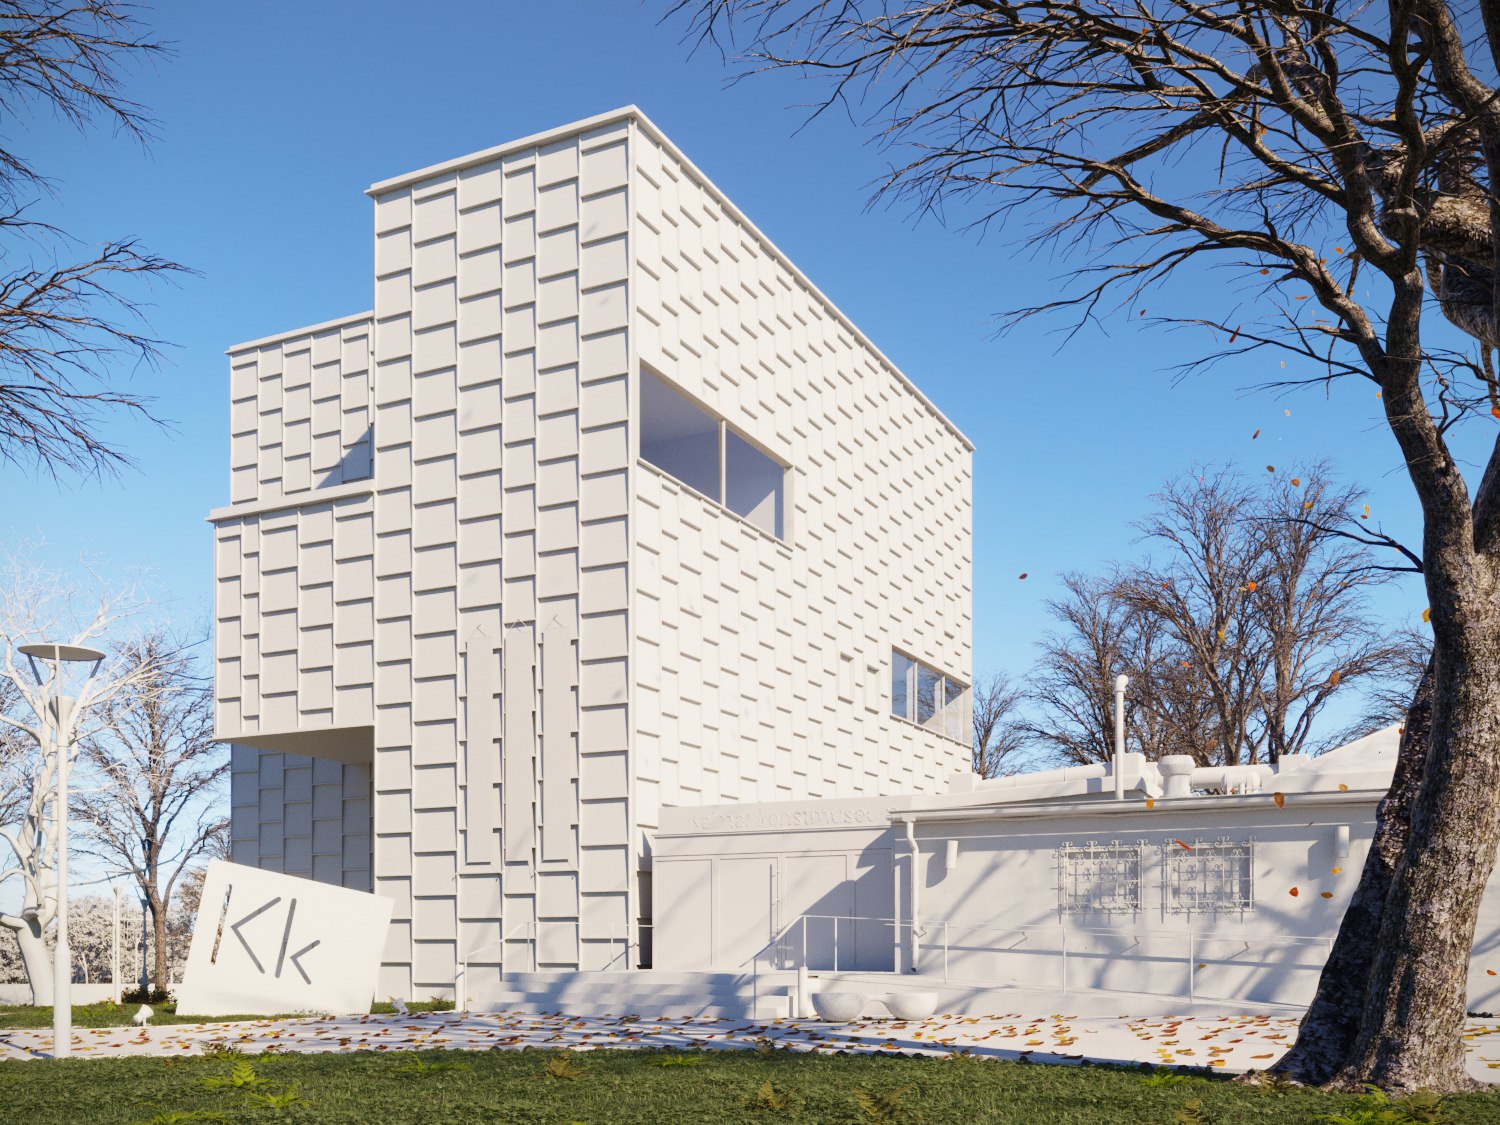
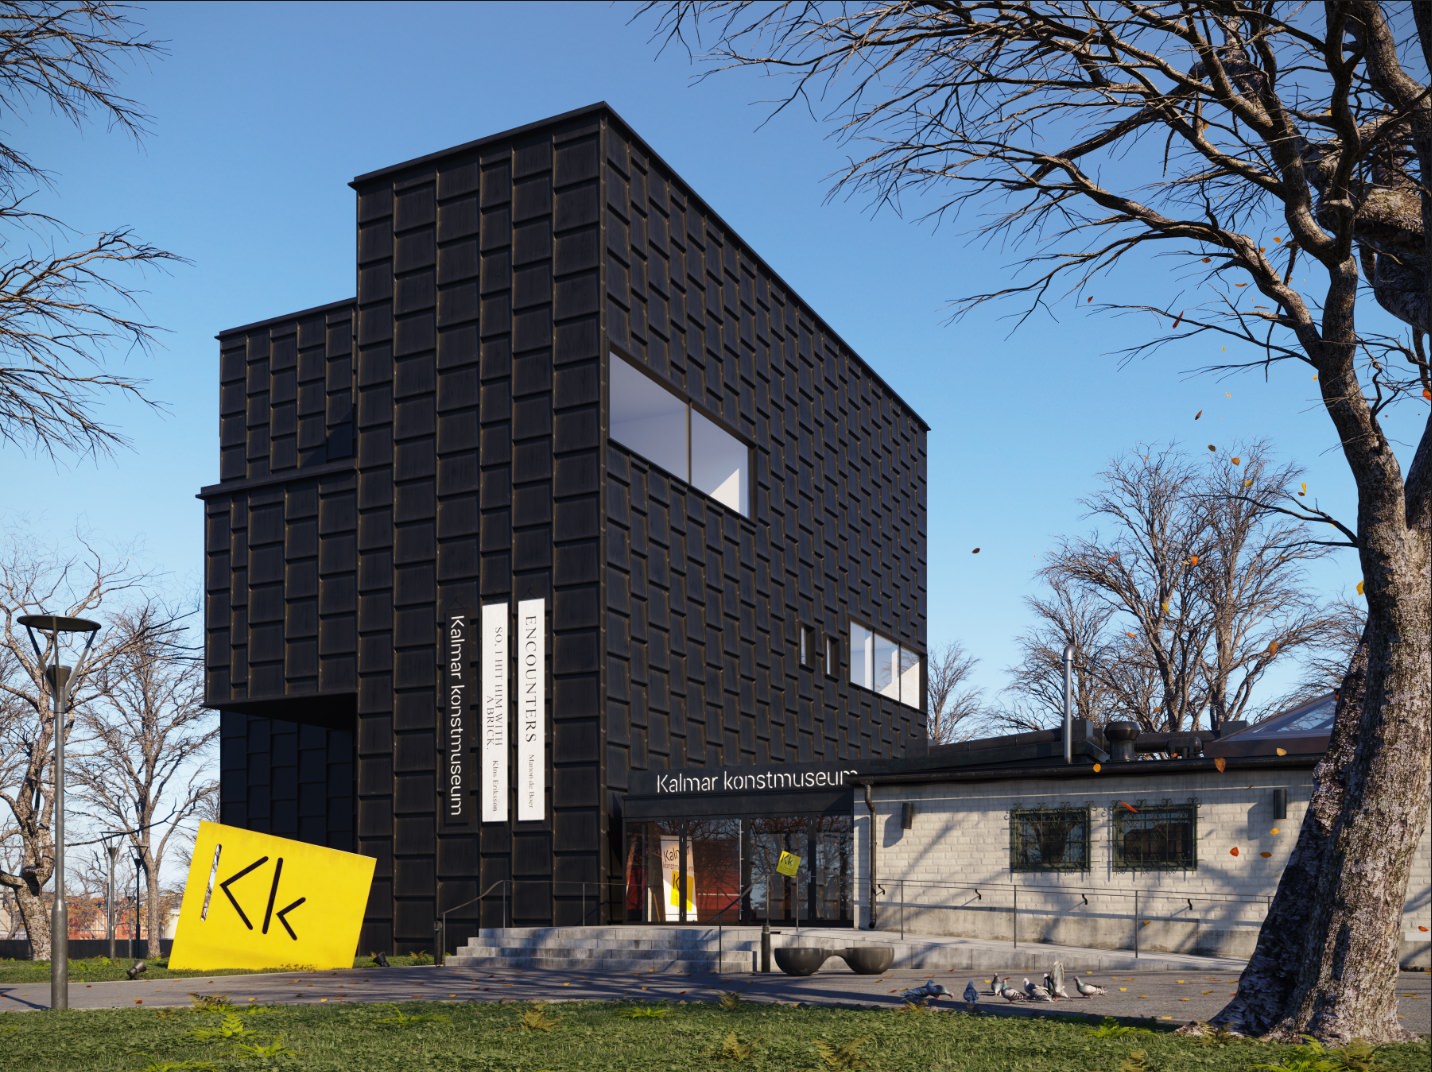
This Project was made for the TMRW challenge, which I had focused on autumn atmosphere & photo-realism, this project is based on the reference of the Tham’s & Vadegard’s Kalmar
Konstmuseum located in Sweden.
For this project, I used Autodesk 3Ds Max 2017, Corona Renderer 1.5, Exlevel GrowFX, iToo Software Forest Pack, Adobe Photoshop & Nik Software.
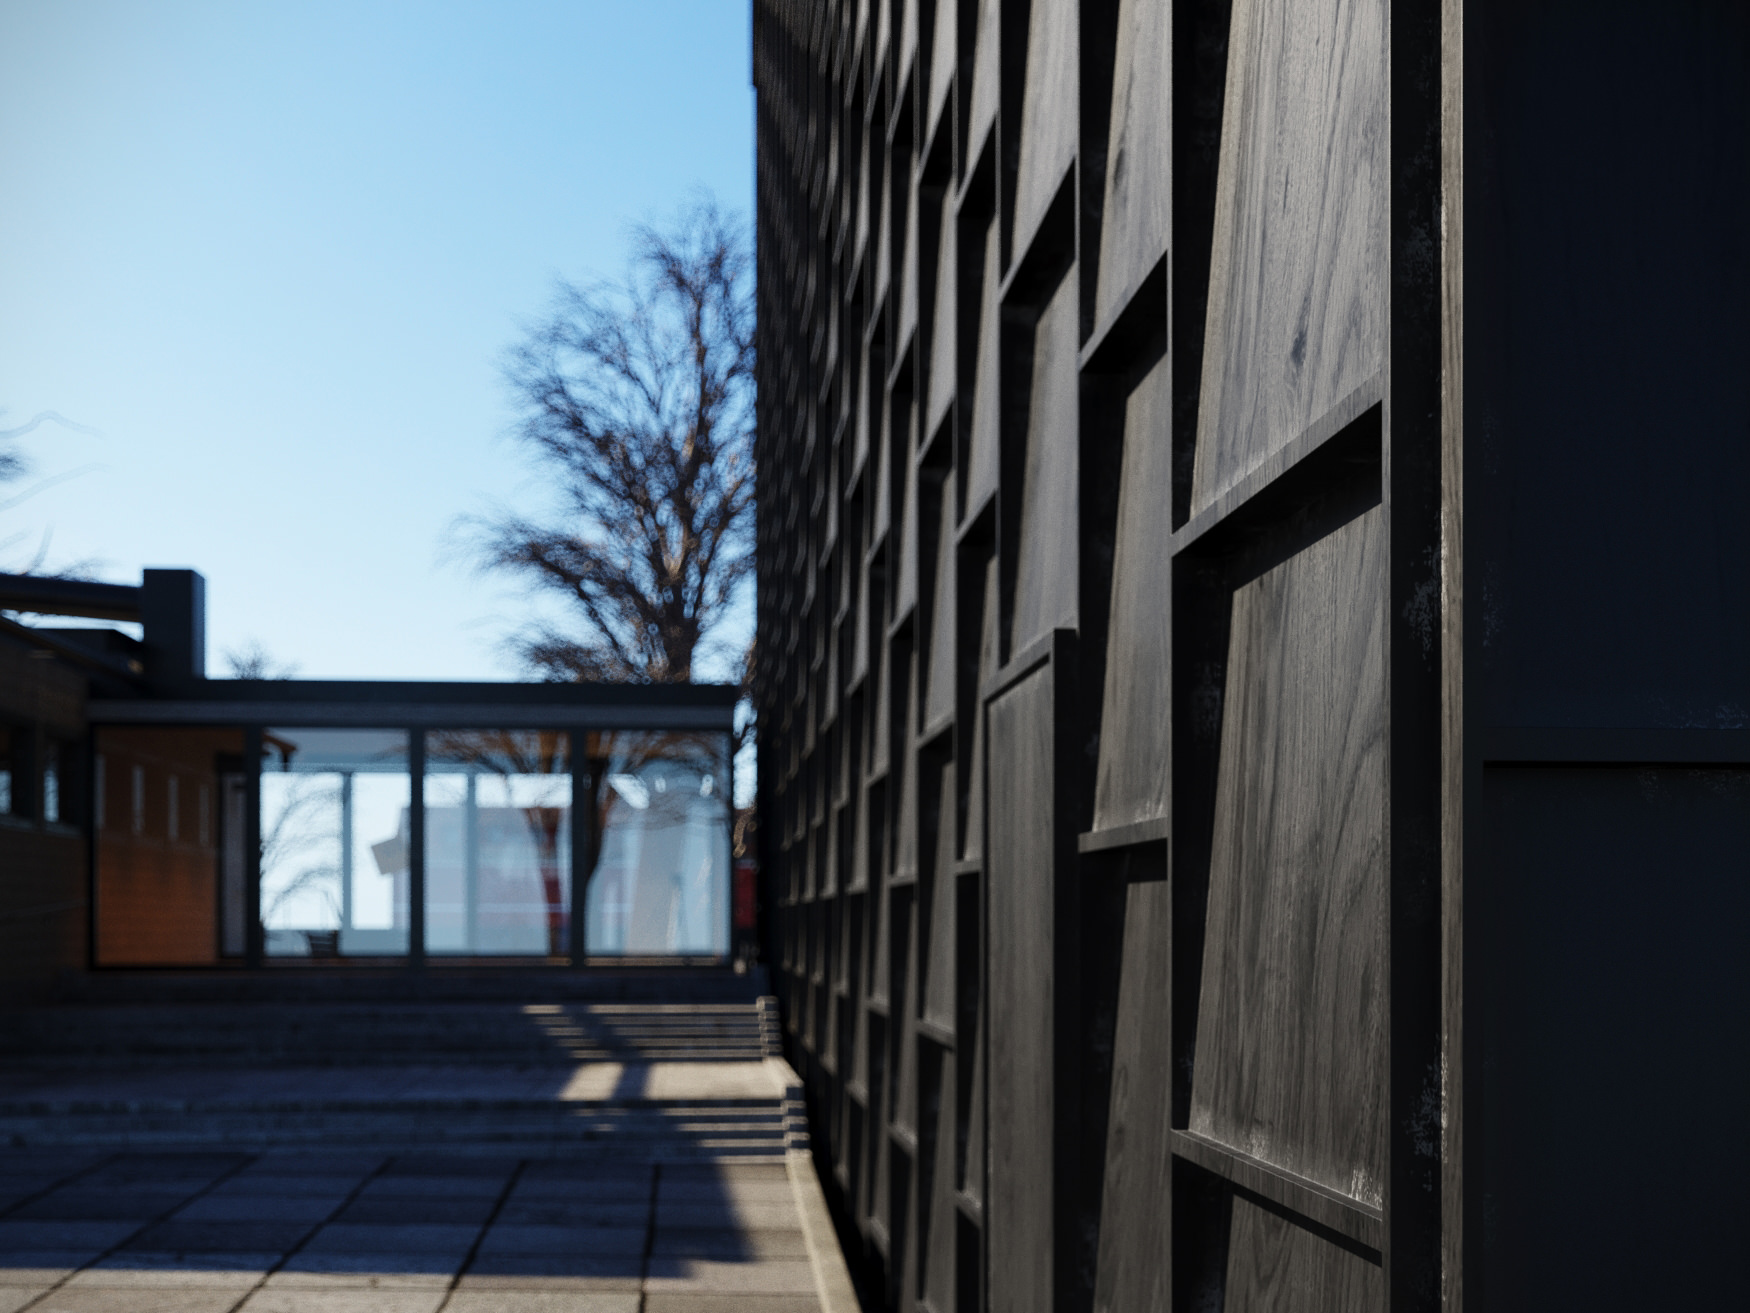
I will show you how far I got into detailing & shading.
Let’s Start.
[av_masonry_gallery ids=’36920,36921,36923,36924,36925,36926′ items=’-1′ columns=’2′ paginate=’pagination’ size=’fixed’ gap=’1px’ overlay_fx=” container_links=’active’ id=” caption_elements=’none’ caption_styling=” caption_display=’always’ color=” custom_bg=”]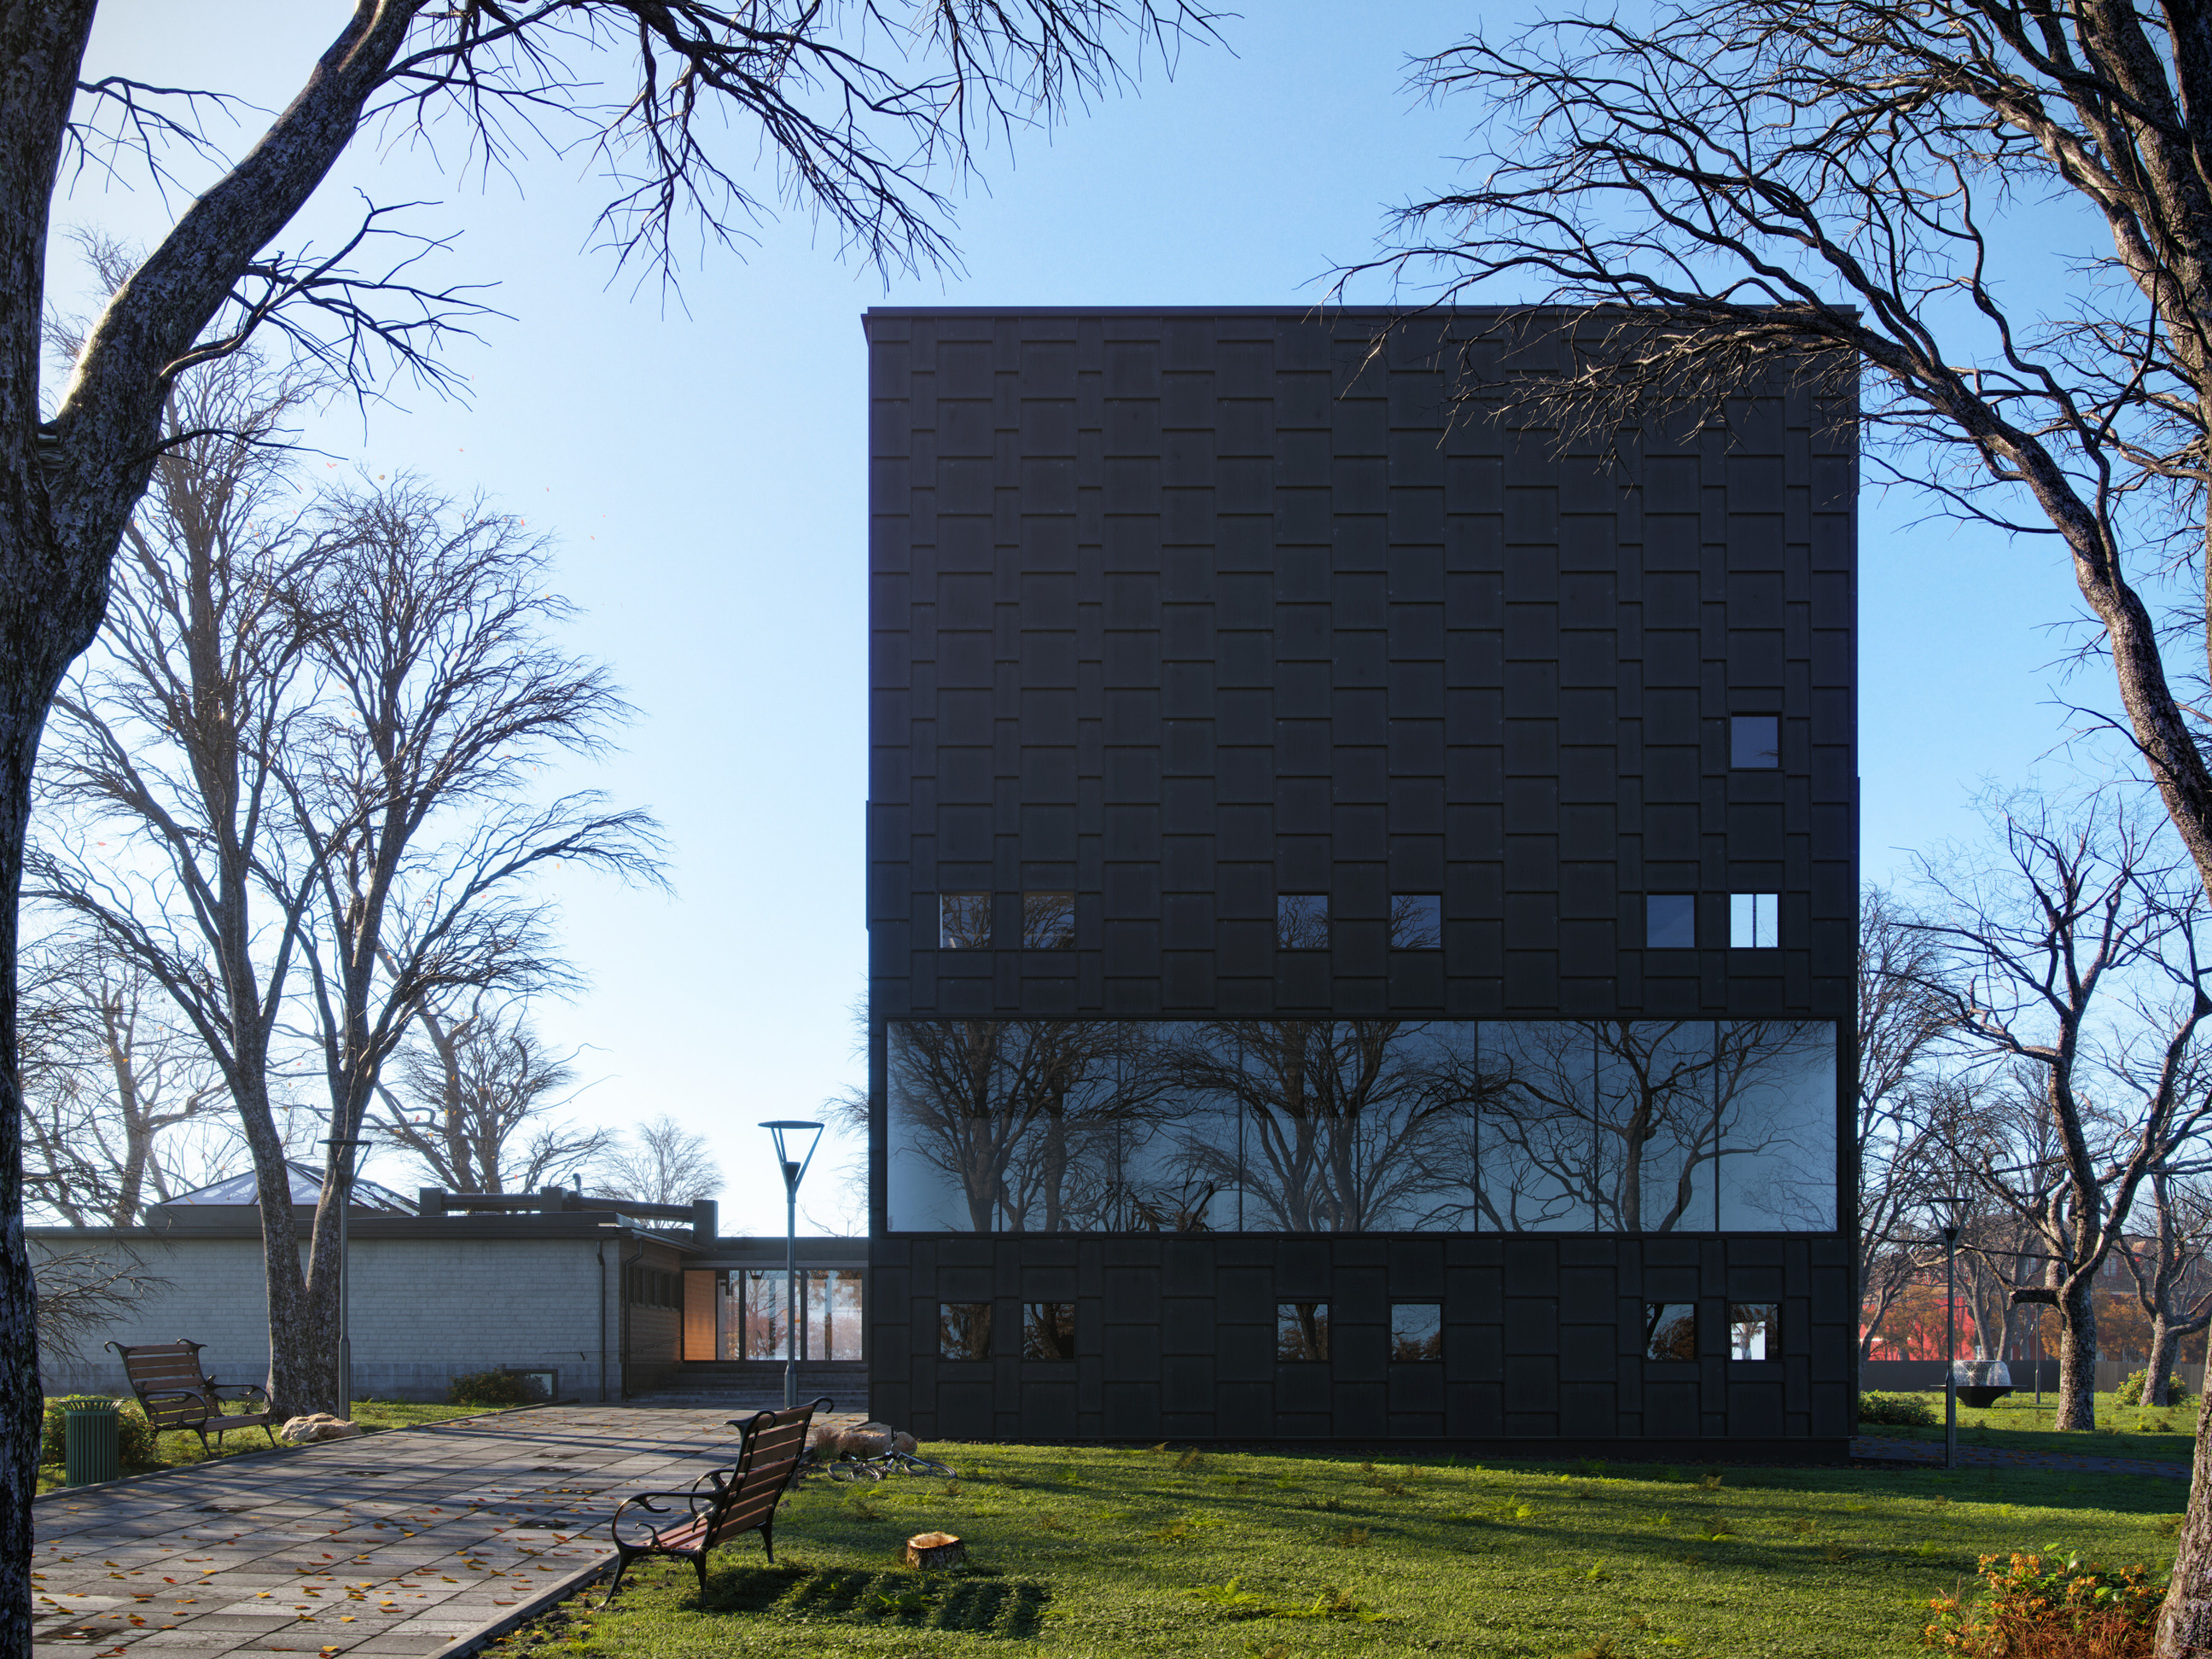
References
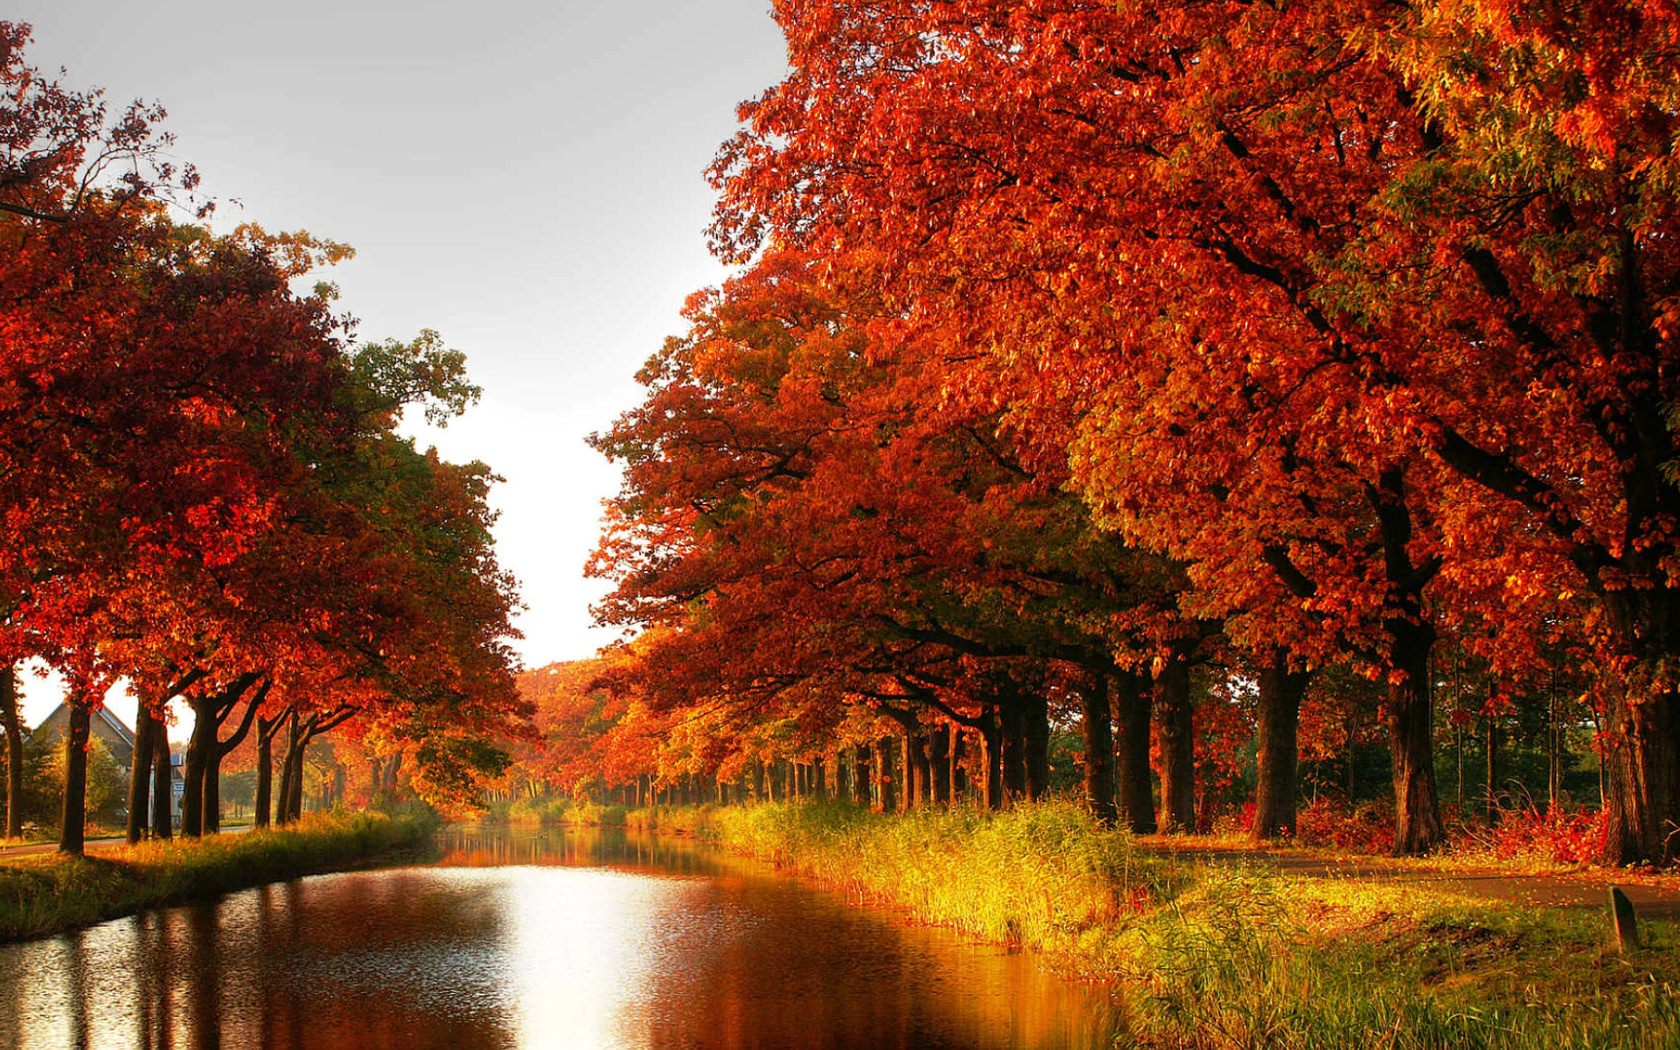
When I initially saw the reference in the TMRW challenge, the first thing the strike me was to place the structure in the autumn season, which got me started collecting references of the autumn and other details.
[av_masonry_gallery ids=’36949,36950,36951,36952,36953′ items=’-1′ columns=’flexible’ paginate=’pagination’ size=’fixed’ gap=’1px’ overlay_fx=” container_links=’active’ id=” caption_elements=’none’ caption_styling=” caption_display=’always’ color=” custom_bg=”]Modeling
It’s the interesting part but was tricky enough, as I had to obtain the maximum reference of the structure & JPEG plans, where I had to assume the values of the structure to the real world scale, like the thickness, size, height other parameters.
I had to spend almost a day just doodling the value of the building, and it was more approximate of the building. Once I had enough data, I started off with the modeling of the structure using a simple box to the chamfer, at some boolean operation were carried out for the window placement.
[av_masonry_gallery ids=’36937,36936,36935′ items=’-1′ columns=’flexible’ paginate=’pagination’ size=’fixed’ gap=’1px’ overlay_fx=” container_links=’active’ id=” caption_elements=’none’ caption_styling=” caption_display=’always’ color=” custom_bg=”]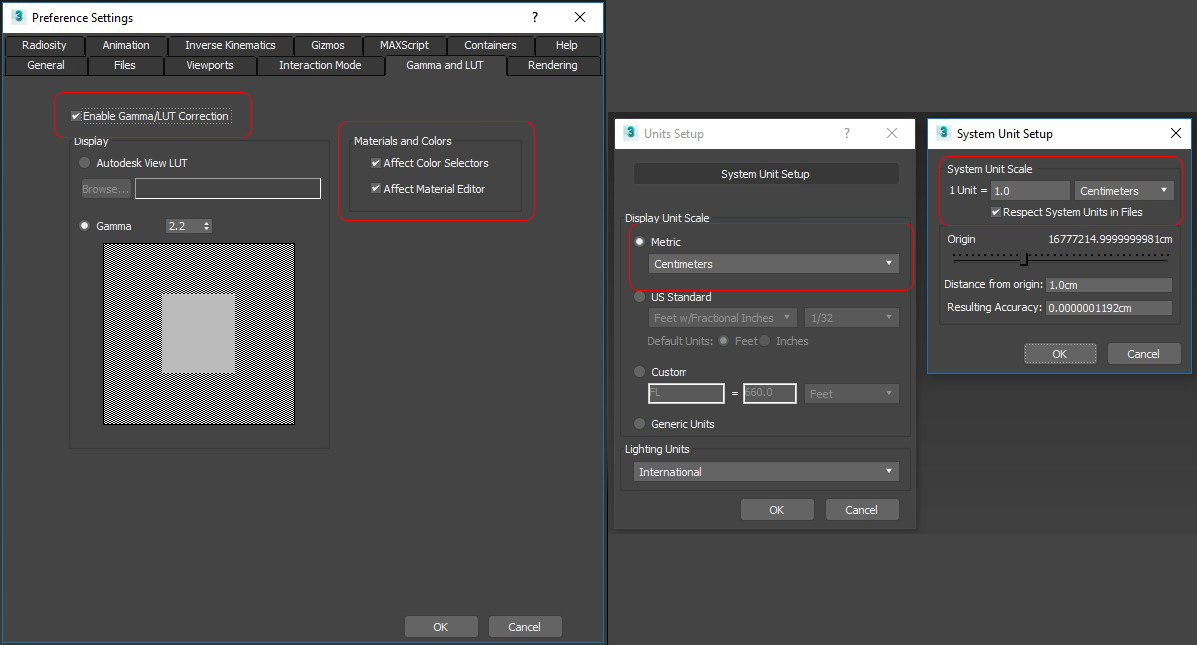
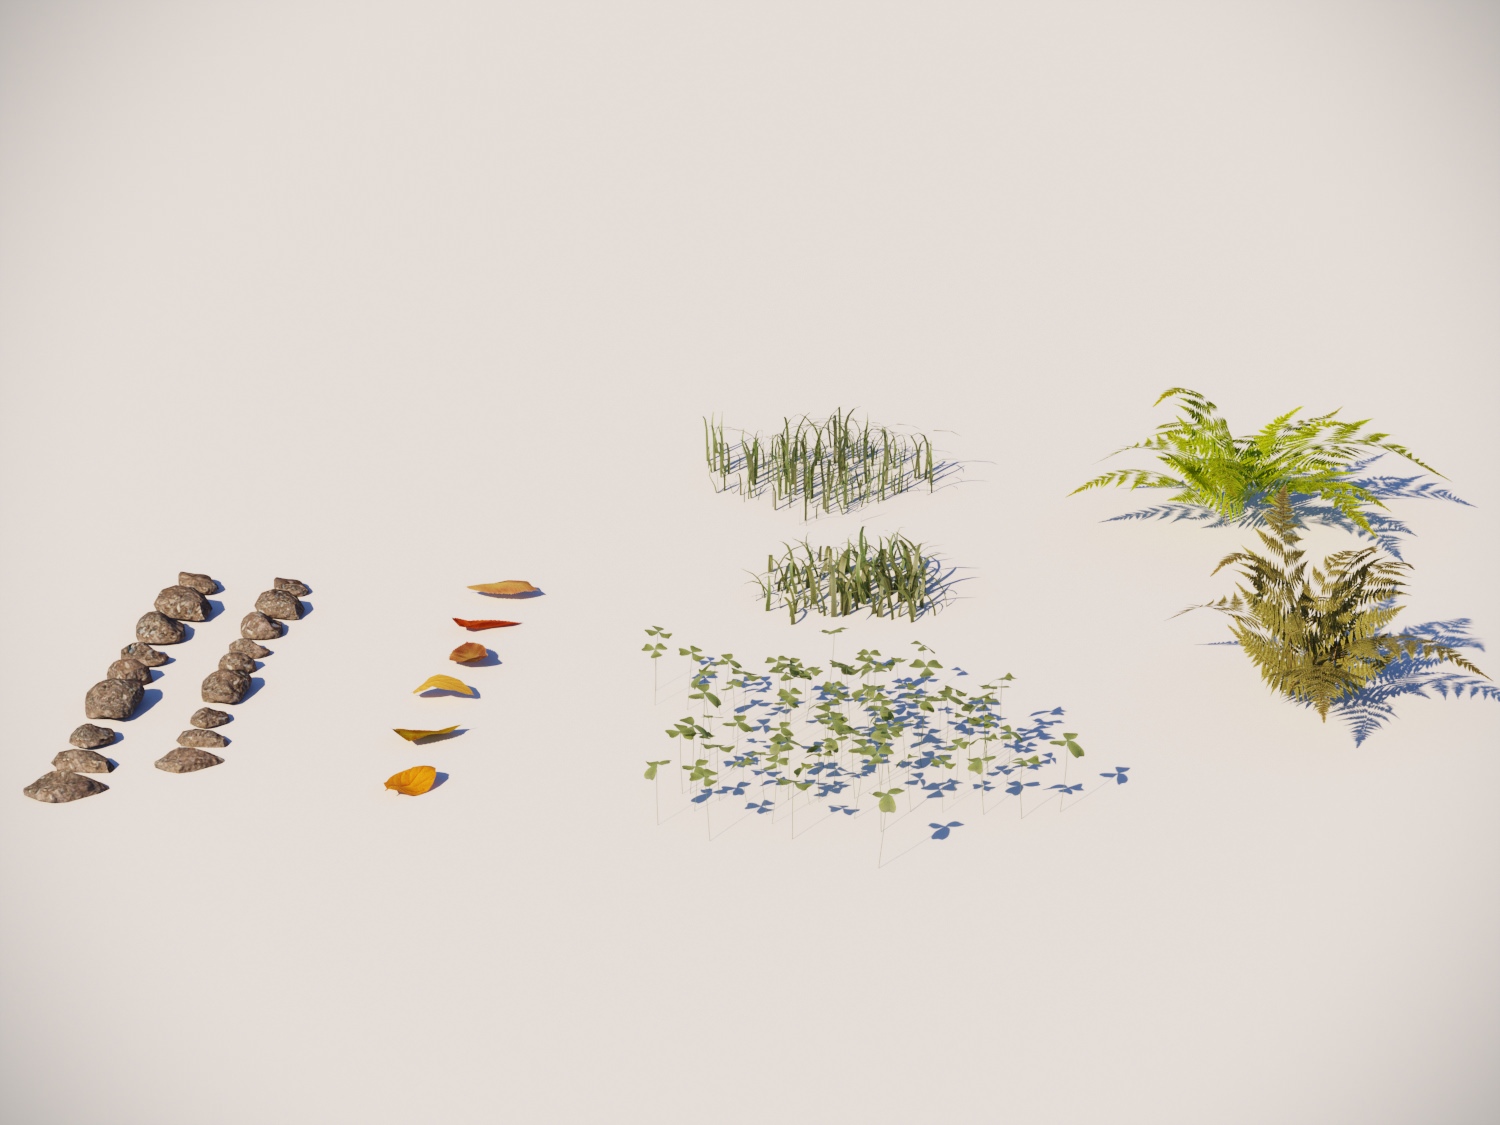
Vegetation / Foliage
The environment was looked simple enough from the photo reference and was to made a fresh grass with muddy parts. I started with a simple plane & modified the geometry with the Push/Pull to achieve the contour sloping at the back, natural look & some bumpy impression.
The Vegetation was from The Boundary Store, VIZPARK & some Evermotion Corona Renderer Ready 3d models. I customized all the textures according to the scene.
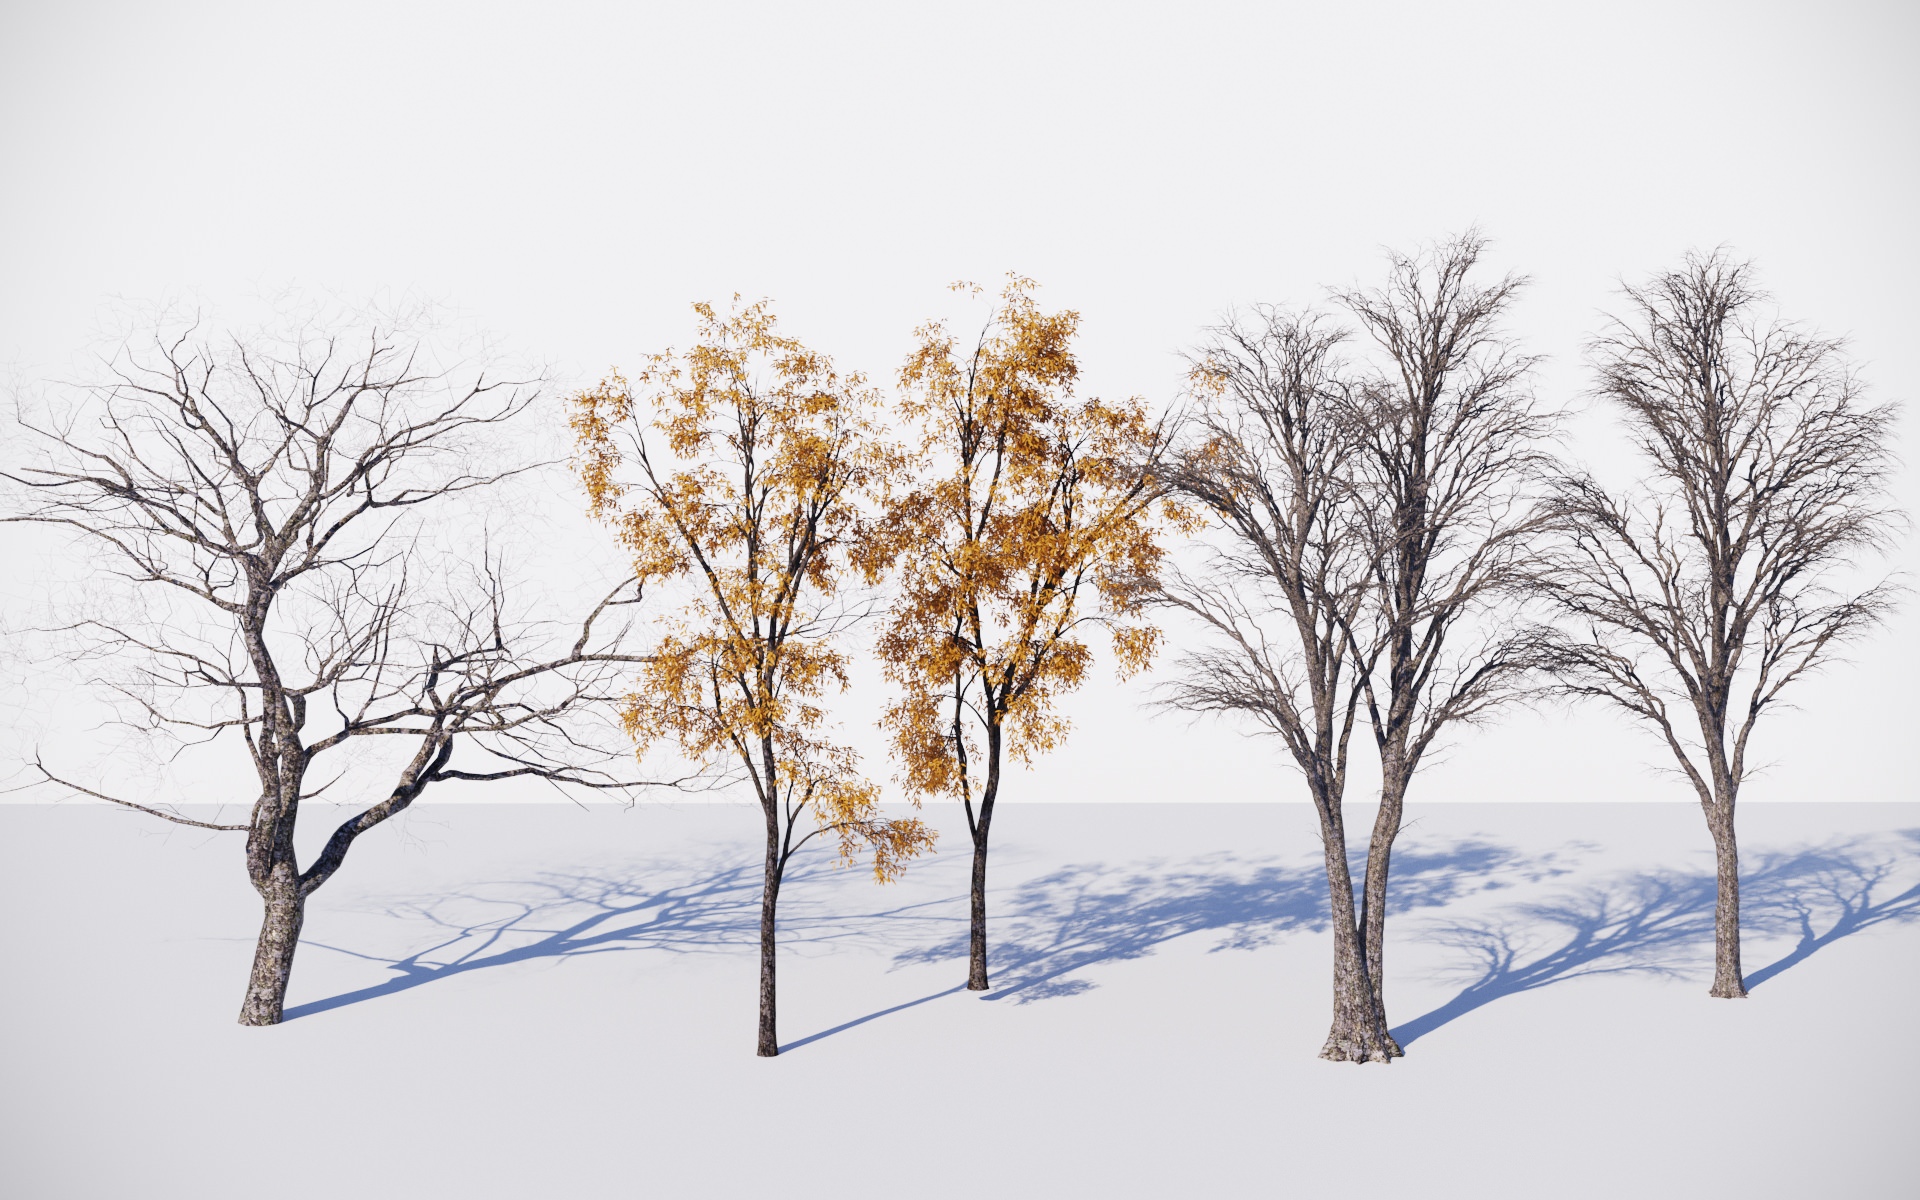
Some trees were modified using the VIZPARK GrowFX version of them. It is quite handy to make lots of different variations & customizations.
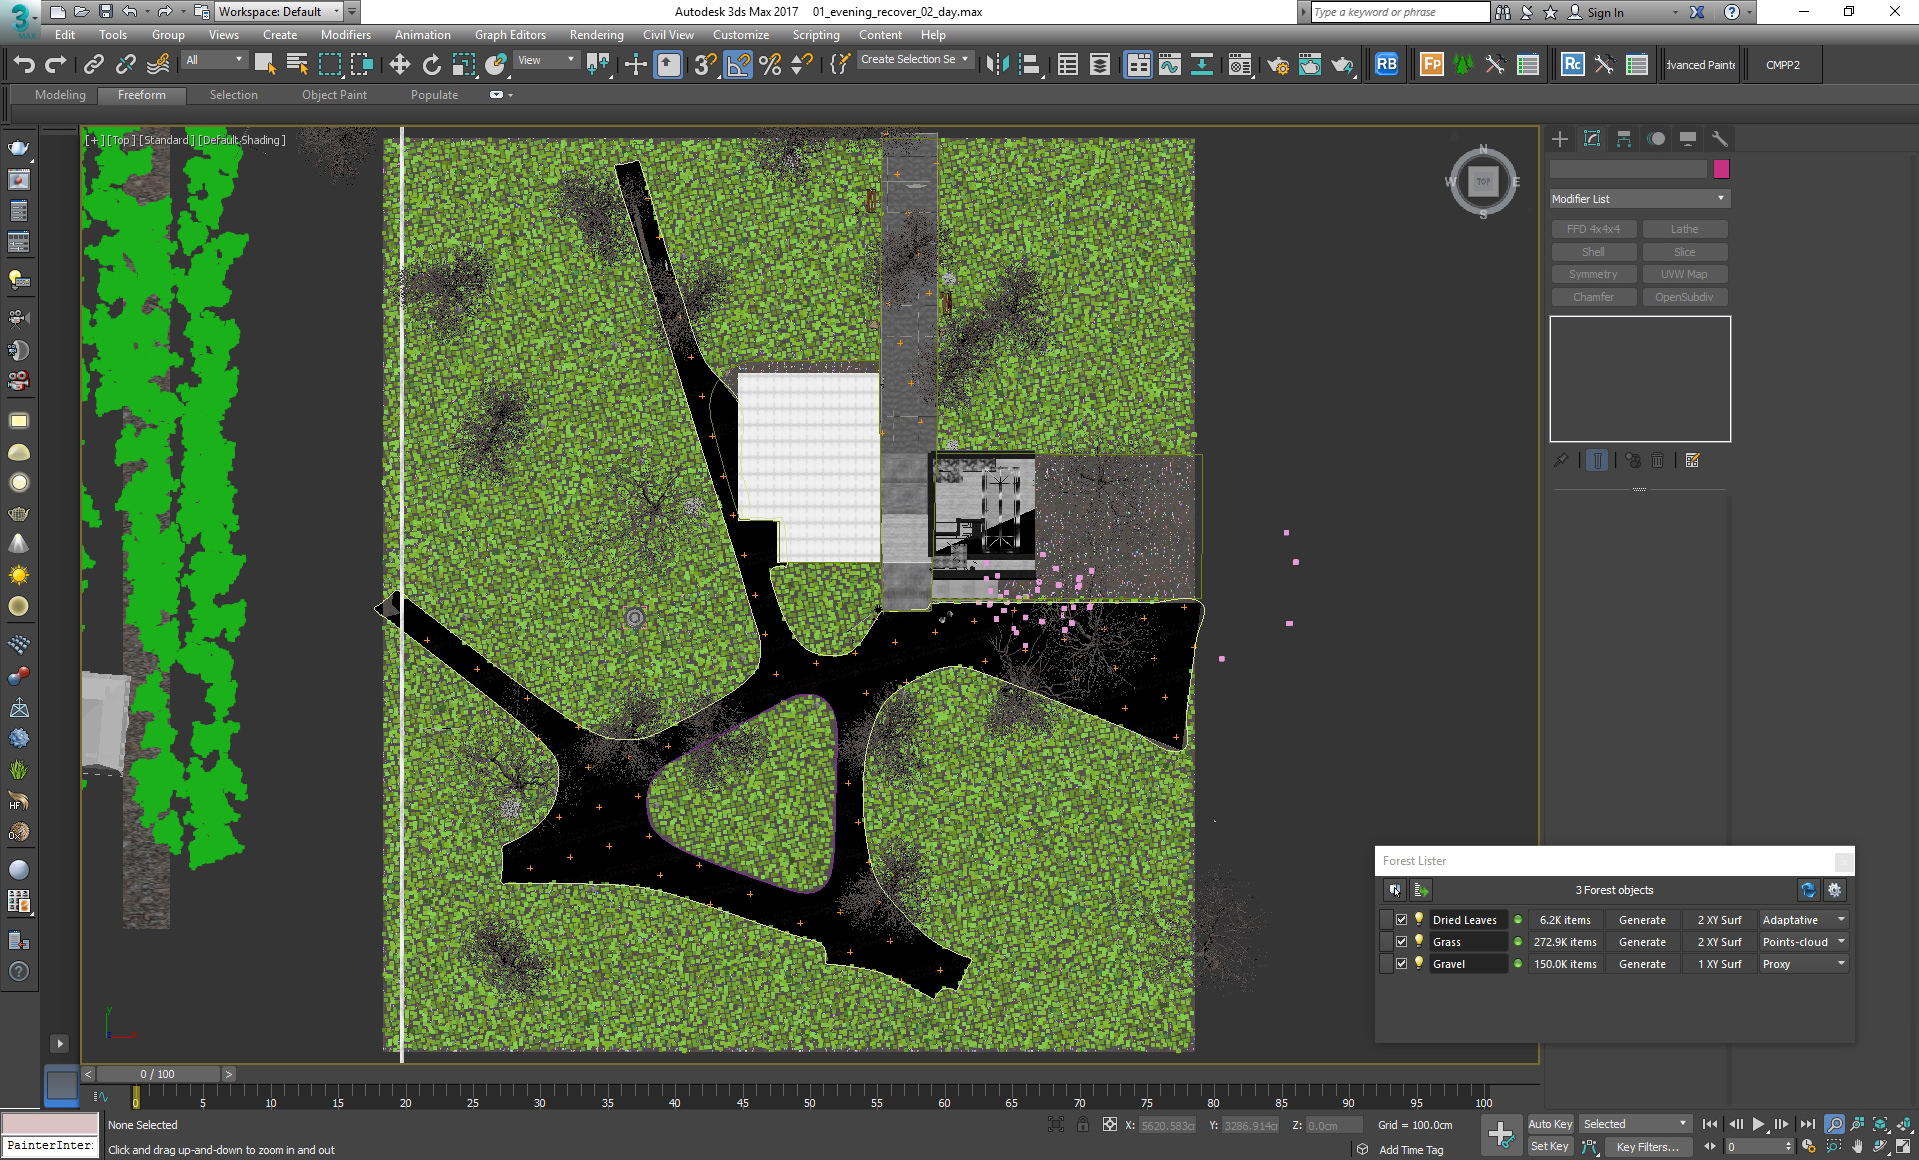
I use iToo Software’s Forest Pack in all my personal and commercial projects, and this was no different.
So we have to pay attention to the variation, scale, distribution & other parameters for the vegetation scatter which intern influence the composition with the balance of light & shadows.
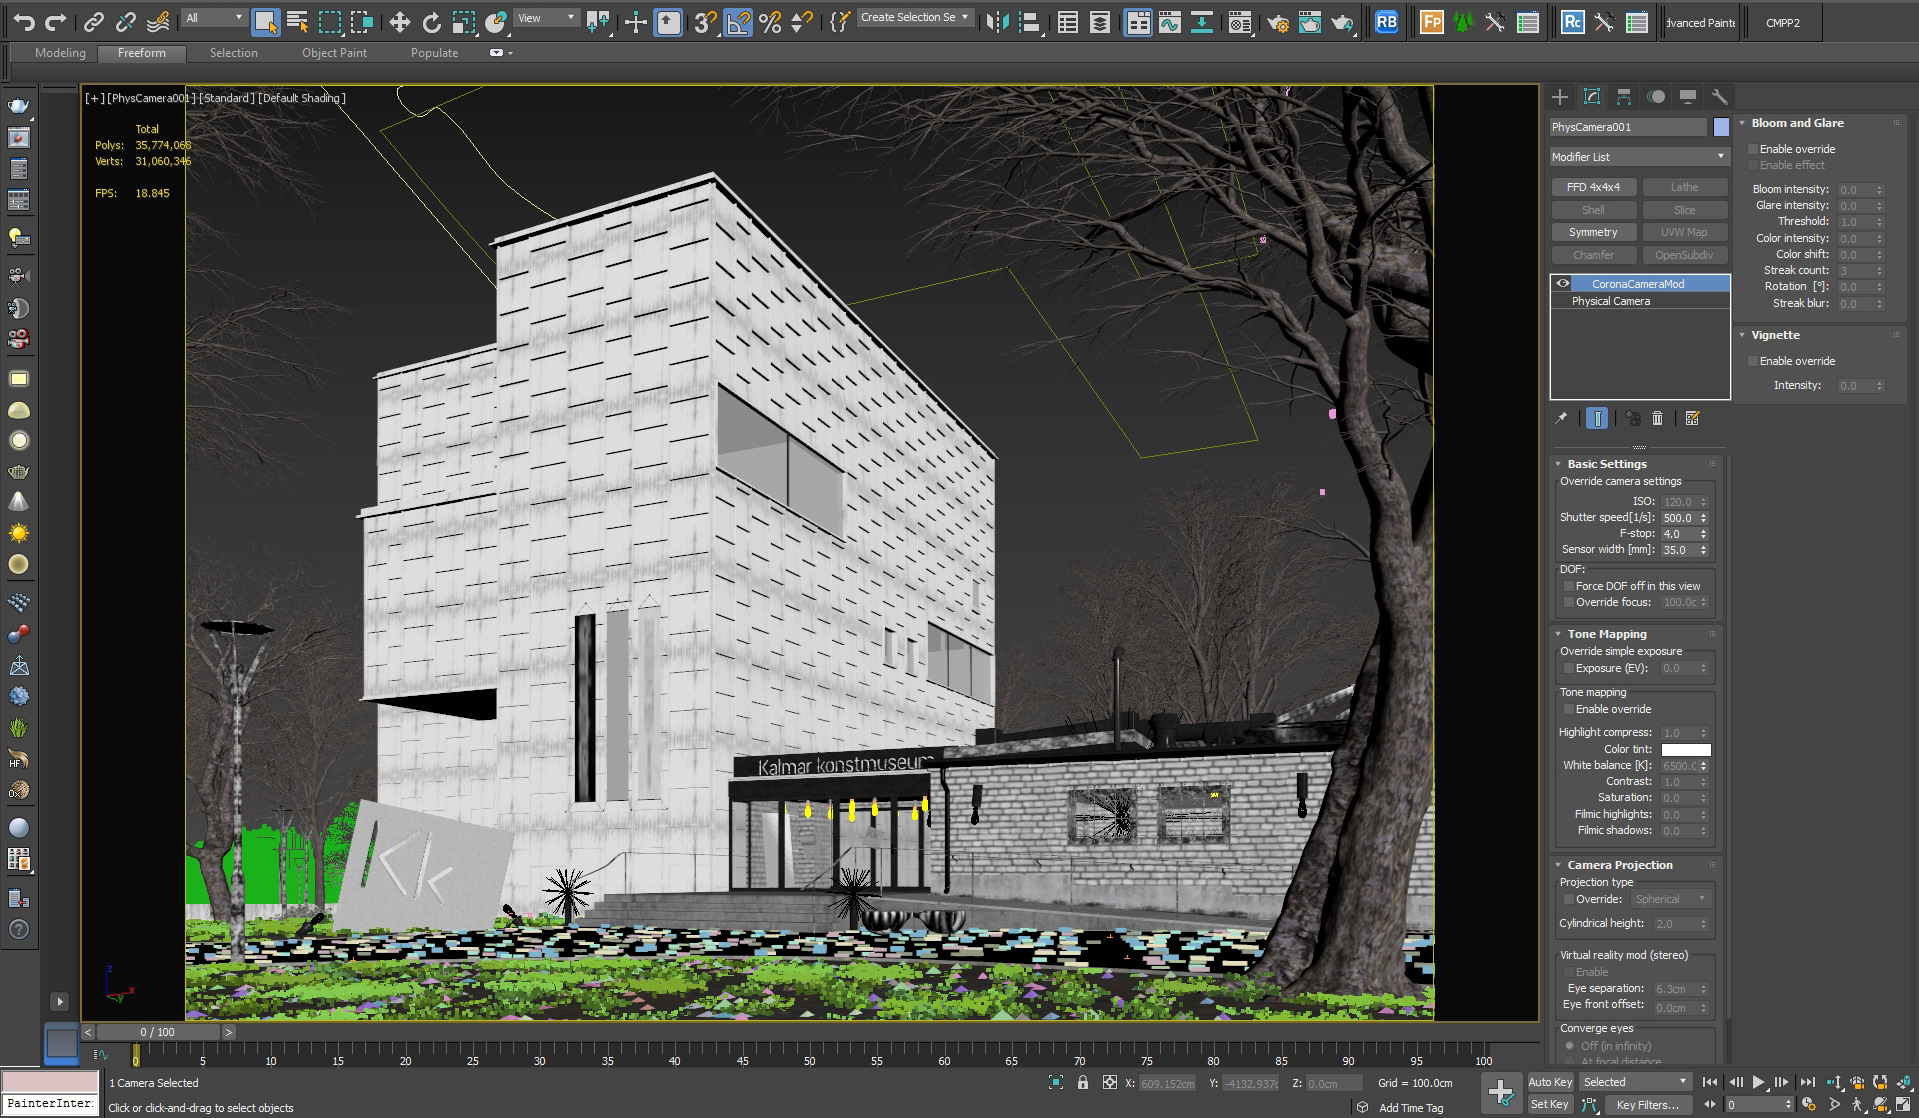
Here’s the overview of the scene inside the 3ds Max viewport…
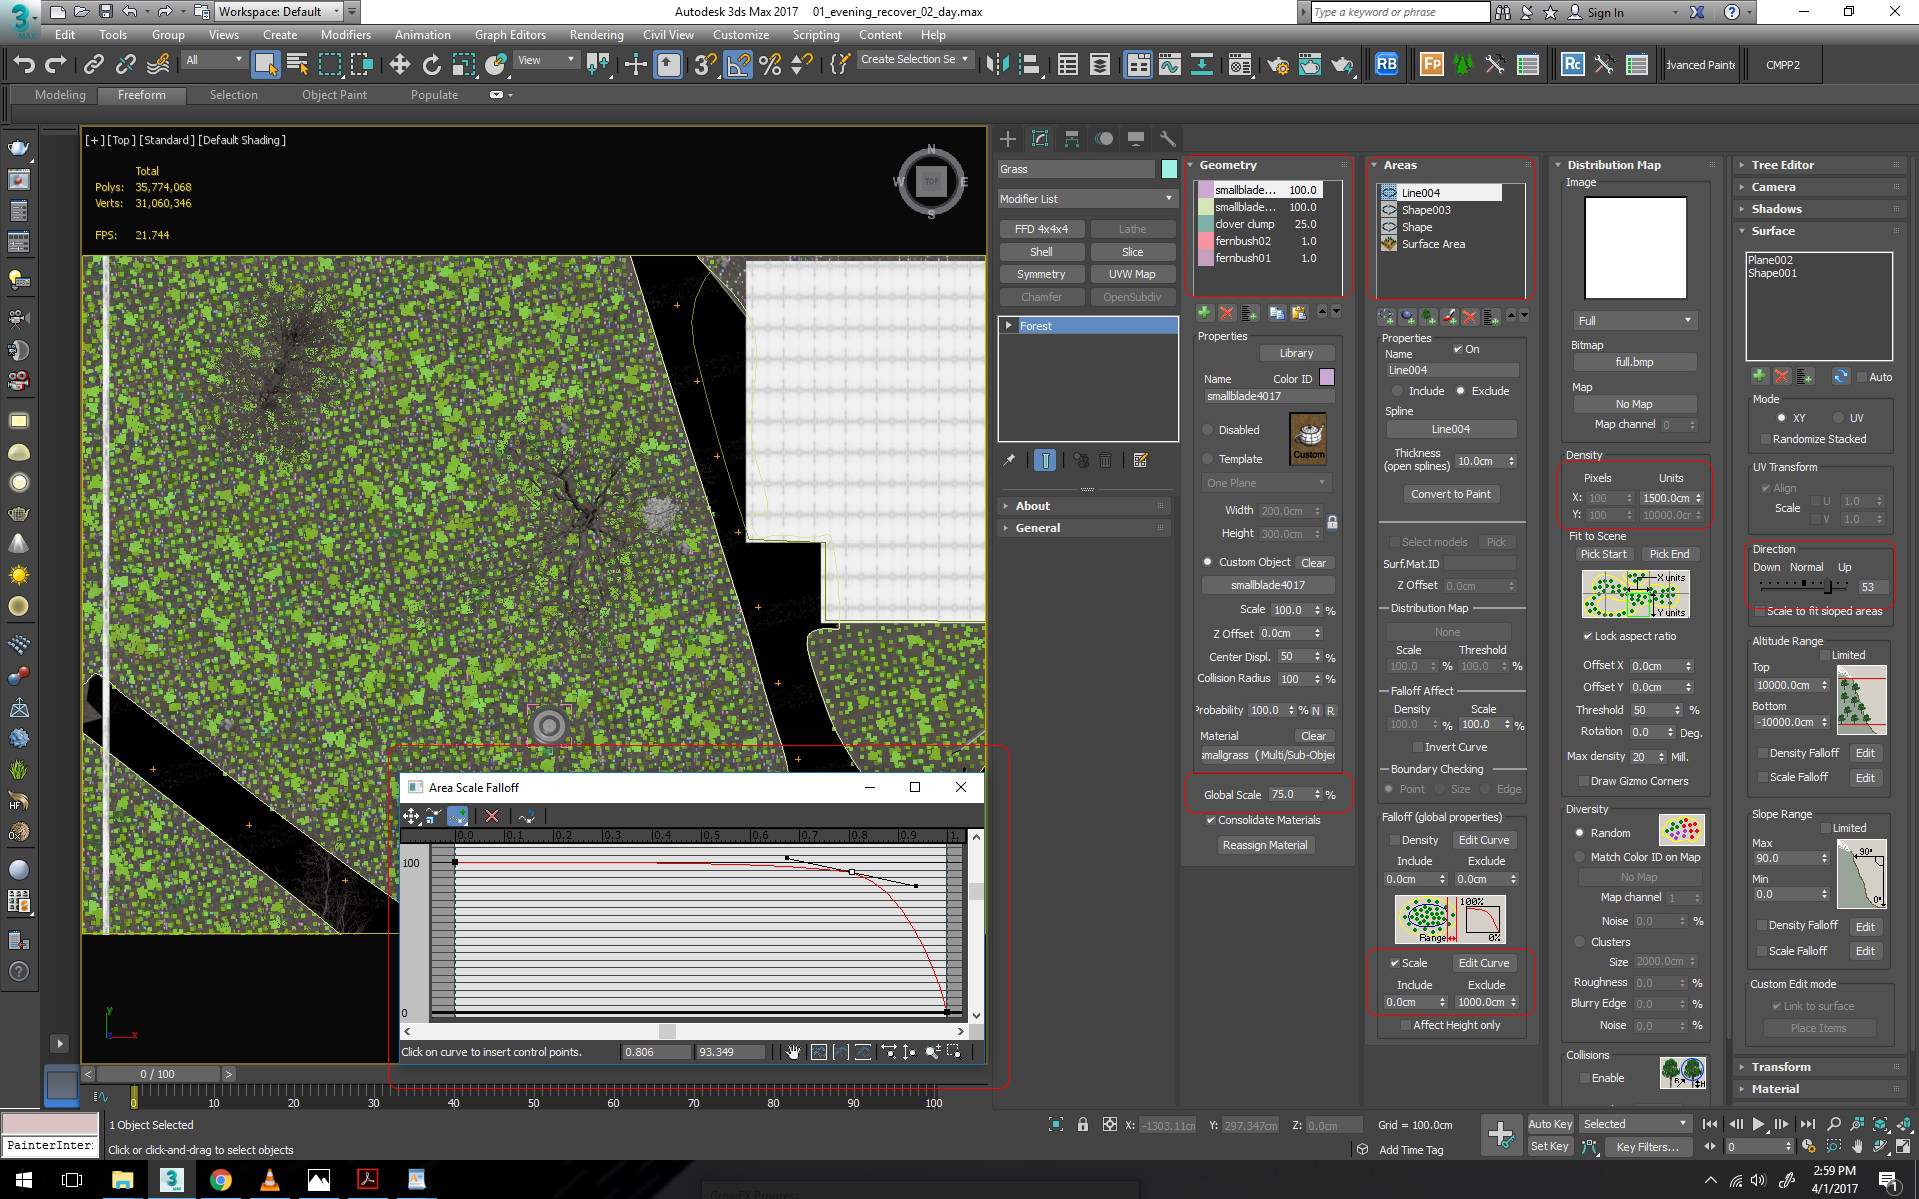
Forest Pack Scatter Parameter
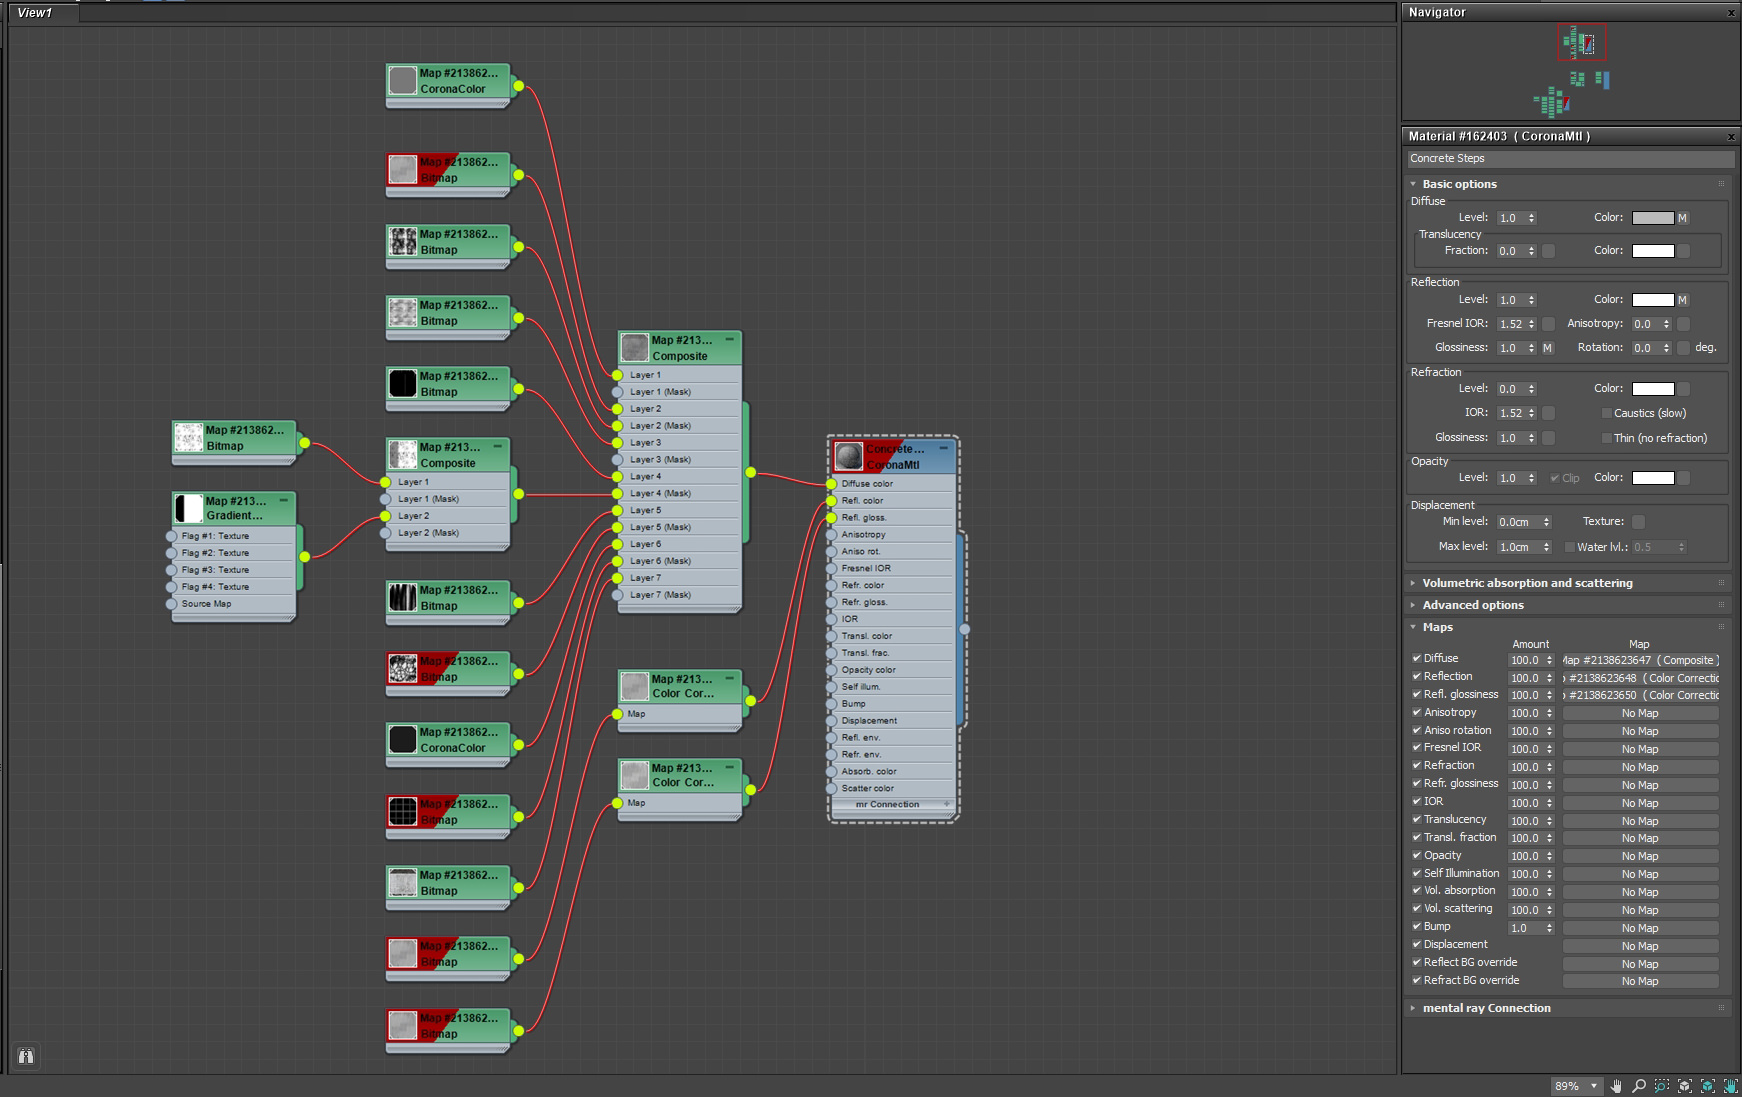
Texturing
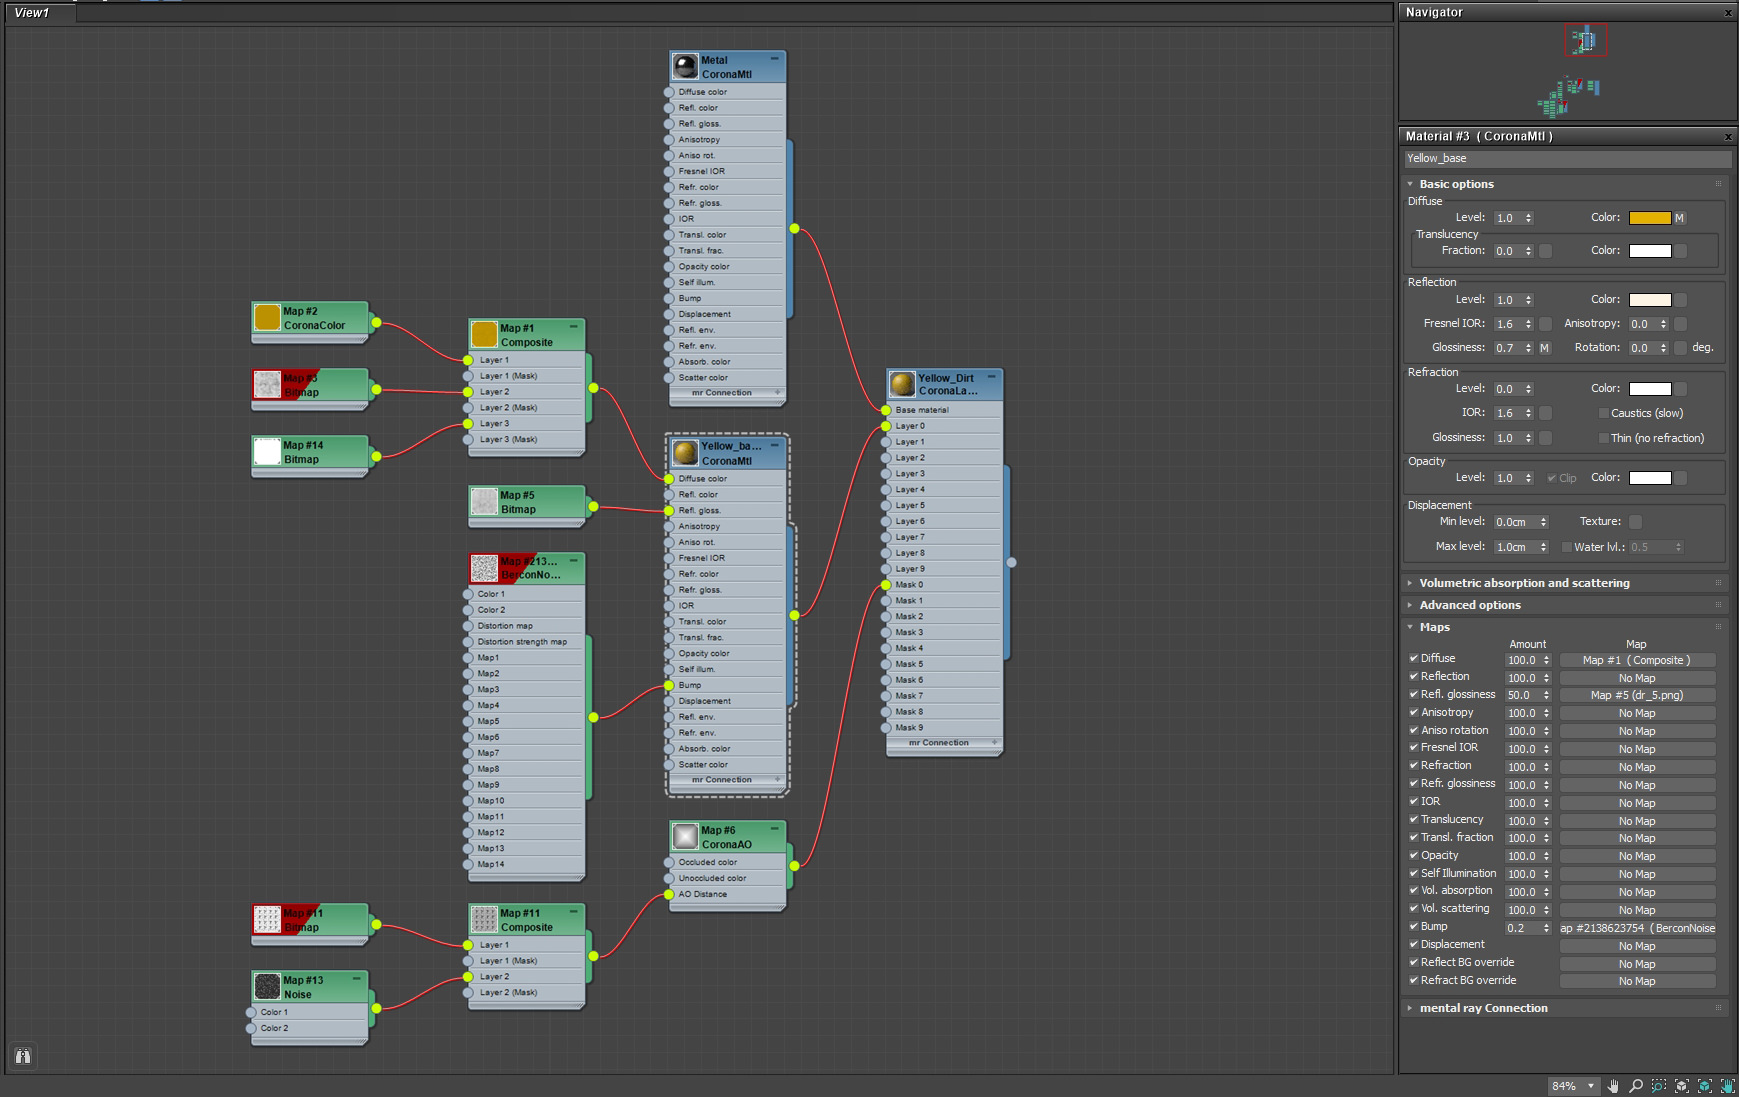
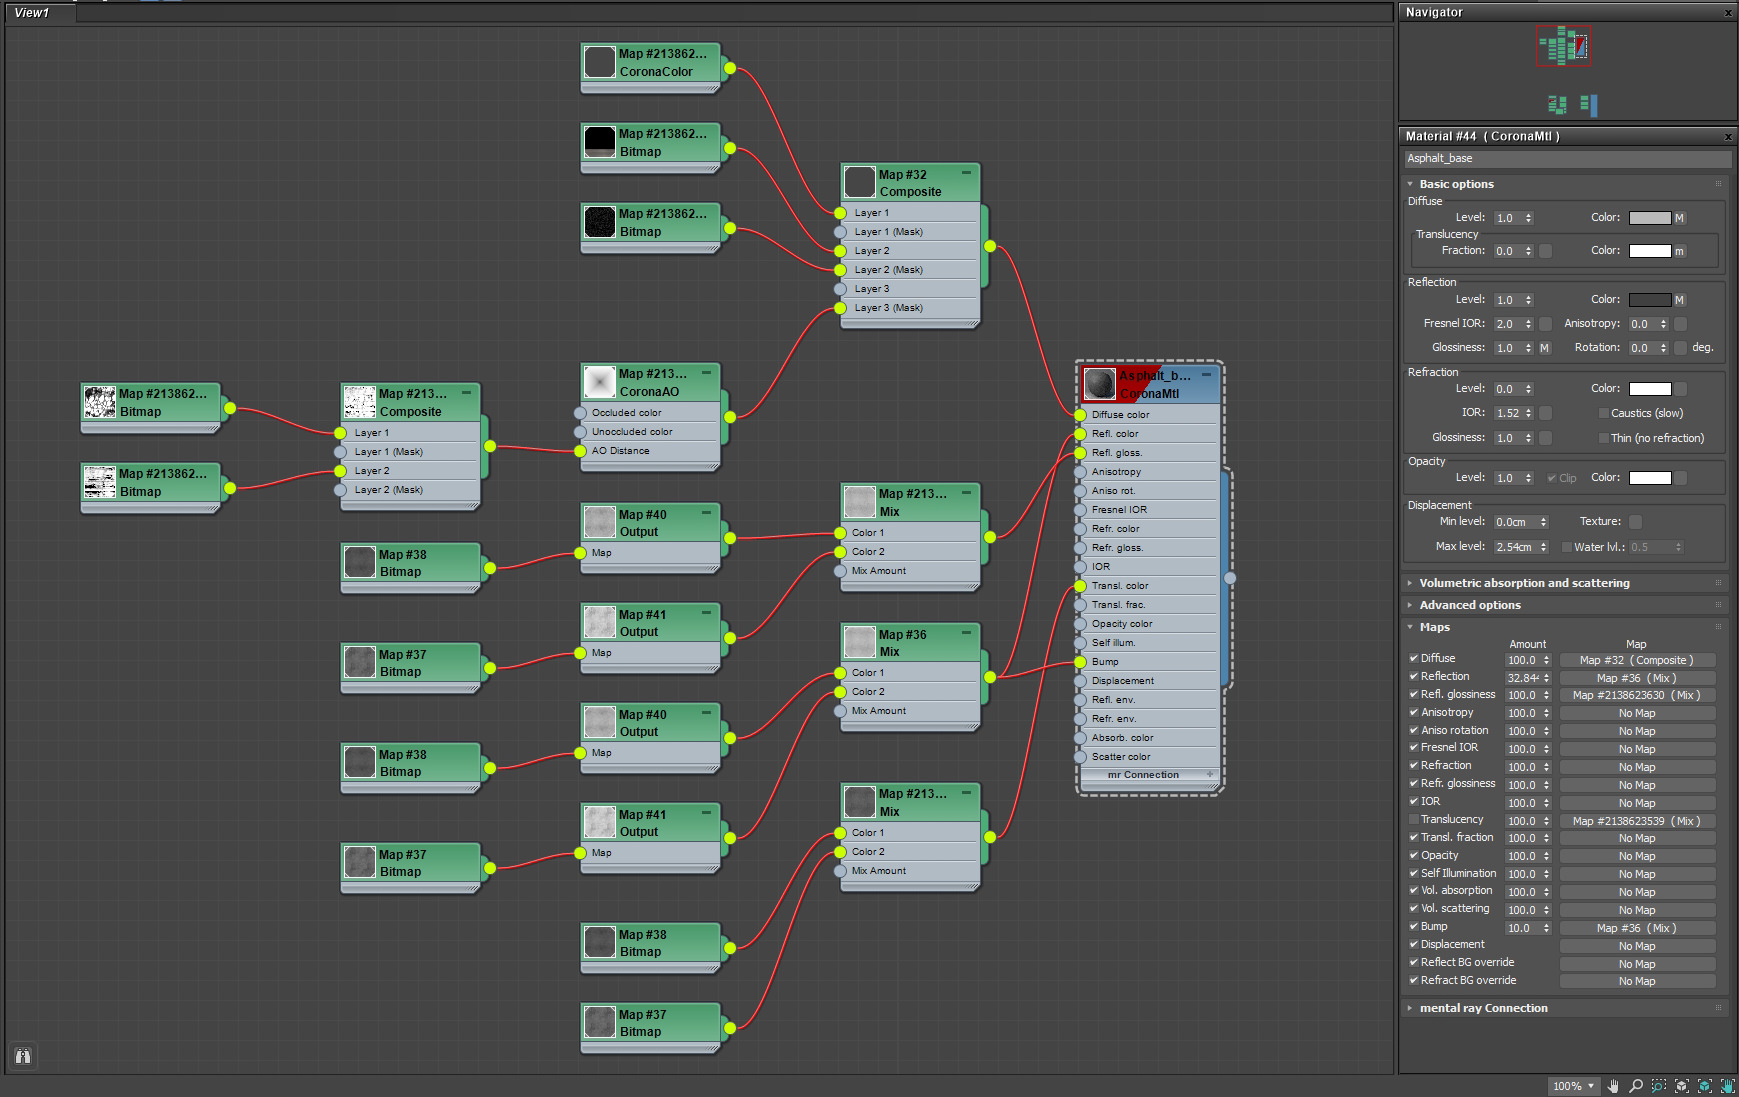
It’s one of the most creative processes in the making of realistic shaders. I like this process a lot and specifically the procedural way of going about it.
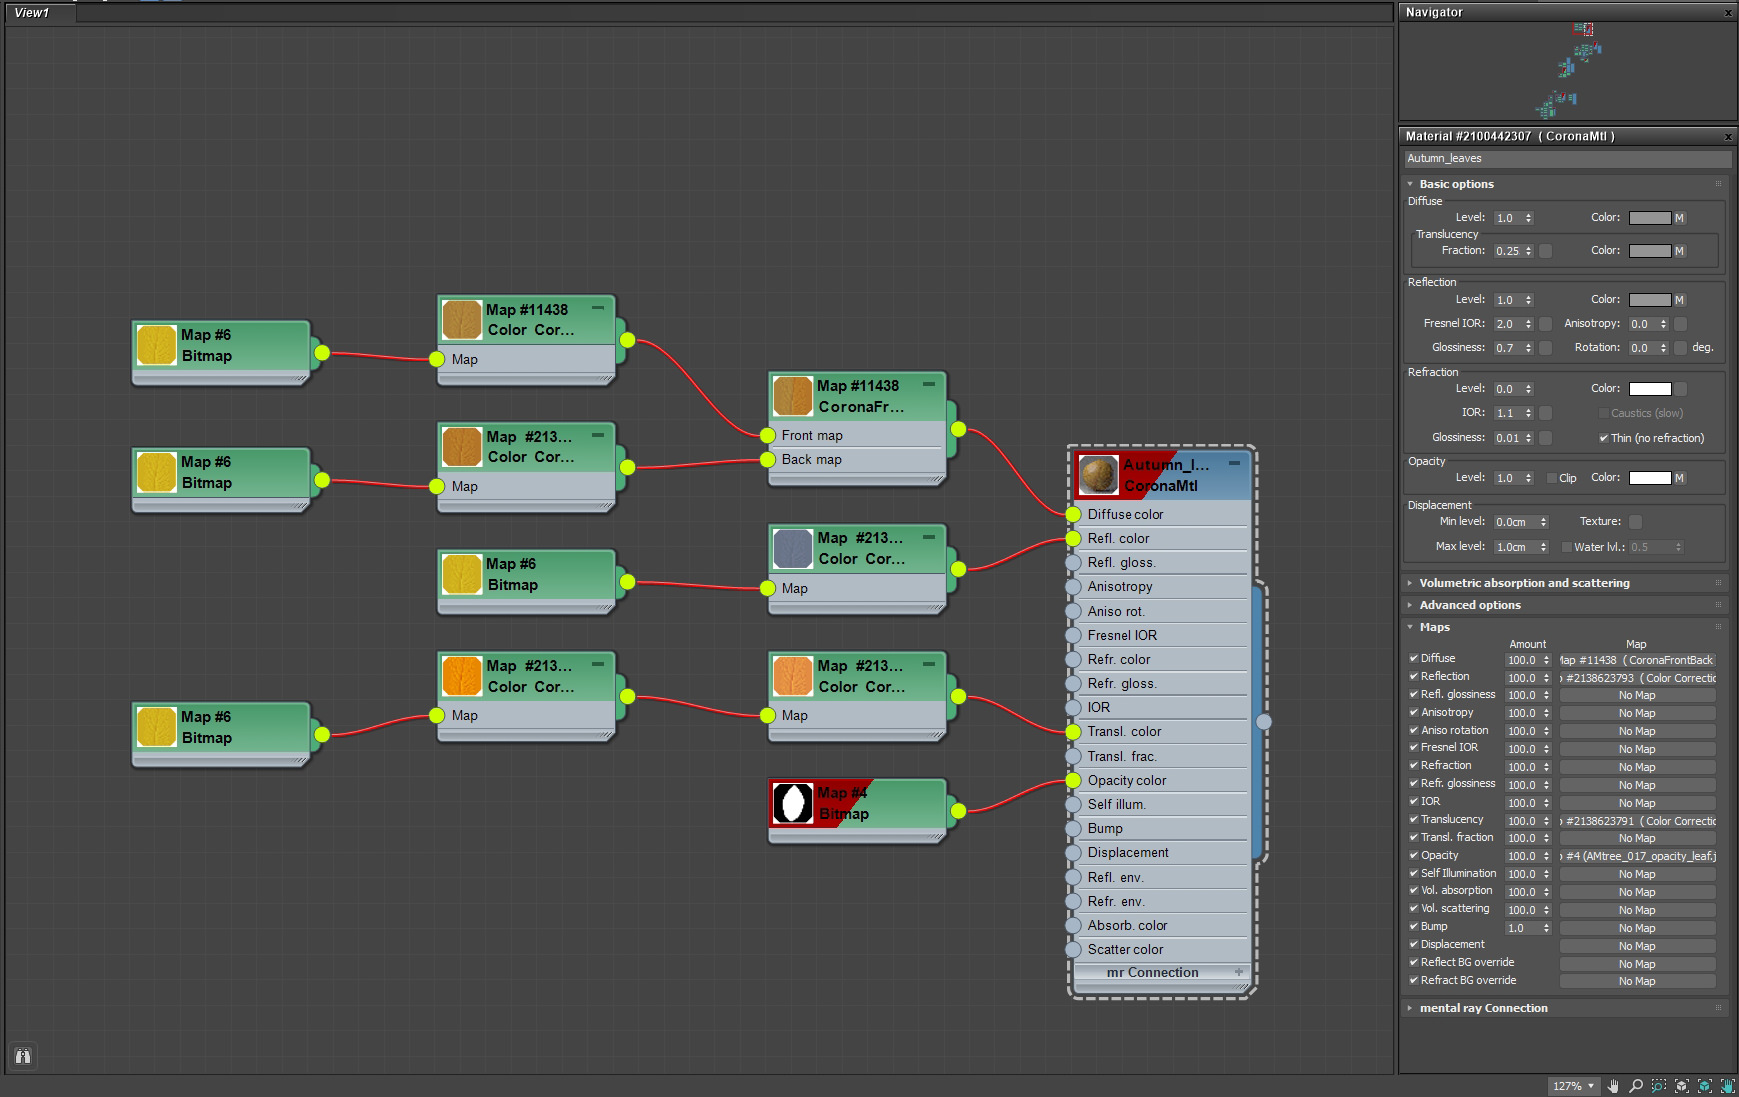
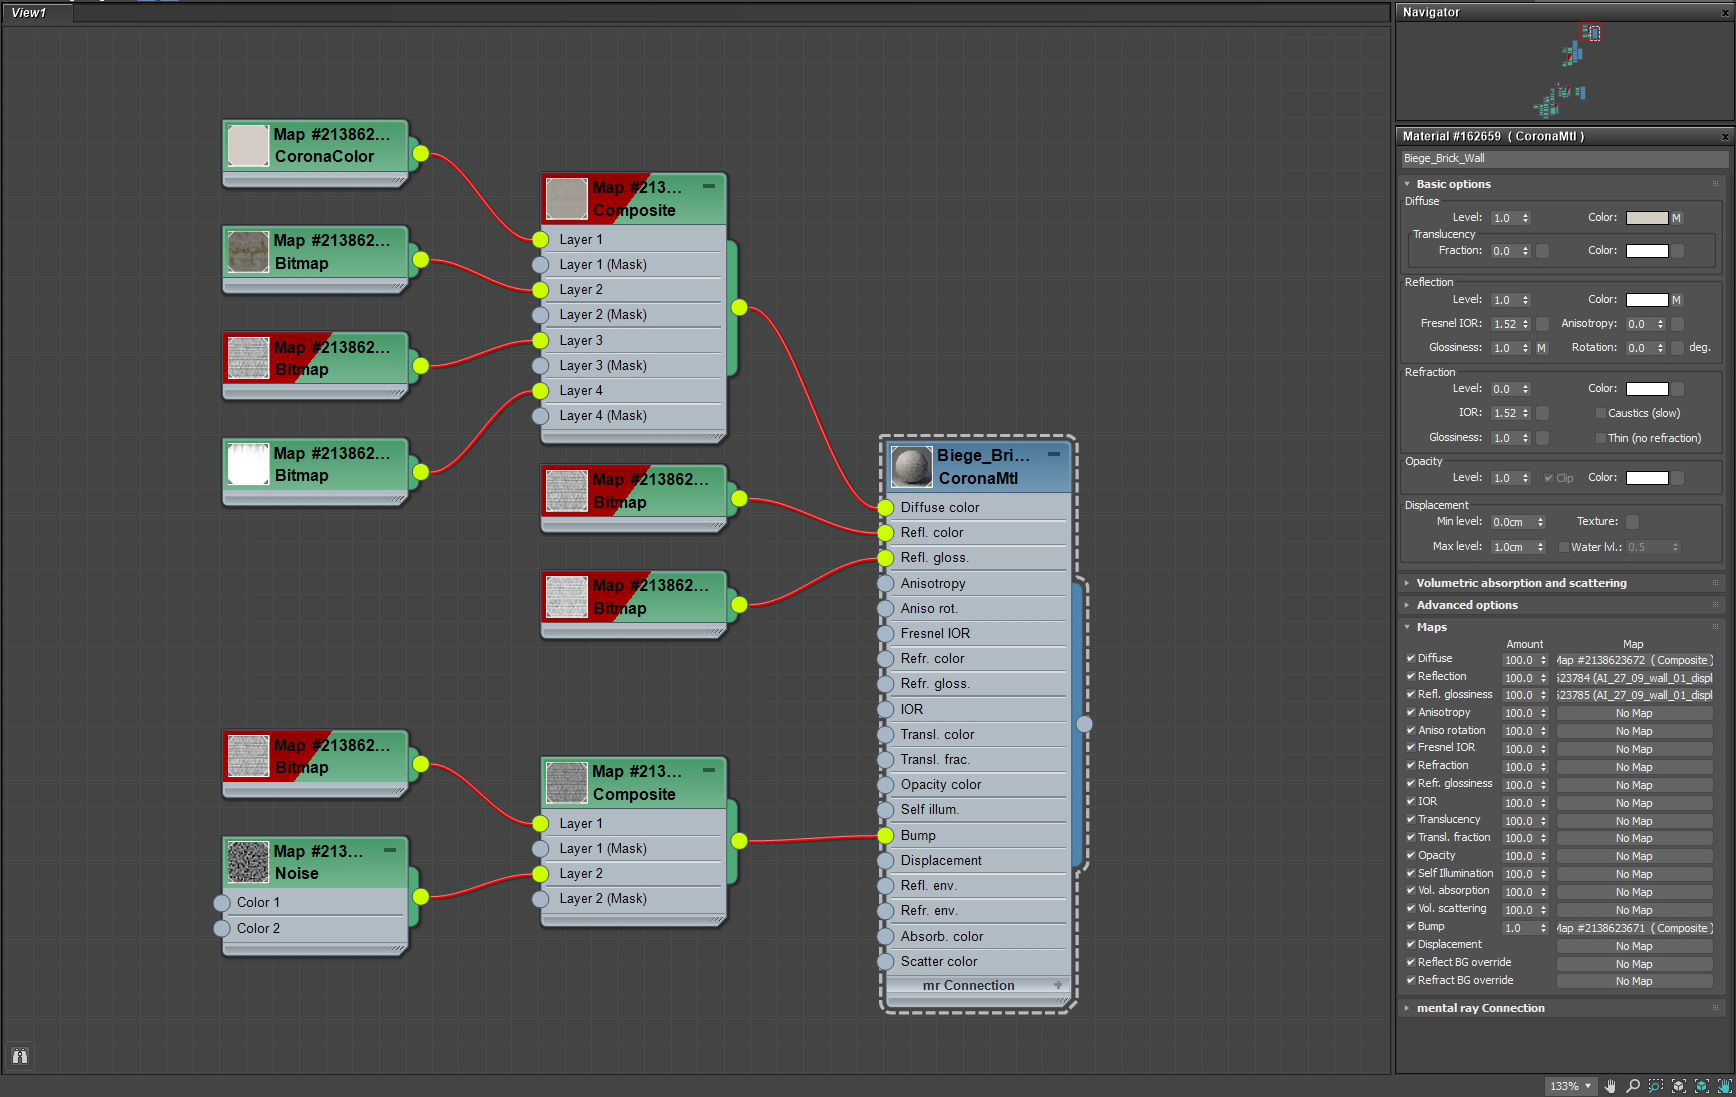
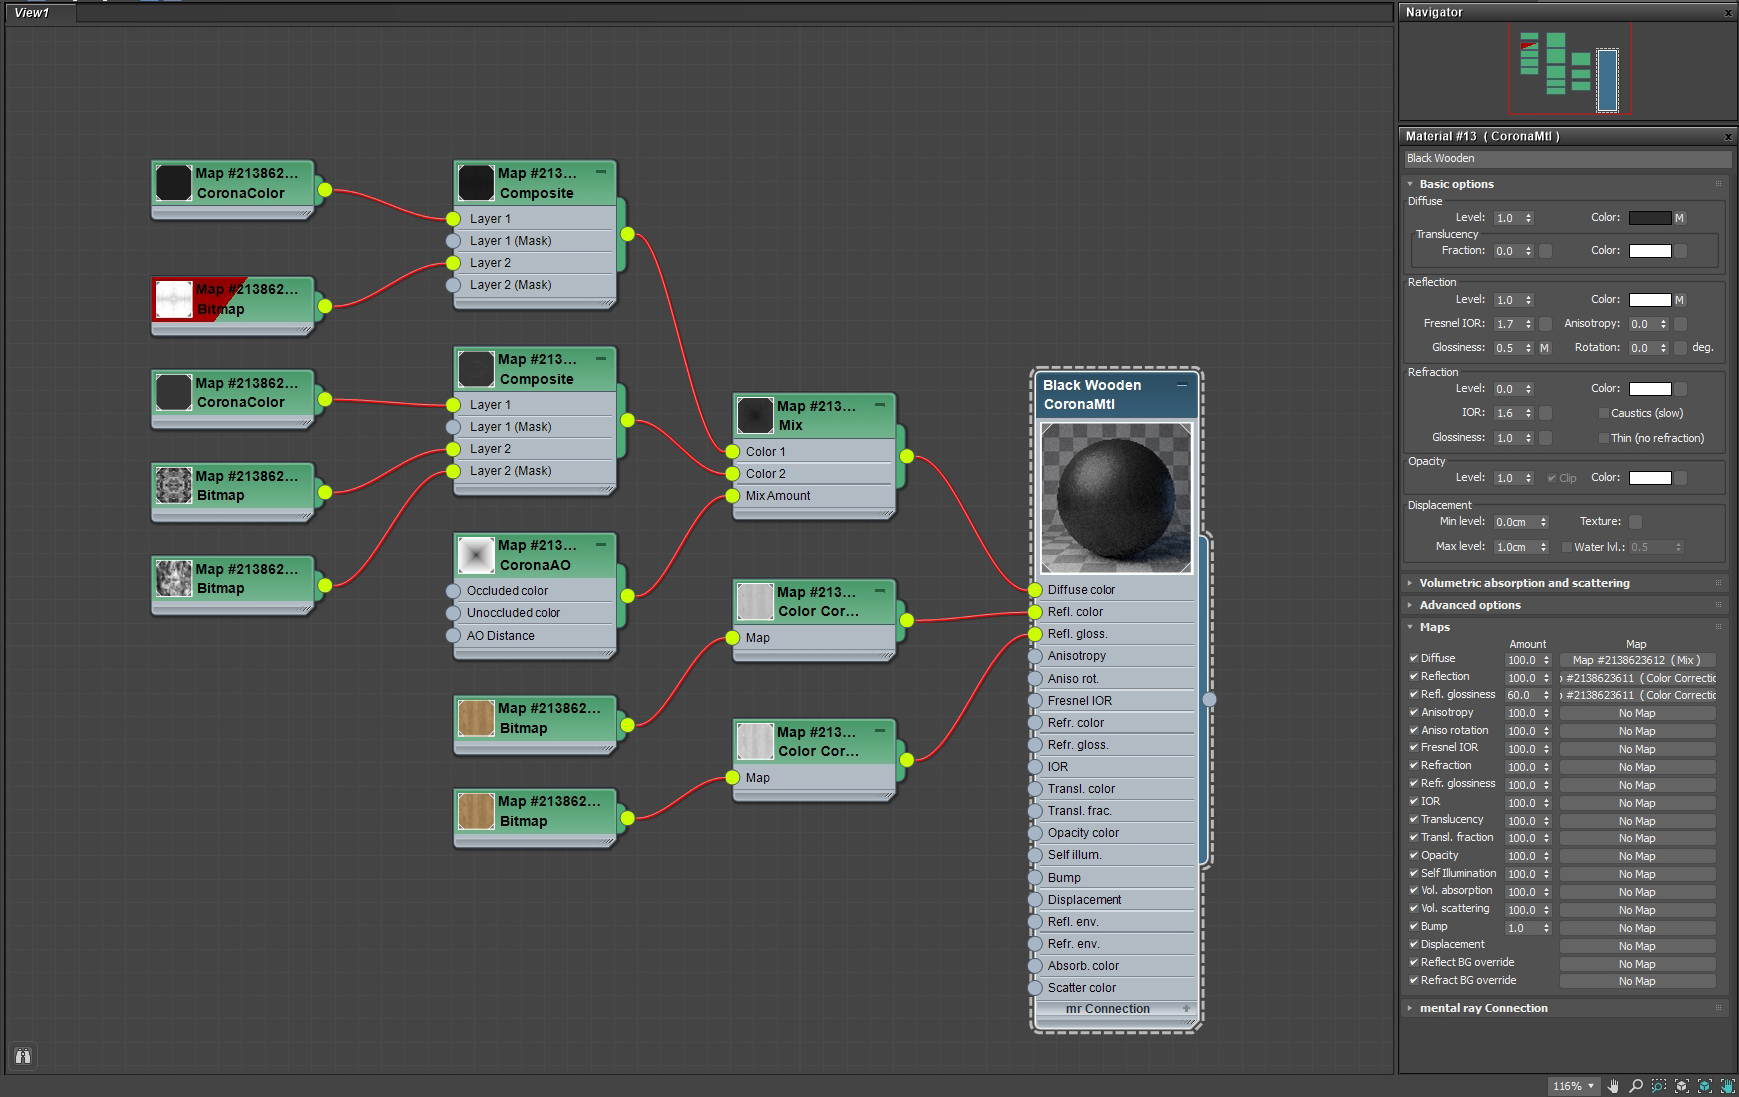
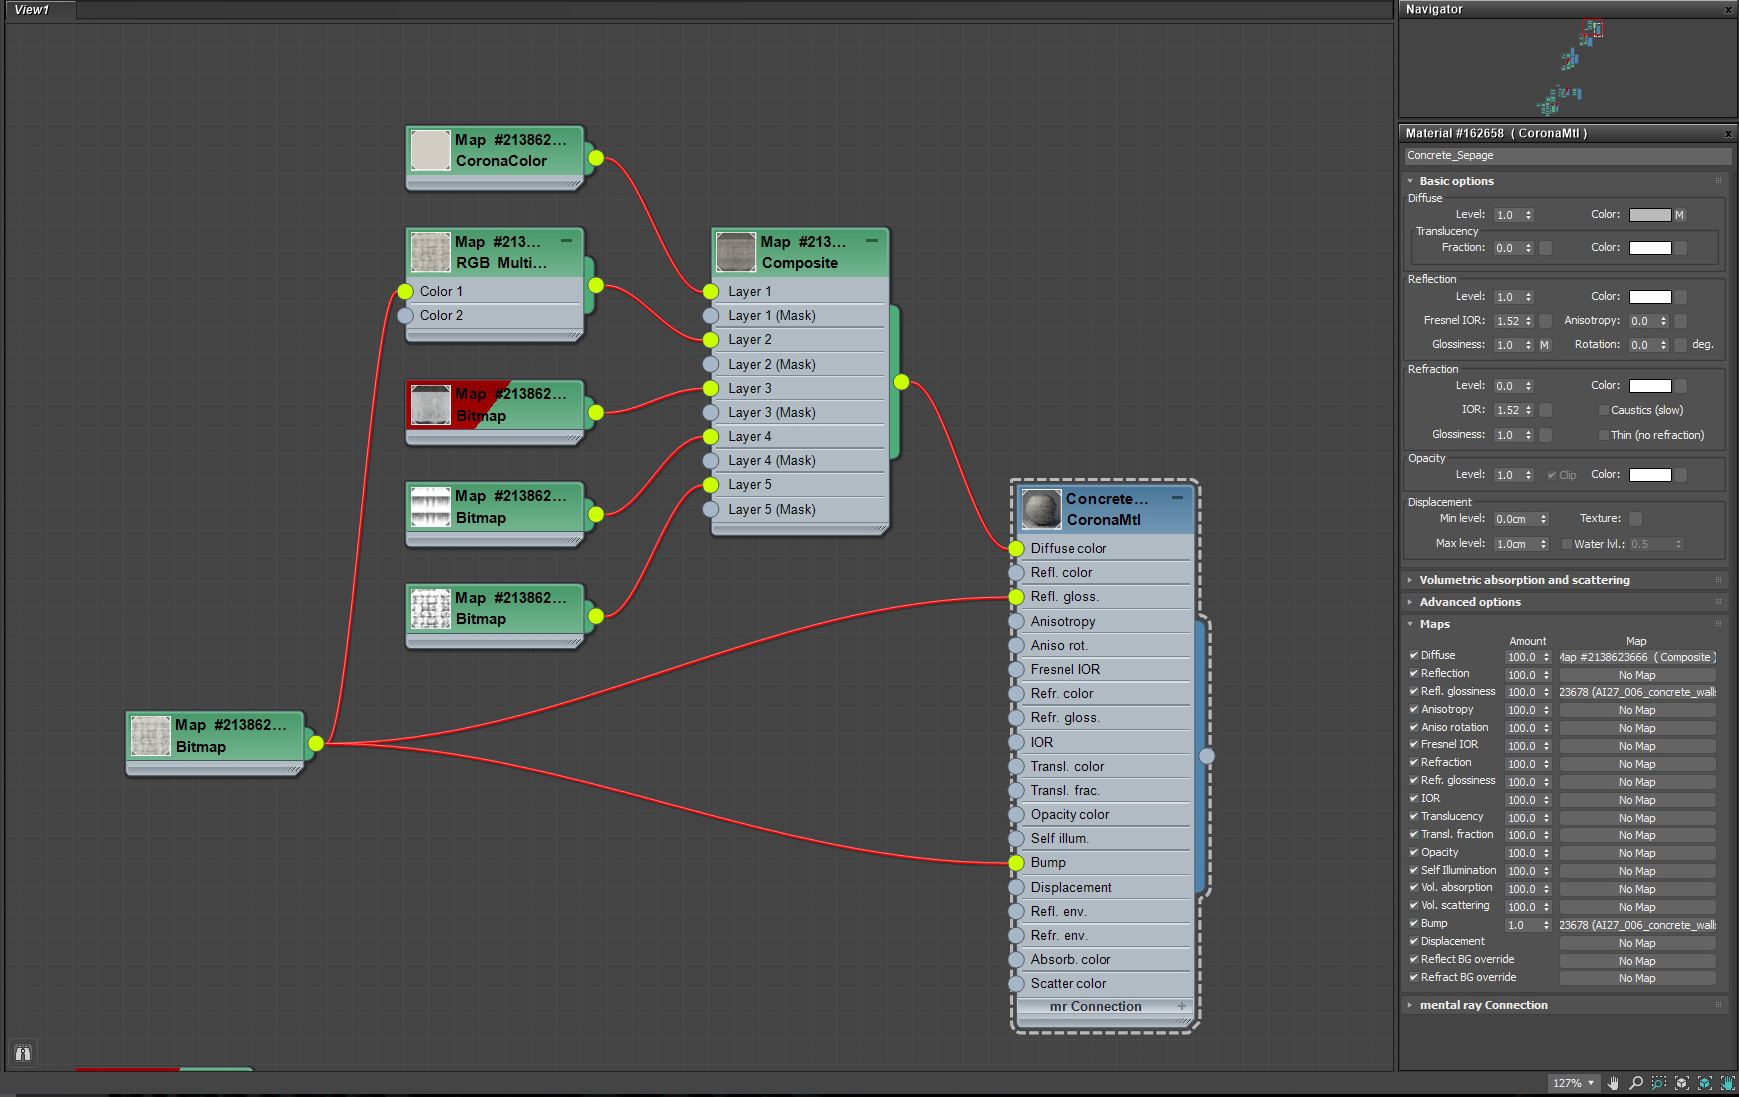
All the shaders were customized. I had to spend almost four days creating a perfect shader to fit with the photo reference. It was a challenging part in this making-of. Here are some breakdowns of the texturing process.
Yellow Dirt Paint
Asphalt Base
Autumn Leaves
Beige Brick Wall
Black Wooden Dirt
Concrete Seepage
Concrete Dirt Steps
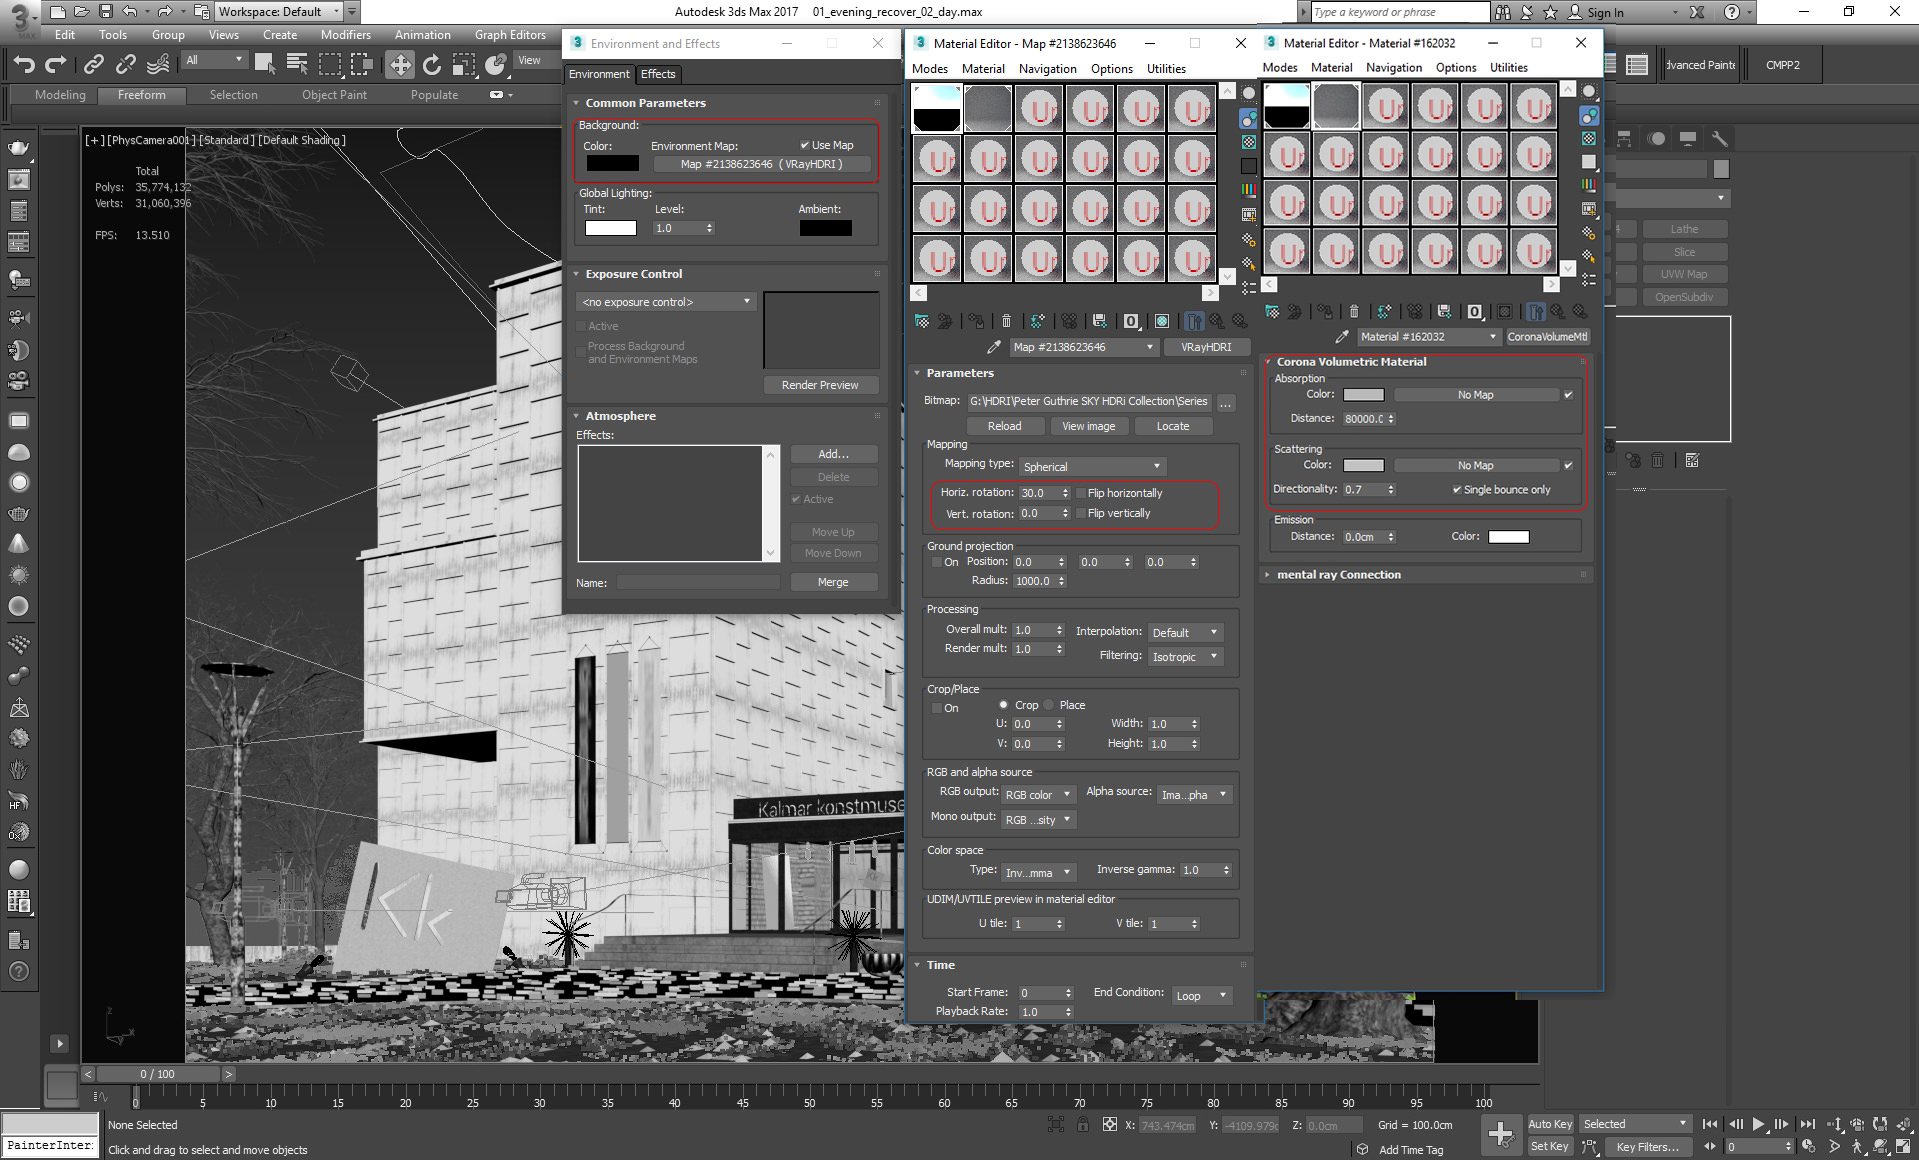
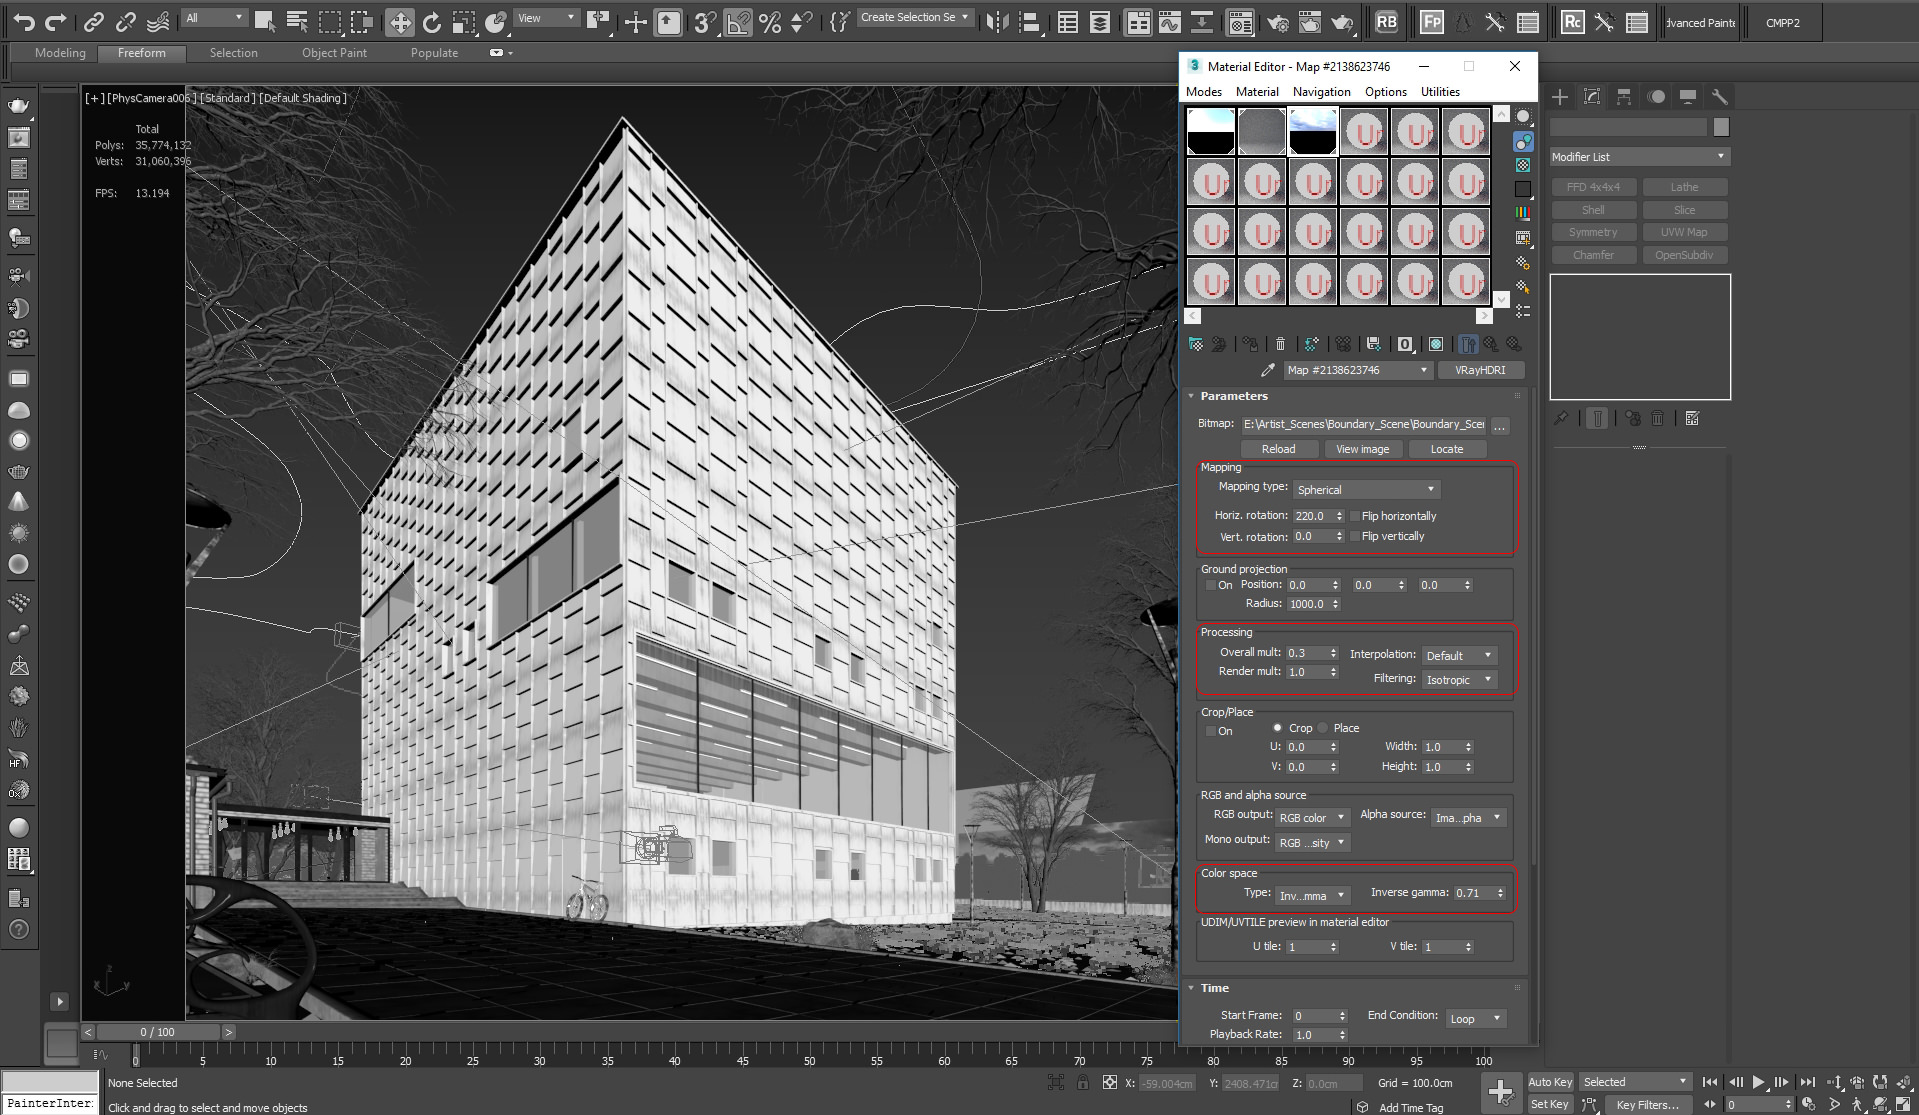
Lighting & Camera
The lighting is one of the important characteristics which has an intense impact on the feel, mood, composition & atmosphere.
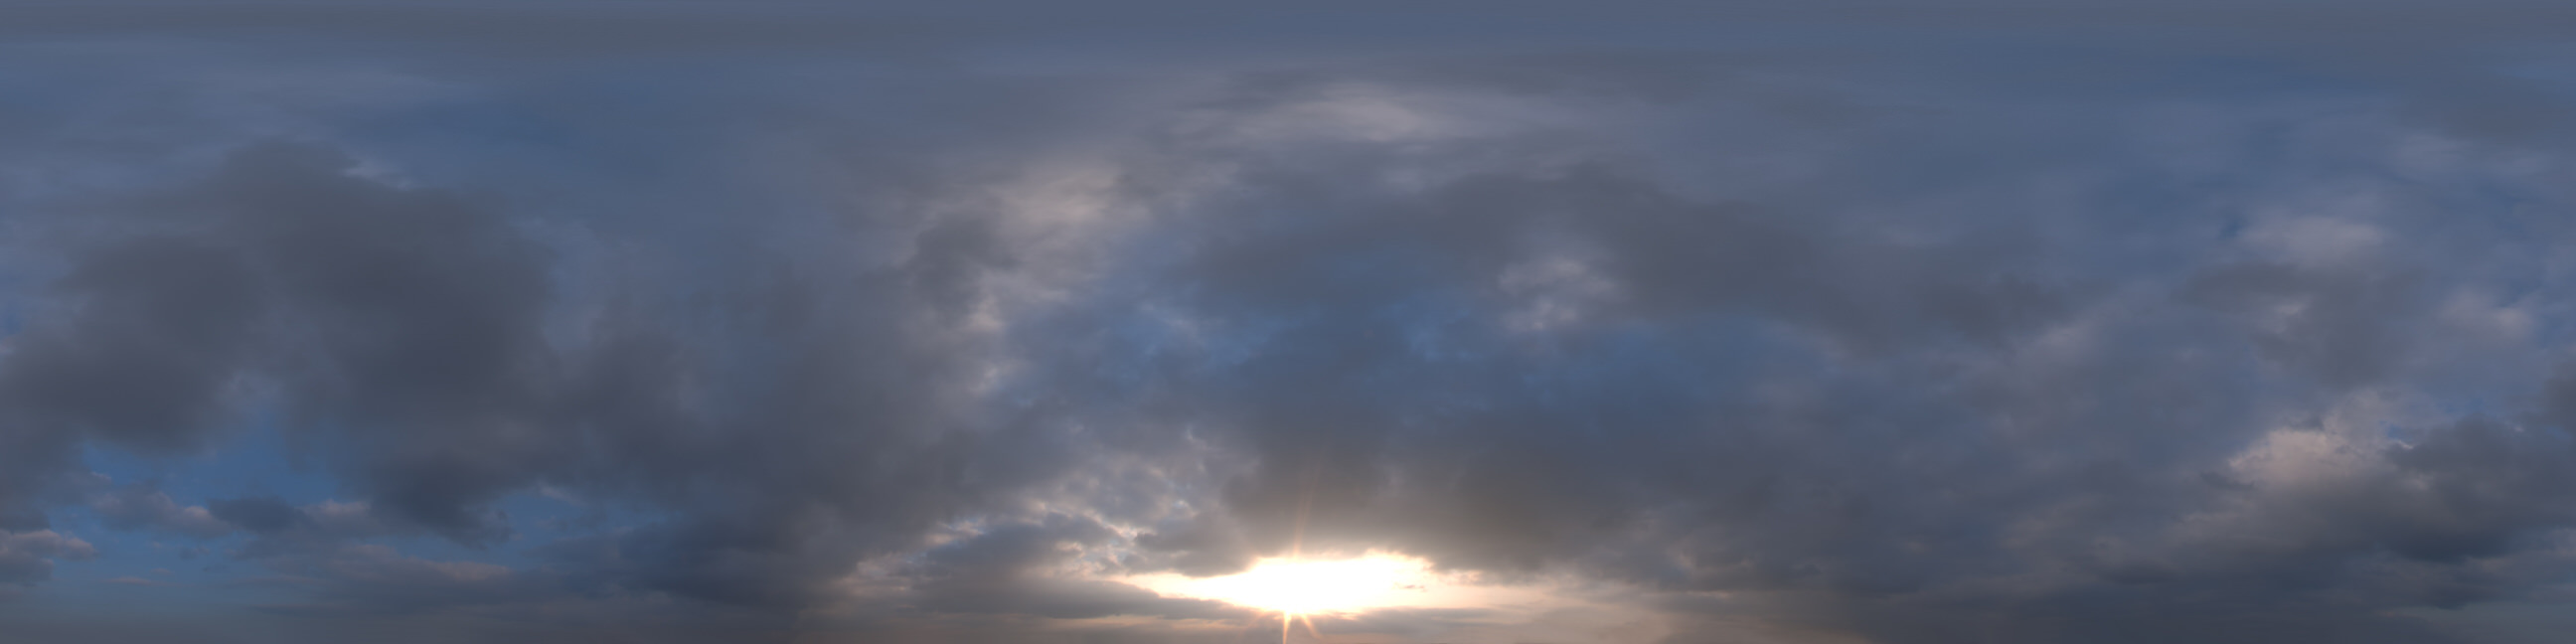
The lighting approach of this project was a simple enough using just HDRI’s from PG SKIES: HDRI Sky PG 1714w & 1853 – Low sun clouds. The series two from PG Skies are impressive for accurate illumination & personified mood.
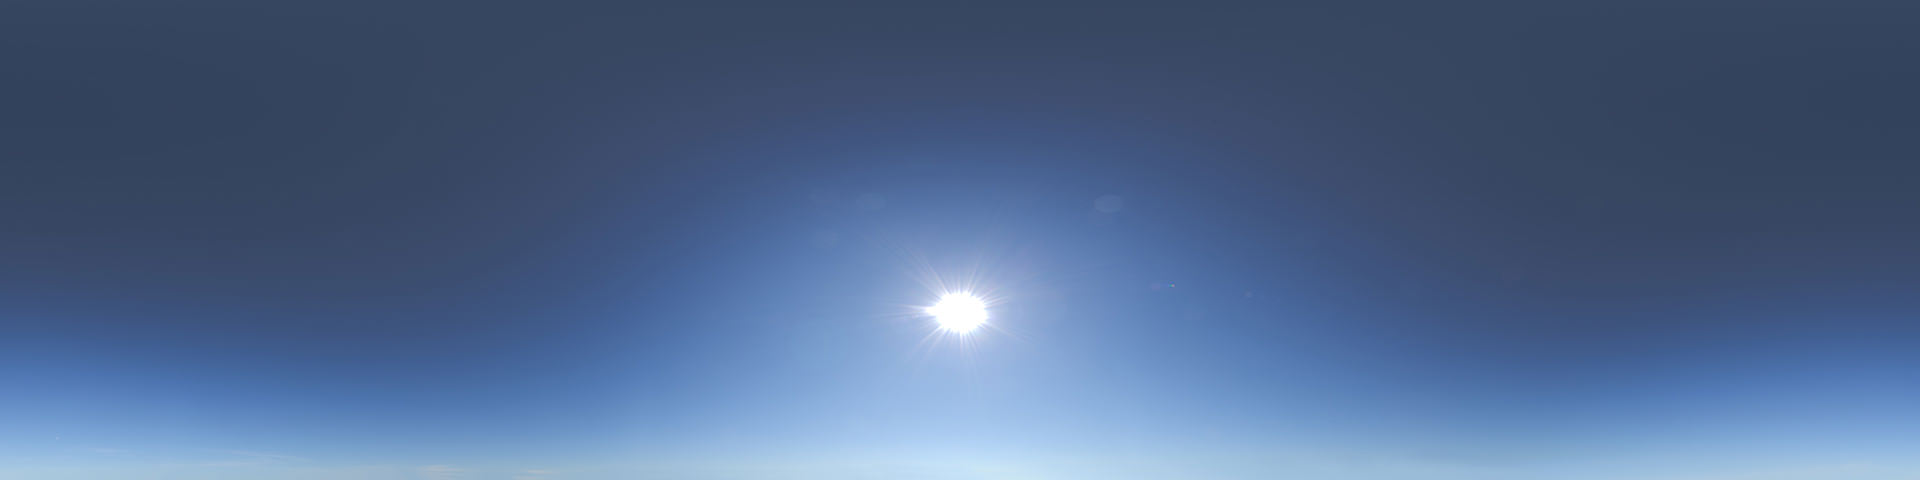
I used a V-Ray HDRI map, as I am much familiar with the parameter and flexible to control the direction, intensity as well the shadows.
There is no particular setting in the camera, as I used a default physical camera, with a Corona Renderer cam modifier applied, but mainly the scene was illuminated with the exposure approach from the Corona Renderer settings.
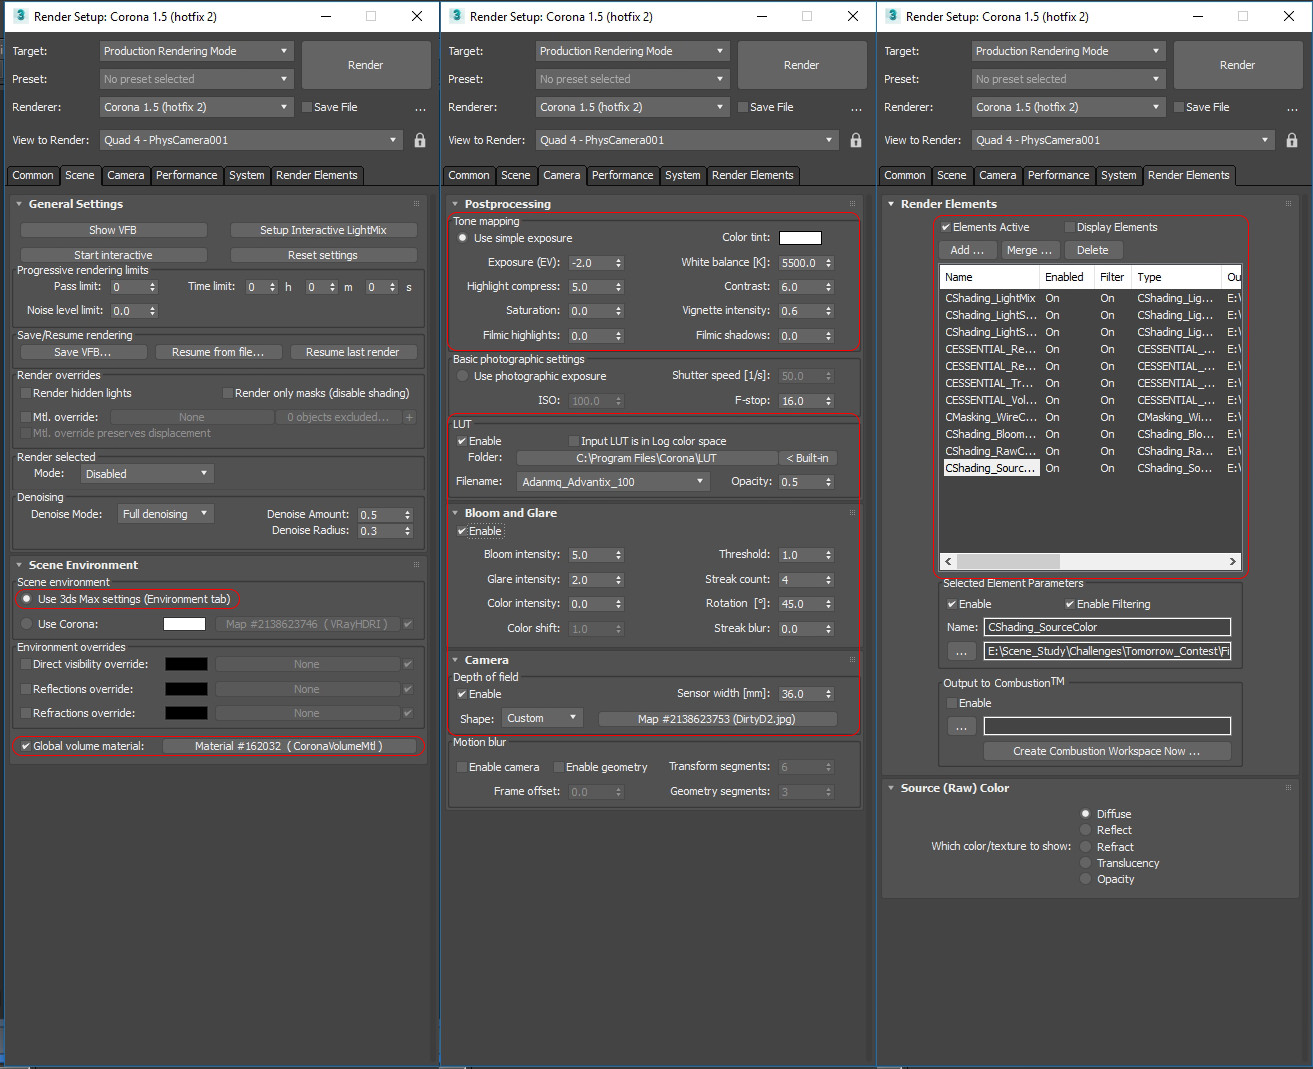
Render Settings
I used Corona Renderer. Many are familiar with this engine & one it is one of my favorite render engines. It is easy to use & flexible for producing fast results.
The default Corona rendering settings are perfect for any scene. As a progressive render engine, Corona is very easy to use inside any workflow.
Here are the render settings…
Post Production
I haven’t applied too much post production to the finals images, other than a very simple color correction, LUT’s and some recovery of the reflection, chromatic aberration & Vignetting.

Hope you enjoyed this article and please comment on it below!
Greetings from India,
Mohit Sanchaniya.